Sunday, 12 December 2010

Blueberry and Clotted Cream cake


I’m back from hols and hoped to have posted a holiday cake update but time seems to have run away from me...but I promise I’ll do it soon!


It’s always flattering to be asked to try out new kitchen equipment so when Tanya from Cooking Fantastic sent me these curious looking sandwich tin inserts (Silverwood Victoria Surprises, to be more precise) I couldn’t wait to get cracking:


They look like flattened hats but are far more exciting than that – they sit in a standard sandwich tin and create a secret cavity in the sponge.
I’m probably making it all sound rather complicated…..!


The sponges come out like shallow bowls to be filled with goodies:


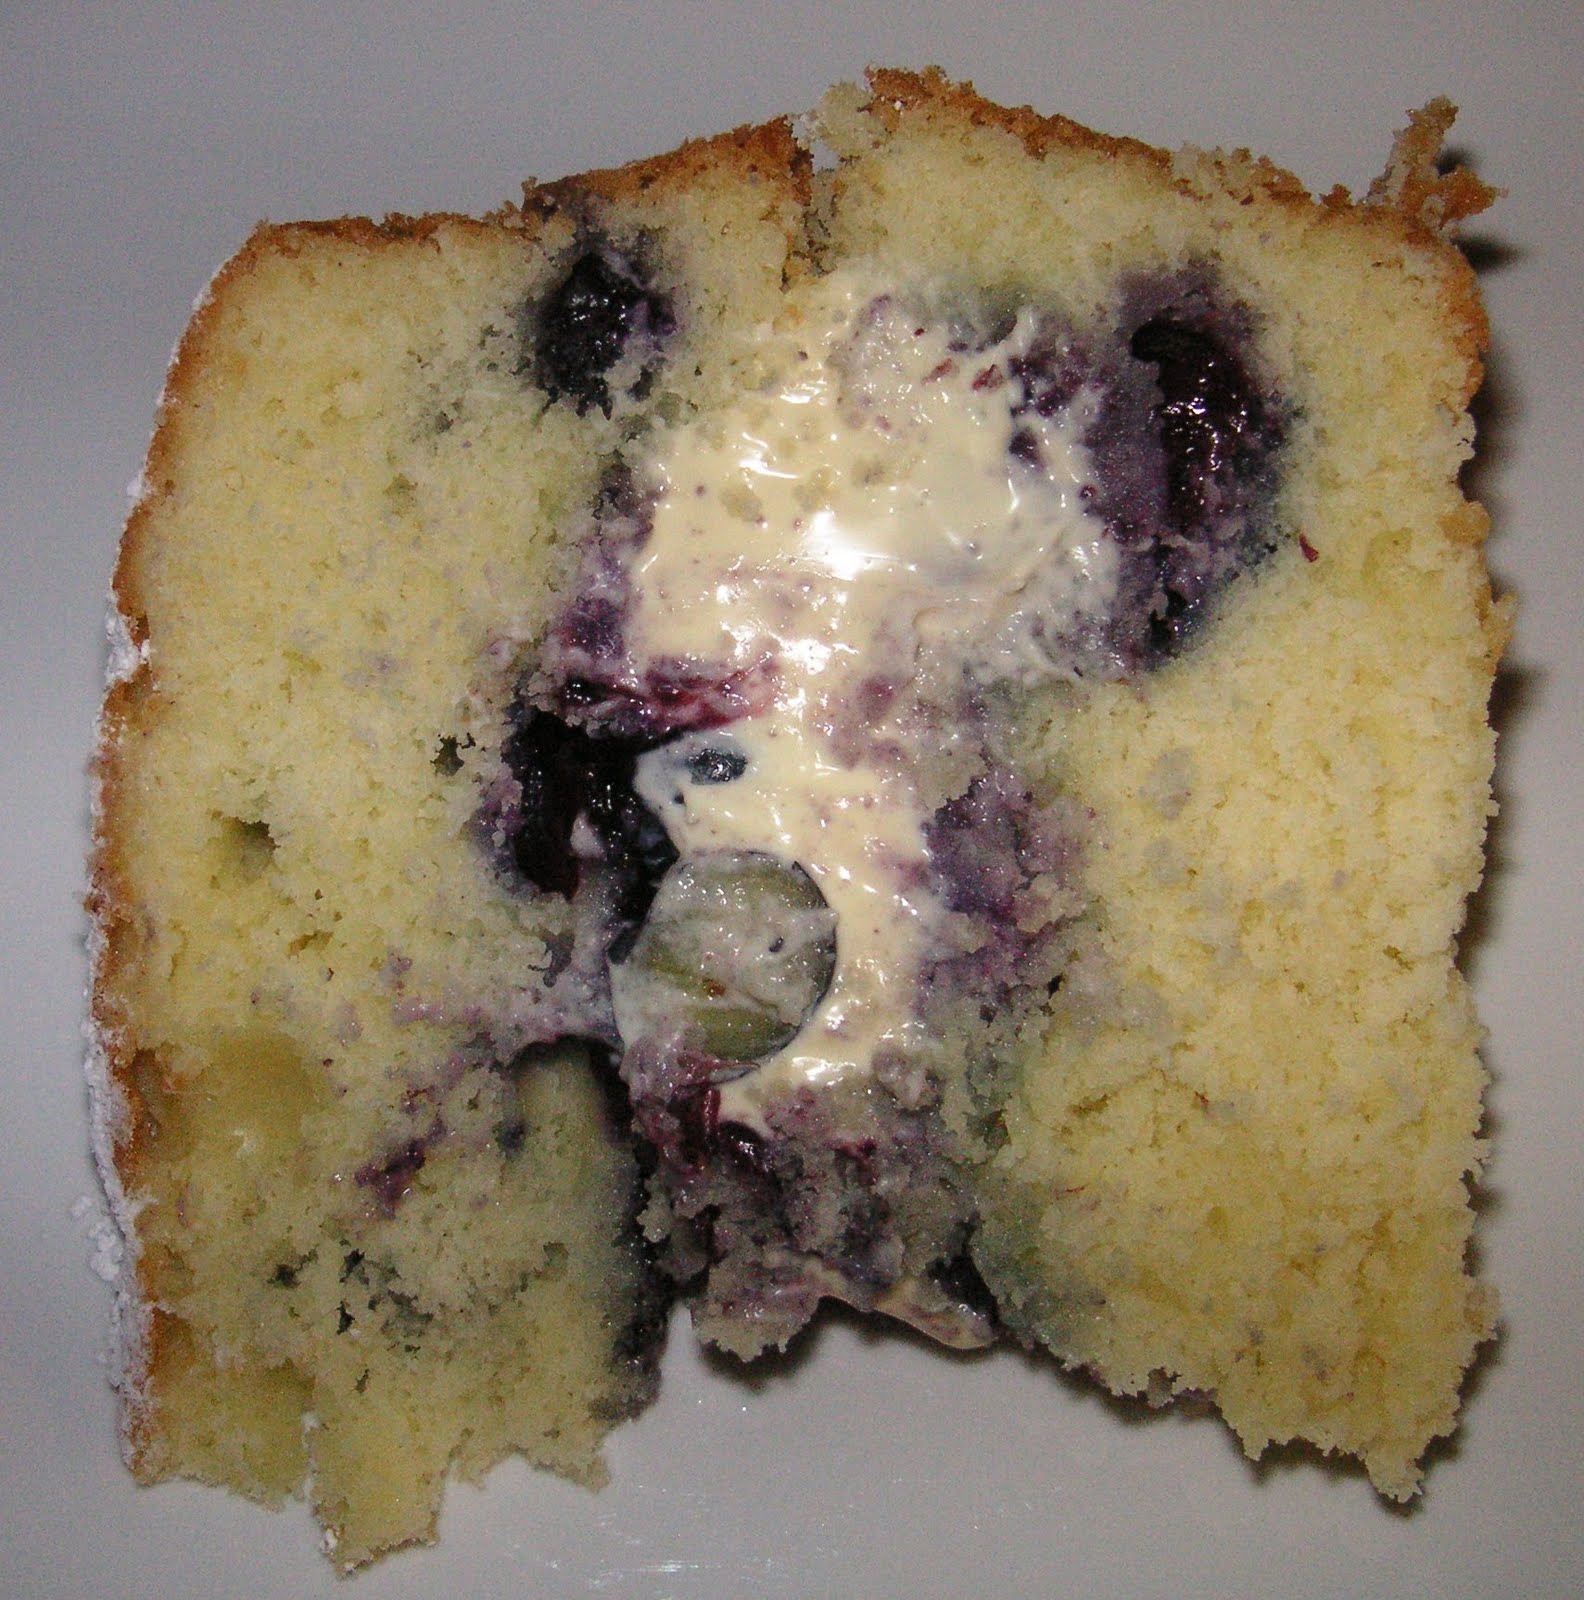
I decided the best approach would be to dome one up with filling and then put the other sponge on like a lid; as is my way, I was rather greedy with the amount of filling I crammed in – it’s why the slices practically exploded on the plate:


Blueberries are a beautiful fruit and I’m starting to think that I prefer them baked than in their natural state; it’s the way they break down and ooze precious purple pulp (try saying that 5 times quickly!) into the sponge.


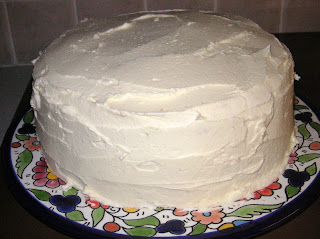
When built, the cake looks like a Madeira type sponge and only reveals its secret filling when cut. Thanks for letting me try the tins, Tanya!


Ingredients

For the cake:
200g caster sugar
200g unsalted butter, at room temperature
4 eggs
200g self raising flour
1 teaspoon baking powder
2 tablespoons milk
150g blueberries

For the filling:
4 tablespoons blueberry jam
227g pot of clotted cream
100g blueberries

Method

Preheat the oven to 190˚C/fan oven 170˚C/375˚F/Gas mark 5.

Line two 20cm loose bottomed sandwich tins with baking paper ensuring that the paper comes up above the height of the tin. Place Silverwood Victoria Secret inserts into tin, if using.

Place all the cake ingredients except for the blueberries into a bowl and beat until smooth and soft.

Fold in the blueberries, taking care not to squash too many.

Spoon the mixture into the tins and level the surface.

Bake for approximately 20 minutes or until a skewer inserted into the batter comes out cleanly. Mine took 27 minutes.

Leave to cool in the tins until cool enough to de-tin; then leave to cool completely on a wire rack. The sponges can be made up to 2 days ahead of serving.

On the day of serving build the sponge: place one of the sponges on a plate and spread with the blueberry jam.

Spread ¾s of the clotted cream on top of the jam and sprinkle the blueberries on top, covering with the remaining clotted cream.

Place remaining sponge on top.

Dust with icing sugar, if desired.

Refrigerate until serving – try to remember to take the cake from the fridge 20 minutes or so in advance of serving so the flavours can come through.

Bask in the glory of the wonderful thing you have made.

Eat.

Sunday, 28 November 2010

Fruity bakewell traybake


I know it sounds silly to choose what to bake on its shape, but I really fancied a traybake this week.
It was partly because I wanted to use my new traybake tin with fitted lid (OK, so I was meant to be Christmas shopping but surely presents for me count?) but mostly because I wanted the delicious cuboid of cakey goodness that only a traybake can deliver. There’s something so appealing about a piece of cake that’s a tall as it is wide and deep. Unfortunately, I didn’t quite achieve it because the recipe requires a 20cm x 30cm tin and I used one that was 25cm x 37cm.


The cake part of this recipe is a rich, buttery almond sponge, lightened by the inclusion of yoghurt.
For the fruit element I visited the supermarket and just chose what appealed to me. The recipe will work at any time of year with a variety of fruits. I picked raspberries and blueberries because I love them in any cake and apricots because I have never used them before in my baking.


Being blessed with a “healthy appetite” (i.e. gluttonous) I categorise most cakes as “cut and come again”, but this one truly is – it’s light and the fruit kids you that it might be healthy.
It isn’t of course …particularly when each cuboid is teamed with a generous splodge of thick cream!


The colours of the fruit looked beautiful alongside each other in my shopping basket and equally as pretty in the finished cake.
Winter blues? I’m more into my winter reds and oranges!


No blog post from me next weekend as Mr CC and I are off on hols (technically it’s our honeymoon but there’s just something about that word that makes my teeth itch so I’m not using it!)…I think this is the first week I’ve skipped since starting my blog in September 2007 thus I hope you won’t judge me too harshly.
Normal service will resume on Sunday 12th December.


Ingredients

250g unsalted butter, at room temperature
250g golden caster sugar
4 eggs
1 teaspoon almond extract
240g self raising flour
½ teaspoon baking powder
40g ground almonds
150g Greek yoghurt
300g fruit – you can use any juicy, flavoursome fruit – I used a mix of raspberries, blueberries and apricots.
50g flaked almonds

Optional: icing sugar to dust over before serving

To serve: thick cream

Method

Preheat the oven to 180˚C/fan oven 160˚C/350˚F/Gas mark 4.

Line a 20cm x 30cm tin with baking paper.

Beat the butter until it is soft and creamy, then add the sugar and beat further until it is light and pale. Don’t skimp on this stage as this is where you get the air into your sponge.

Beat in the eggs one at a time – if it looks like it might curdle add some of the flour.

Beat in the almond extract.

Fold in the flour, baking powder and ground almonds.

Fold in the Greek yoghurt.

Gently fold in the fruit taking care to leave as much of it intact as possible.

Spoon the batter into the prepared tin and level the surface.

Scatter over the flaked almonds.

Bake for approximately 30 minutes or until a skewer inserted into the cake comes out clean. Mine took 40 minutes.

Leave to cool in the tin. It will keep, in an airtight container for several days. I often find that a cake with almonds tastes better a day or two after baking as the almond flavour intensifies and the nutty oils moisten the cake.

If desired, sift over icing sugar before serving.

Serve with a generous dollop of thick cream.

Bask in the glory of the wonderful thing you have created.

Eat.

Sunday, 21 November 2010

Pineapple, ginger and chocolate birthday cake


To celebrate completing another trip around the sun I chose this recipe for my birthday cake. The lure was that, while I love these ingredients individually, I had never considered combining them in one cake and I was curious as to how all those flavours would taste in one bite.


This is the sort of cake that could go either way –divine or horrible. I would never gamble with someone else’s birthday cake but felt happy to do so with my own. Luckily the cake was divine...fortune favours the brave!


The flavours work really well together and don’t compete for attention. The tropical cream filling lightened the richness of the chocolaty sponge; the ginger lurked in the background perhaps a little too subtly – I would add more next time.


I would never have thought of putting chocolate with pineapple but it was a revelation – we all loved it and, surprisingly, the cake wasn’t overly sweet or sickly; it was actually rather refreshing. Having pineapple, chocolate, cream, sponge in one cake was food (if not calorie) heaven – but then one only has to think of the famous Erma Bombeck quote to lose any notion of guilt: “Seize the moment. Remember all those women on the Titanic who waved off the dessert cart.”


Ingredients

For the cake:

175g unsalted butter, at room temperature
275g soft light brown sugar
3 eggs
250g self raising flour
25g cocoa powder
1 teaspoon ground ginger
50g milk chocolate chips
150g Greek yoghurt

For the filling:

425g tin of pineapple rings
300ml double cream
2 teaspoons caster sugar (optional depending on the sweetness of the pineapple)

Method

Preheat the oven to 180°C/fan oven 160°C/350°F/Gas mark 4.

Line a 20cm springform round tin with baking paper.

Beat together the butter and brown sugar until soft, creamy and well combined. The mixture won’t turn fluffy as it would if you were using caster sugar.

Beat in the eggs one at a time; add a little of the flour if the mixture starts to curdle.

Fold in the flour, cocoa and ginger.

Fold in the chocolate chips.
Fold in the yoghurt.
Spoon the batter into the prepared tin and level the surface.

Bake for 45-50 minutes or until a skewer inserted into the cake comes out clean.

Leave to cool in the tin until you can safely handle, then remove the tin and leave the cake to cool completely on a wire rack.

You can make the cake a day in advance of serving and store it overnight in an airtight tin.

Now make the filling: drain the tin of pineapple and reserve some for decorations. I only reserved one to put in the centre of the cake.

Chop the pineapple into small pieces.

Whip the cream and sugar lightly – you want it of medium firmness so it doesn’t collapse when you add the juicy pineapple.

Fold the chopped pineapple into the cream and refrigerate for 10 minutes so it firms up a little.

Cut the cake in half horizontally and place the bottom half on the serving plate.

Spread virtually all of the pineapple cream over the sponge then place the top half of the sponge onto the cream. Avoid pressing down too hard.

Use the reserved pineapple cream to place the reserved pineapple ring on top for decoration.

Dust the cake with sifted icing sugar, if desired.

Bask in the glory of the wonderful thing you have made.

Eat.


Sunday, 14 November 2010

Vanilla overload cake


It was The Boy Wonder’s (my nephew) turn to pick a flavour for a cake this week.
I was very impressed he picked vanilla because, while it’s often overlooked or dismissed as being boring, I actually think a recipe that uses vanilla well is about the tastiest thing in baking.


I like simple flavours and that’s why I picked this recipe – it allowed vanilla, so often pushed into being a background flavour, to be the star.
Vanilla is in the sponge, the syrup and the buttercream….vanilla overload – hurrah!


This cake has a vanilla syrup poured over it as it cools.
This obviously makes it a moist sponge but really adds to the vanilla flavour. I always like to make syrup cakes a day or two in advance to give the syrup to dry out a little but impart it’s flavour.


Often cakes that are to receive syrup come out of the oven rather tall and subside as the syrupy moisture sinks in. It didn’t happen in this case – the cake remained just as huge! I used a 20cm tin but, if you wanted to use a 23cm tin I think that would work too. Here is the cake ‘syrupped’ but not yet covered in buttercream:


Not sure that the photos will pick it up but each slice of cake is spotted with tiny black vanilla seeds; it looks ever so pretty.


The secret to this buttercream is to really whip it up; I started by whipping the butter on its own so it’s light and fluffy by the time the icing sugar is added. In total I probably whipped the buttercream for in excess of 10 minutes...my kitchenaid earns its keep on such tasks!


Judging by the reaction from my eatership, this cake is a crowd pleaser. Young and old, male and female, everyone tucked in and most of us went back for generous seconds!

Ingredients

For the cake:

250g unsalted butter, at room temperature
250g golden caster sugar
1 teaspoon vanilla extract
Seeds scraped from 1 vanilla pod
5 eggs
85g plain flour
100g full fat Greek yoghurt (I used Total)
250g self raising flour
3 tablespoons milk (I used semi-skimmed)

For the syrup:

50ml water
50g golden caster sugar
Seeds from a vanilla pod – you can use a teaspoon of vanilla extract instead

For the buttercream:

175g unsalted butter, at room temperature
300g icing sugar, sifted
2 teaspoons vanilla extract

Method

Preheat the oven to 160˚C/fan oven 140˚C/320˚F/Gas mark 3.

Line a 20cm deep round springform tin with baking paper ensuring that the paper comes up above the height of the tin.

Place the butter, sugar and vanilla together in a bowl and beat until they are light and fluffy; you will also see the colour changing to a pale cream. Don’t skimp on this stage as it’s important to get lots of air into the mix.

Beat in the eggs, one at a time. If the mix starts to curdle spoon in some of the plain flour.

Beat in the yoghurt.

Fold in both flours using a metal spoon; this gives you a better cutting edge than a wooden spoon.

Fold in the milk.

Spoon into the prepared tin and level the surface.

Bake for approximately 1 hour and 20 minutes (yes, this is a long time but it’s a low heat) or until a skewer, inserted into the centre of the sponge comes out clean. Mine took 1 hour 35 minutes.

While the cake is baking make the syrup: place all the ingredients into a saucepan and heat gently until the sugar dissolves. Stir all the time. You can tell if the sugar has dissolved by checking the back of the spoon – if you can see any granules you need to heat it further.

Place the syrup to one side to cool.

When the cake comes out the oven leave it to cool for 30 minutes in the tin then use a skewer to poke holes all over the cake taking care to go right down to the bottom of the sponge.

Slowly pour some of the syrup over the sponge ensuring you get good coverage.

Let it absorb before pouring over more syrup – use a pastry brush to help the distribution.

Leave the cake to cool completely (still in the tin – it stops the syrup leaking out).

All of this can be done up to 2 days in advance of adding the buttercream and serving the cake. Store the cake in an airtight tin.

On the day of serving, make the buttercream: beat the butter until it is pale, light and whippy.

Add the icing sugar a spoonful at a time until it is all incorporated.

Beat in the vanilla and keep beating until the buttercream is completely smooth. Don’t be afraid of the time this may take to make properly– anywhere between 10-15 minutes is normal.

Use the buttercream to either cover the sponge or cut the sponge through and turn it into a layer cake.

Bask in the glory of the wonderful thing you have made.

Eat.