Showing posts with label condensed milk. Show all posts

Monday, 28 March 2016

Lemon cream pie


Sometimes, I can be sceptical about recipes if they look too simple.  This was such a recipe and gosh was I wrong!  Firstly, it’s no bake so is super quick to make; secondly, it has few ingredients and thirdly, it requires no skill or techniques whatsoever.  Win-win-win!
The texture of this is amazing – it is the softest, lightest, smoothest texture I can recall.  Imagine a whipped mousse crossed with a cloud and you’d be getting there!  The lightness of texture offsets the richness so it’s actually deceptive; I could quite easily have been on my second slice before I realised how creamy it was!


The basic method could be adapted to any citrus fruit – it’s the acid from the fruit you need to set the cream.  It worked very well with lemon because the fresh zing balanced the richness of the cream.  The gingernut base gives an extra flavour too.


Just about the perfect dessert for a lazy holiday weekend.  It keeps for 2-3 days in the fridge so you can just cut slices as they’re required (makes a refreshing change from all the chocolate!).  I know that I will also adapt this recipe to build it in a glass too – the creamy filling was light enough to work with that style presentation.


Ingredients

225g gingernut biscuits
115ml unsalted butter, at room temperature
300ml double cream
265g condensed milk
Juice of 2 lemons
zest of 1 lemon


Method

Blitz the gingernuts in a food processor.

Add the butter (no need to melt it if you’re using a processor) and blitz again until you have the texture of clumpy damp sand.

Press into the bottom of a 20cm loose bottomed flan dish and press a little up the sides too.

Refrigerate while you make the filling.

Whip the cream until it reaches the soft peaks stage.

Fold in the condensed milk, lemon juice and zest.

Spoon into the biscuit base and spread out.

Refrigerate for at least 2 hours before serving.

Bask in the glory of the wonderful thing you have created.


Eat. 

Sunday, 6 July 2014

Coconut and lime loaf


I knew this weekend was going to be a little unpredictable with lots of comings and goings (not to mention one of the greatest Wimbledon finals of all time...sorry for the late posting of this!) so I wouldn’t get my normal, nice, calm baking time.  However, I did still want some homemade cake – obviously!  This recipe is a perfect one to have up your sleeve at such times:  minutes to get in the oven, delicious, and perfect for summer with its tropical flavours.


Coconut and lime is a combination I can be funny about, particularly if the lime is too dominant.  I like the lime in the background to lift the coconut, not as a strong acidic flavour.  To achieve this I used the zest in the sponge, and the juice in the icing.  If you’re a little more hardcore where lime is concerned, add the juice of an additional lime to the cake mix.


Using condensed milk in the cake produces a dense, moist crumb reminiscent of a yoghurt-based sponge.  Condensed milk is very sweet so the recipe does not use any other sugar in the sponge – it really doesn’t need it! 


Next time I make this I might ‘up’ the tropical element and add some Malibu to the batter; it could also be used instead of the lime juice in the icing, although that little kick of zing in the glace icing was one of my favourite elements.  My only regret is that I didn’t have a little cocktail umbrella to decorate the cake with!


Ingredients

For the sponge:
175g unsalted butter, at room temperature
3 eggs
250g condensed milk
80g desiccated coconut
Optional: 1 teaspoon coconut extract
Grated zest of 2 limes – if you want a stronger hit of lime in the cake use the juice of one lime too
175g self raising flour
1 teaspoon baking powder

For the icing:
100g icing sugar
Juice of 1 lime
2 tablespoons desiccated coconut

Optional decoration: lime zest or coconut shavings (or both!)


Method

Preheat the oven to 170°C/ fan oven 150°C/ 340°F/ gas mark 3.

Line a 900g loaf tin with baking paper.

Beat the butter until it is light and whippy.

Add all the remaining sponge ingredients and beat until pale and creamy looking.

Pour (the batter will be runny) into the prepared tin and bake for approximately 1 hour or until a skewer inserted into the sponge comes out clean.

Check the cake after 55 minutes and, if it is browning too quickly, cover the tin lightly with foil.

Leave to cool in the tin for 20 minutes before turning out onto a wire rack and leaving to cool completely.

Now make the icing: beat together the icing sugar and enough of the lime juice to make a thick, glossy icing.  Add the lime juice 1 teaspoon at a time as it doesn’t take much to make the icing too thin – you might not need the whole lime.

Drizzle the icing over the cake.

Scatter over the coconut shavings or lime zest and leave to set.

Bask in the glory of the wonderful thing you have created.


Eat.

Sunday, 11 May 2014

Condensed milk and nut cake


This is a recipe that caught my eye in one of those little “30 best recipe books”.  I liked that the recipe appeared so simple for an unusual looking end product.  It looks almost like a cheesecake but it isn’t – that creamy topping is made purely of baked condensed milk. This is a really quick, low effort bake, but I think the results suggest otherwise.  Please note the small squares I have cut it into – this is sweet and rich.  Think tasty little nibble to be enjoyed with a cup of tea/coffee rather than a big slice!  Don’t say I didn’t warn you!  


I don’t tend to keep condensed milk in my store cupboard and buy it only when I need it, which isn’t often.  This is probably just as well as I only have to taste a little bit off the lid of the can to fall head over heels in love with the stuff.  It’s sweet, creamy, thick and sticky texture is so sinfully good that I wonder why more baked goods don’t use it.  I really need to try it in an ice cream recipe – I bet it’s amazing.


I’ve stuck to the recipe as it used some of my favourite ingredients of chocolate, coconut and walnuts to add texture and flavour; I suspect however that the recipe is a bit of a blank canvas and any other nut, type of chocolate, or even dried fruit would work just as well; probably best though not to choose anything too sweet.


It’s also a good dish to use if you want to work out the age of people.  If, like me, you’re a child of the 1970s you won’t be able to hear the words ‘condensed milk’ without thinking of Lenny Henry and his condensed milk sandwiches on Tiswas.  I had a little chuckle the other day at work about how our popular culture references pinpoint us quite precisely age-wise.  A colleague was chatting to a younger colleague and made a passing reference to Percy Thrower (famous gardener and in charge of the Blue Peter garden; if you grew up in the 1970/80s apart from Zammo ODing in Grange Hill, the vandalism of the Blue Peter garden was about the most shocking thing that blighted your childhood).  She looked at him blankly and said, ‘who?’  She’ll be claiming she’s never heard of Morph and Chas next…..


Ingredients

For the base:
100g digestive biscuits
50g unsalted butter

For the topping:
150g chocolate, finely chopped – I used half milk, half dark chocolate
70g desiccated coconut
150g walnuts, finely chopped
379g sweetened condensed milk

Optional: icing sugar for dusting


Method

Preheat the oven to 180°C/fan oven 160°C/350°F/gas mark 4.

Line a 18cm square cake pan with baking paper or non stick foil.

Put the biscuits in a food processor and blitz until you have fine crumbs.

Add the butter and blitz again until the mixture resembles damp sand. (NB. If you prefer the manual method place the biscuits into a thick bag, tie the top, and hit with the rolling pin until you have crumbs.  Melt the butter and then stir the crumbs into it.)

Press the crumb mix into the base of the tin and press down firmly, ensuring the base is of even thickness.  Initially you will think there isn’t enough biscuit to cover the base, but be patient and keep pressing it down and out and there is.

Sprinkle over the chocolate, coconut and walnuts.

Slowly pour the condensed milk over the top taking care to disturb the chocolate, coconut and walnuts as little as possible (some movement is inevitable) – do not stir.

Bake for 35-40 minutes until the mixture is set but not rubbery (think baked cheesecake or baked custard texture – a bit of a wobble in the centre!)

Leave to cool completely in the tin, on a wire rack, before de-tinning and cutting into small squares.

Refrigerate until about 20 minutes before serving.

Bask in the glory of the wonderful think you have created.


Eat.

Sunday, 20 May 2012

Chocolate fudge birthday cake


It is Mr CC’s birthday and time for one of his ‘challenges’ that only serve to prove what a hopeless cake decorator I am!  This year he wanted a chocolate cake (hurrah!  I can do that!) in the shape of Domo (shi....I mean sugar!).  Now Domo is quite a straightforward looking chap...but it’s always the simple characters that are the hardest to get right as there’s nowhere to hide.

Carving is not my forte:


Domo is an international phenomenon with a range of merchandise to rival Hello Kitty.  He is the mascot for a Japanese television station.  If you haven’t come across him, this is what he looks like:

I chose a rich chocolate sponge and this recipe in particular interested me because of the sheer amount of chocolate and cocoa it contains.  It is quite dense almost like a sponge/brownie hybrid – a heavy, but very flavoursome cake.  The addition of sour cream works well and adds a tang to the flavour and stops the whole texture being too cloying.


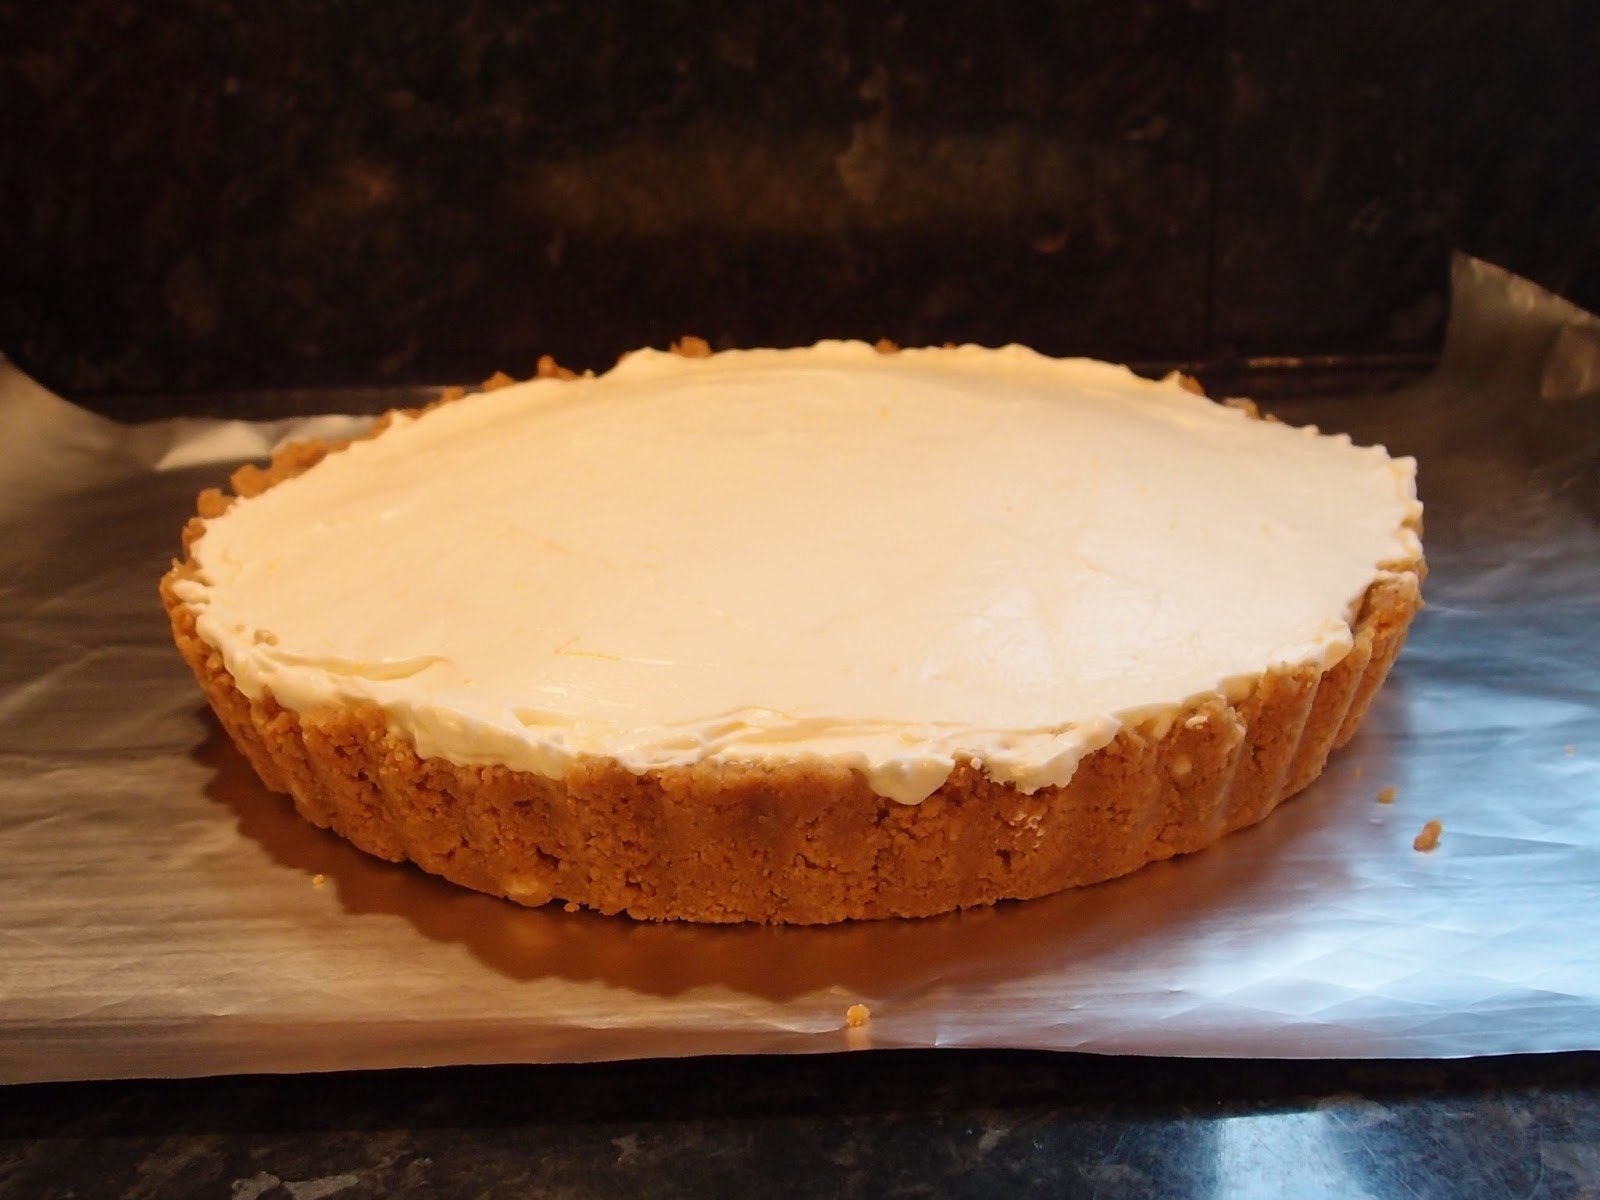
The chocolate fudge icing couldn’t be simpler – only three ingredients!  Not that you can see much of it, because Mr CC hinted that chocolate sprinkles might replicate Domo’s fur...hence the whole tube of chocolate sprinkles covering the cake!  The icing is a little unconventional and I need to point out how ugly it is when cooled.  Here it is just made and needing to cool (nice):


Here it is cooled and rather icky looking:


Here it is lovely and beaten and ready to spread on the cake.  What I’m trying to convey is don’t lose heart and think you’ve done anything wrong when it’s cooled:


This cake is rich – I’d recommend serving it with some cream to lighten it.  It is also more chocolatey than chocolate; a boast I don’t make lightly (I’d hate you to take me at my word and then be disappointed).  Serve in small slices...this is one to savour!


As it was a cake for Mr CC’s birthday, I didn’t want him to see it before it was finished.  I therefore had to delegate the final inspection to Domo Nerd:


If you don’t want a Domo cake (why wouldn’t you?????) then simply make this cake in a traybake tin and serve that way.  If you are making it like that then maybe halve the icing amounts, as I needed extra to cover the sides of Domo!
Happy birthday Mr CC


Ingredients
For the cake:
300g dark chocolate, broken into pieces
300g unsalted butter
300g light muscovado sugar
150ml hot water i.e. not just boiled but still hot
150ml soured cream
3 eggs, beaten
300g self raising flour
110g cocoa powder

For the icing (this is what I used; if you’re making a traybake consider halving it):
200g dark chocolate
340g condensed milk
200g unsalted butter

To decorate: chocolate sprinkles, fondant icing and maltesers (for the eyes)
To serve: cream

Method
Preheat the oven to 160°C/fan oven 140°C/320°F/Gas mark 3.
Grease a 30cm x 20cm traybake tin.  I actually used a 27cm square disposable foil tin as, once I cut a strip of cake off to make the arms, it left me with a better Domo shape!
Put the chocolate, butter, sugar and hot water into a large saucepan and gently melt together, stirring frequently.
Once melted and combined remove from the heat and leave to cool for 5-10 minutes.
Stir in the soured cream and the eggs.
Transfer the mix to a stand mixer, or a bowl suitable to use an electric whisk in, and add the flour and cocoa.
Beat just until the ingredients are combined.  (NB.  I tried to incorporate the flour and cocoa in the pan using a balloon whisk but it was just too heavy and clumpy for my feeble arms to manage – hence the stand mixer)
Pour into the prepared tin – it will be runny – and bake for approximately an hour or until a skewer inserted into the cake comes out almost clean.  I’d check the cake after 50 minutes as all ovens are different.
Leave to cool on a wire rack.
When the cake is cool you can make the icing: Place all the ingredients in a bowl and place over a saucepan of simmering water.
Leave the ingredients to melt, stirring occasionally.
Remove from the saucepan and leave to cool; you may need to chill it to get it to a spreadable consistency.
If your icing looks a bit gloopy and unspreadable, put it in your stand mixer and beat it for a couple of minutes – this gets the texture just right for spreading.
Either spread the icing over the top of your traybake, or use to completely cover your Domo!
Decorate as required.
Bask in the glory of the wonderful thing you have created.
Eat.

Thursday, 18 August 2011

Syrup crunch biscuits


This recipe was on the very last page in the September issue of BBC’s Good Food magazine - t
alk about ending on a high!


When I see a recipe I like the look of in a magazine I always scan the ingredients to double check that it’s as good as it seems from the photo.
The ingredient list for these biscuits is a roll call of deliciousness: butter, condensed milk, syrup, cornflakes, oats AND custard powder? Why BBC, with these ingredients you are really spoiling me! Here are the luscious wet ingredients in a saucepan:


The biscuit mix is made entirely in the saucepan so make sure you pick one large enough!


These are meaty biscuits; obviously I don’t mean they contain meat, but they are substantial.
No wispy wafery air-like nothingness here – you know you’ve eaten one! They have the dense texture of a flapjack but with more crunch.


I love the mix of crunch and stickiness.
These could just be the perfect biscuit. They keep for several days in an airtight tin too.

Ingredients

250g unsalted butter
200g condensed milk
175g golden syrup
175g cornflakes, plus a few extra – I used Kellogg’s original
175g porridge oats
250g plain flour
100g custard powder
2 teaspoons bicarbonate of soda

Method

Preheat the oven to 180˚C/fan oven 160˚C/350˚F/Gas mark 4

Line 2 large baking sheets with baking paper.

Place the butter, condensed milk and golden syrup in a large saucepan and heat gently.

Stir occasionally until the ingredients have melted and evenly combined; they should be runny.

In a separate bowl crush the cornflakes by hand – you don’t want them crumbed, just broken up a bit.

Stir in the oats, flour, custard powder and bicarbonate of soda.

Stir the dry ingredients into the wet mix in the saucepan.

Scoop heaped tablespoons onto the baking sheets, leaving a gap around the biscuits for expansion while baking. I found this easiest by taking the spoonful of mixture into my other hand and gently squeezing it into a ball.

Crumble a few more cornflakes over the biscuits and flatten them a little using your hands.

Bake for 12-15 minutes or until golden.

Leave to cool, on their baking sheets, on a wire rack. They will be soft on leaving the oven but will firm up as they cool.

Bask in the glory of the wonderful thing you have created.

Eat.