Showing posts with label sultana. Show all posts

Sunday, 24 January 2016

Sultana sandwich cake


I wasn’t actually planning on baking this weekend – the old baking mojo is waning a bit of late – but then I really really wanted some cake and I discovered that greed is just about the only thing that can overpower my laziness!


This cake plays around with a classic Victoria sponge recipe; I added sultanas (love them!) and also decided to try out the little pot of custard extract I bought from Lakeland a while back but have never used.  My thinking was to try and create a dessert, like a spotted dick and custard, but in cake form.


I made a very light buttercream and used the custard extract in that too.  It achieved the aim of a pudding in cake form and was the perfect comforting cake to have with a cup of tea on a grey Sunday afternoon.


The custard extract was different to plain vanilla extract but wasn’t quite as powerful as I’d have liked.  I used it according to the instructions on the bottle – next time I might bam it up a notch.


Ingredients

For the sponge:
265g unsalted butter, at room temperature
265g golden caster sugar
4 eggs
12 drops custard extract – or 1 teaspoon vanilla extract if you prefer
265g self raising flour
150g sultanas
Dash of milk, if required

For the buttercream:
100g unsalted butter, at room temperature
200g icing sugar
6 drops custard extract – or a dash of vanilla extract
2 tablespoons milk


Method

Preheat the oven to 180C/fan oven 160C/350F/gas mark 4.

Line two 20cm round loose bottomed sandwich tins with baking paper.

Start by making the sponge: beat together the butter and sugar until light and well combined – it won’t turn pale and whippy because of the ratios.

Beat in the eggs, one at a time.

Beat in the custard extract.

Fold in the flour and sultanas.

Add a little milk if the sponge is too stiff - you want a consistency that will drop from the spoon with only a little encouragement.

Spoon into the prepared tins and level the surface.

Bake for approximately 45 minutes (but start checking after 30 minutes) or until a skewer inserted into the cake comes out clean.

Leave to cook in the tins for 15 minutes, before de-tinning and leaving to cool completely.

Now make the buttercream: beat the butter on its own until it is light and whippy.

Beat in the icing sugar and custard extract until you have a light, non-gritty buttercream.

Place one of the sponges on the serving plate.

Spread the buttercream over the top.

Place the other sponge on top and gently press down to ‘fix’ the cake.

Serve in generous slices with a mug of tea.

Bask in the glory of the wonderful thing you have created.


Eat.

Sunday, 1 November 2015

Chocolate orange carrot cake


I’ve never baked (or indeed seen, or eaten) a chocolate carrot cake before.  It seemed the perfect cake given the increasingly autumnal feel in the air – soft sponge with chocolate and spice; it would be a good Bonfire Night cake too.  Funny how we associate flavours with seasons/events.


Being a carrot cake this is a very light sponge.  The brown sugar adds a caramel sweetness which always works well with spice.  The cocoa adds a chocolately depth.  The sultanas are entirely optional but, in my world, always make everything better so I added some!  I ‘ummed and aaaaahed’ over whether to make this as a single sponge or to make as a sandwich style cake.  In truth, I think it would work as either, but I was in the mood for a little cream cheese frosting so whipped up an orange one to compliment the zest in the cake.


I like it when bakes evolve like this, with a series of little decisions being made along the way to create the finished item.  This was a very popular cake and something a little bit different which, 8 years into my blog, feels increasingly difficult to achieve!


The flavours of this cake work well together but all remain identifiable because they hit your palate at different times.  The initial hit is the chocolate sweetness; this is cleaned away by the sharp cream cheese frosting and you are left with a fruit orange spice flavour.  It comes in three distinct waves.  Once I spotted this I took my time over each mouthful (unlike me) and ticked the stages of flavour off each time...this is how I entertain myself!


Mr CC was very sceptical about this cake initially.  When I said to him I was making a chocolate orange carrot cake he gave me a look which I can only describe as a ‘what you talking bout Willis?’ look (a reference that you will need to be a certain age to get!) but, when he tasted it, he really liked it!


Ingredients

For the sponge:
280g soft light brown sugar
200g self raising flour
80g cocoa powder
½ teaspoon bicarbonate of soda
1 teaspoon mixed spice
1 teaspoon ground cinnamon
Optional: 50g sultanas
zest of 1 orange (save the rest of the orange for the buttercream)
4 eggs
200ml sunflower oil – or any flavourless oil, I used light olive oil suitable for baking
100ml milk
200g carrots, grated – this equates to approx 3 medium carrots

For the buttercream:
350g cream cheese – I used Philadelphia
50g unsalted butter, at room temperature
160g icing sugar
1 -2 tablespoons orange juice

To decorate: chocolate sprinkles


Method

Preheat the oven to 180C/fan oven 160C/350F/gas mark 4.

Line two 20cm loose bottomed round sandwich tins with baking paper.

Place all the dry ingredients in a bowl and mix together e.g. light brown sugar, self raising flour, cocoa, bicarb, mixed spice, cinnamon and – if using - sultanas.

Place all the wet ingredients in a large jug e.g. orange zest, eggs, oil, milk and carrots and beat together.

Pour the wet ingredients into the dry and mix together.

Divide equally between the cake pans.

Bake for approximately 40 minutes (start checking after 30 minutes) or until a skewer inserted into the cake comes out clean.

Leave to cool in the tins, on a wire rack, for about 30 minutes before turning out and leaving to cool completely.

Now make the filling: Beat the cream cheese and butter until soft, light and whippy.

Add the icing sugar and beat well.

Add the orange juice – start with just one tablespoon – and beat until you have a light, spreadable buttercream.  Add more orange juice if required.

Place one sponge on the serving plate and spread about 1/3 of the buttercream over the top.

Place the remaining sponge on top.

Cover the top and sides with the frosting.

Cover the top with chocolate sprinkles.

Refrigerate until about 20 minutes before serving.

Serve in generous slices with a cup of tea.

Bask in the glory of the wonderful thing you have created.


Eat.

Sunday, 4 January 2015

Pandoro cake


Every Christmas I buy a Pandoro cake, sometimes two.  For those of you who haven’t tried it, it’s basically Panettone with none of the ‘bits’ in it.  I buy mine from Tesco and they come with a sachet of icing sugar to sprinkle over the cake; it has a citrus taste to it that is simply lovely.  I’ll often slice up the Pandoro and make it into a posh bread and butter pudding, but this recipe takes that principle and creates a massive cake instead.


The recipe set out below is a blank canvas.  If you so wished you could soak the fruit in rum or brandy.  You could change the mix of fruit.  You could add some nuts.  The world is your oyster....but don’t add oysters; that wouldn’t work.


My personal preference in serving this cake is slightly warmed with some pouring cream.  It’s such a rich, custardy, indulgent cake.  It’s also huge, so make sure you’ve got a big eatership on hand to tackle it!  Here it is ready for the oven; it looks lovely even at this point when it’s uncooked:


This recipe is a cross between a really good bread and butter pudding, and a really good bread pudding.  I believe one should start the year as one means to go on....hence why I picked a recipe that used butter and over half a litre of cream!  Happy new year!


Ingredients

600g pandoro, panettone or brioche – thickly sliced
150g unsalted butter, at room temperature
350g sultanas – or a mix of sultanas, raisins and dried cranberries
8 eggs
600ml double cream
250ml milk
150g caster sugar
1 teaspoon vanilla extract

To serve: icing sugar and thick pouring cream


Method

Preheat the oven to 150C/fan oven 130C/300F/gas mark 2.

Line a 23cm cake tin with foil, and line the outside with foil too to catch any leakage.  If you have one large enough, use a deep pie dish instead (still line it with foil as it will help you lift it out) as this will mean the liquid cannot leak.

Butter the pandoro and cut it into chunks so that you can pack it into the dish. 

When you have a complete layer, scatter over handfuls of sultanas.

Continue until the buttered pandoro and sultanas are all used up – try to avoid having too many sultanas sitting exposed on the top as, due to the long cooking time, they may burn (I learned this through bitter experience!).

In a large bowl whisk together the eggs, cream, milk, sugar and vanilla.  Only whisk until they are combined – you don’t want it to thicken.

Ladle it over the pandoro and sultanas and take your time, so that the pandoro can absorb the liquid.  At first you will not believe all the liquid can be accommodated but patience will prove you wrong!

Leave to sit for 30 minutes.

Place the cake on a baking sheet and bake for approximately 1 ½ hours or until the top is golden and crisp, and there’s a wobble to the cake but no visible liquid.

Completely cool before de-tinning.

Lightly dust with icing sugar.

Serve either warm for dessert with custard, or at room temperature with pouring cream.

Bask in the glory of the wonderful thing you have created.


Eat.

Sunday, 16 November 2014

Tea loaf cake


Classics become classics for a reason – usually because they’re great.  There is something about a tea loaf cake that is inherently nostalgic.  I feel it has always been in my life and I can clearly remember, from a young age, the smell of it being toasted and buttered to have with a cup of tea on Sunday afternoons.  Back then I wasn’t a fan of it being toasted but I like it now.


I enjoy making any recipe where soaking of fruit is involved, be it an alcoholic bath for Christmas cake fruits or – as in this instance – tea.  Each time I pass the bowl I cannot resist tinkering with it; carefully mixing the fruit to ensure each sultana and raisin gets a chance to soak and absorb the flavours.  What is unusual in this recipe is that you add the sugar at this stage too – I’d not seen that before.  The only thing to be aware of with this recipe is the soak time i.e. you need to start it a day before you wish to make it.  Other than that, it’s a doddle!


When you spoon the cake into the tin it will seem like the mix is all fruit and no cake.  That’s often the way with these sort of bakes but don’t worry, the magic of the oven will sort it all out and I promise you’ll end up with a lovely tea loaf!  Mine seems to have come out huge (even by my standards) – not sure why!


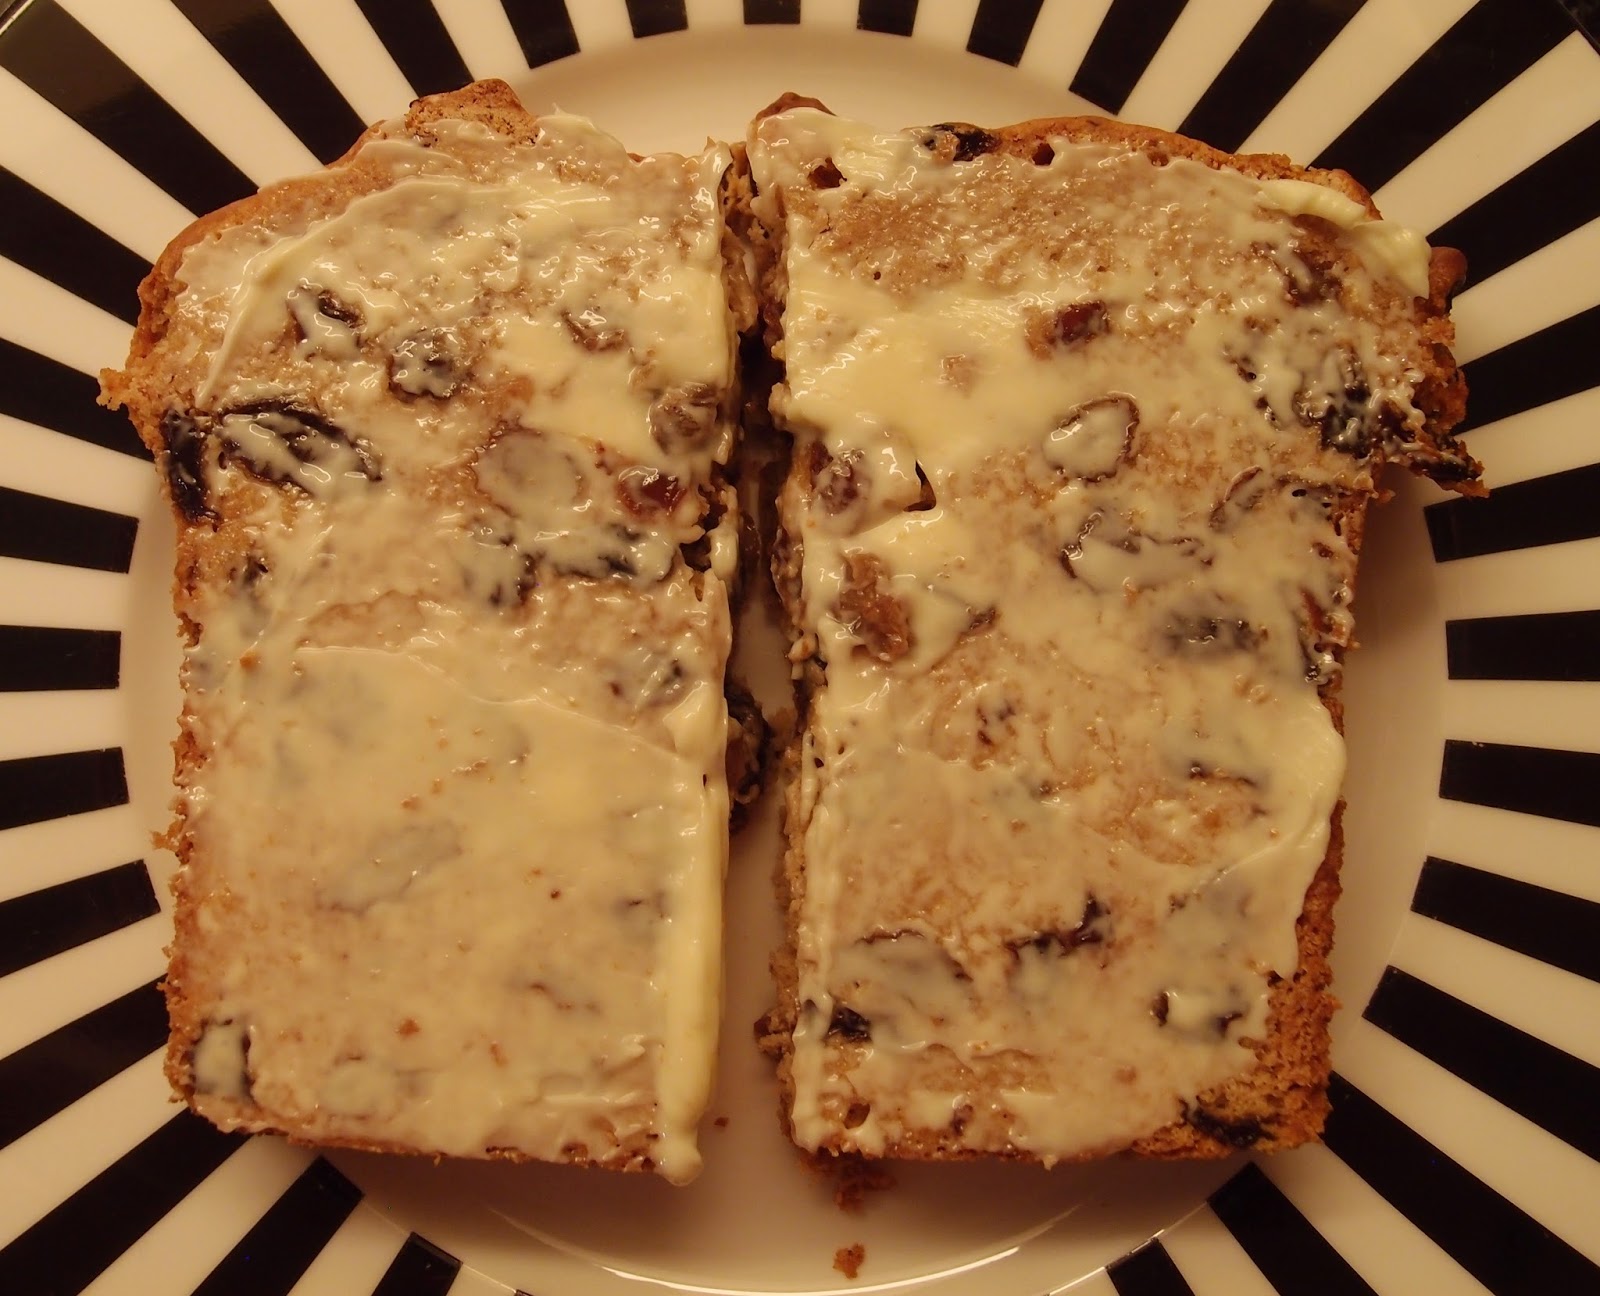
If you’ve read my blog for any length of time you will know my only rule for buttering a slice of fruit loaf: the butter has to be thick enough that you leave teeth marks in it when you take a bite.  If your dentist couldn’t identify you from the impression you have left in the slice of fruit loaf then you need to reconsider your approach to buttering. 


Ingredients

250g sultanas
250g raisins
250g caster sugar
375ml cold tea – any tea you like!
1 egg
500g self raising flour
1 teaspoon mixed spice
1 teaspoon grated nutmeg


Method

The day before baking place the sultanas, raisins, caster sugar and cold tea in a bowl and mix together. 

Cover the bow and leave to stand overnight.  Stir occasionally.

Preheat the oven to 180C/fan oven 160C/350F/gas mark 4.

Line a 900g loaf tin with baking paper.

Beat the egg and then stir into the bowl of soaked fruit.

Add the flour and spices to the fruit mix and stir well to ensure that everything is well combined and there are no clumps of flour.

Spoon into the prepared tin and level the surface.

Bake for approximately 1 hour or until a skewer inserted into the loaf comes out clean.

Leave to cool in the tin for 15 minutes before de-tinning and leaving to cool completely on a wire rack.

Serve in slices with thick butter.  As the loaf ages it is delicious to toast.

Bask in the glory of the wonderful thing you have created.


Eat.

Sunday, 10 August 2014

Pine nut and honey tart


A lot of my baking recently has been selected based on the limited time I had available and how low faff the recipe was.  Rather gloriously, this weekend I was able to accommodate a bit of faff, which was fortuitous as I had a hankering for pastry.  I’ve adapted this recipe from the BBC Good Foodwebsite and used dates and sultanas instead of glace fruit.  I still find glace fruit hard to love and had a box of dates a friend had bought me back from Oman (thanks, Jasmin!) so the stars seemed in alignment to make this happy substitution.


Normally, when a recipe gives the option of soaking fruit in either rum or orange juice I will ALWAYS pick rum.  But I fancied a change this time so surprised myself by opting for orange juice.  It did a nice job of plumping up the fruit and added a fruitiness to proceedings.


The filling is reasonably runny pre-baking so, although you mix the fruit into it do not be disheartened when you cut into the tart and see the fruit has settled at the bottom.  This is what’s meant to happen.


Fruit aside, the tart filling is virtually identical to a bakewell tart.  If you’re fed up with jam or berries in your bakewell this recipe provides a nice variation.  The pine nut and honey topping also makes a tasty change.  I don’t use pine nuts very often in my baking but they work very well and take on a lovely toasted flavour.


The flavours in this tart are gentle and harmonious.  There are many different influences in this recipe and I struggled to think how to describe it.  If you like bakewell tarts, baklava, Eccles cakes, marzipan and sticky toffee pudding you will love it!


Ingredients

For the pastry:
175g plain flour
85g unsalted butter – cold
30g caster sugar
1 egg yolk
1 tablespoon water

For the filling:
100g raisins
40g sultanas
100g dates – chopped so they are a similar size to the raisins and sultanas
3 tablespoons or either rum or orange juice
175g unsalted butter, at room temperature
175g golden caster sugar
50g plain flour
175g ground almonds
5 eggs
85g pine nuts
2 tablespoons clear honey
 To serve: thick cream


Method

Start by making the pastry: place the flour and butter in the food processor and blitz until you have fine crumbs. 

Add the sugar and blitz briefly.

While the machine is still running tip in the egg yolk and the water.

Stop the processor when clumps are starting to form.

Tip the clumps out onto a sheet of clingfilm and, using your hands, bring them together to form a ball of pastry.  Handle only enough to achieve this – you don’t want to overhandle the pastry and make it tough.

If you wish to make the pastry by hand rub the butter into the flour until you have breadcrumbs.  Stir in the sugar, egg and water and, using your hands, bring together to a ball of dough.

Roll the pastry out between two sheets of clingfilm so it is large enough to line a 23cm round loose bottomed tart tin.  Don’t expect lots of spare pastry overhanging the tin – this recipe makes just enough!

Prick the base of the pastry with a fork.

Cover with clingfilm and refrigerate for 1 hour.

While the pastry is chilling, start the filling: place the raisins, sultanas and dates in a bowl and add the orange juice or rum. 

Stir so all the fruit is covered with liquid and leave to soak, stirring occasionally if you happen to pass by.

Preheat the oven to 200°C/fan oven 180°C/400°F/gas mark 6.

Cover the chilled pastry with baking paper or non-stick foil and weigh down with baking beans.

Bake for 10 minutes, before removing the paper and beans and baking for a further 5 minutes or until the pastry is just starting to turn golden.

Remove from the oven and put to one side while you make the filling.

Reduce the oven temperature to 180°C/fan oven 160°C/350°F/gas mark 4.

Now make the tart filling: beat together the butter, sugar, flour, almonds and eggs.

Stir in the soaked fruit, including any liquid left in the bowl.

Spoon into the pastry case and level the surface.  It will look full but don't worry - it doesn't rise much on baking.

Scatter the pine nuts over the top.

Drizzle over the honey.

Bake for approximately 40-50 minutes or until a skewer inserted into the filling comes out clean.

If your tart browns too quickly (I’d check after 40 minutes) cover it loosely with foil and continue baking.

Leave to cool, in the tin, on a wire rack and de-tin for serving.

Serve at room temperature with thick cream.

Bask in the glory of the wonderful thing you have created.


Eat.

Sunday, 27 July 2014

Light ginger fruit cake


If you find traditional celebration fruit cakes too rich and heavy this may well be the cake for you.  Once baked it will store just like its heavier counterparts, and can also be decorated.


There are two options with this recipe – you can soak the fruit in 200ml of ginger wine and bake a spongy, light fruit cake; or you can take the route I did and use 400ml of ginger wine resulting in a cross between a fruit cake and bread pudding.  My cake came out dark and squidgy but was still light.


On my travels I came across Gran Stead’s ginger wine
.  I’m glad I went for the “dark and mellow” rather than the fiery one as it still had some sting to it!  It’s also non-alcoholic so the finished cake doesn’t have that burn of booze that some cakes have.


This cake keeps for ages –just like its more traditional cousins...but, you might also want to bear in mind how awesome it is warmed up and served with custard or ice cream (my nod to summer!) as a dessert.


Ingredients

350g raisins
125g sultanas
125g currants
200ml or 400ml ginger wine – depending on whether you want a spongy or a pudding-y cake, plus 4 tablespoons extra
200g unsalted butter, at room temperature
200g dark muscovado sugar
4 eggs
200g plain flour
50g ground almonds
1 teaspoon mixed spice
2-3 teaspoons ground ginger, depending how hot you want it!
1 tablespoon black treacle


Method

The night before you make the cake place the dried fruits and ginger wine in a bowl to soak.  Stir occasionally.

Preheat the oven to 160°C/fan oven 140°C/320°F/gas mark 3.

Line a 20cm round springform tin with baking paper ensuring that the paper comes up about 2cm above the height of the tin.

Beat together the butter and sugar until smooth and well combined.  The mixture will lighten a bit in colour.

Beat in the eggs one at a time, adding some of the flour if it looks like it might curdle.
Mix in the flour, almonds, spices and treacle.

Stir in the soaked fruits along with any liquid left in the bowl.

Spoon into the tin (it will come up almost to the top) and level the surface.

Bake for 30 minutes then lower the temperature to 150°/fan oven 130°C/300°F/gas mark 2 and bake for a further 1 ½ - 2 hours, but definitely check after 1 ½ hours as mine was almost done.

As soon as the cake comes out of the oven, pierce all over with a skewer and brush on the 4 tablespoons ginger wine.

Leave the cake to cool completely in its tin before removing and wrapping in baking paper and foil.  Once wrapped the cake will keep for up to 3 months.  If however, like me, you wish to eat the cake straight away, simply de-tin it and put it on a serving plate!

Bask in the glory of the wonderful thing you have created.

Eat.


Sunday, 8 June 2014

Courgette and sultana cupcakes


I love carrot cake but, other than my never to be repeated attempt at brussel sprout cake (attempt at your peril – you have been warned!), I haven’t dabbled with other vegetables in cakes.  This courgette cake appeared in the Sainsbury’s magazine as a sandwich cake, but I instantly thought of it in terms of cupcakes as I had a very limited window for baking this weekend and knew that cupcakes would cool much faster than a larger cake.


Whereas a carrot cake tends to be spiced with cinnamon, this cake uses vanilla.  Vanilla remains my absolute favourite ingredient in baking so I added some to the frosting too.  It is one of the great joys of baking to open a bottle of vanilla extract and inhale…my name is the Caked Crusader and I am a vanillaholic.


As with carrot cake, the sponge was incredibly light and moist.  It was unusual to bite into a cake and see flecks of green but this was easy to overcome given the deliciousness of the cupcakes (plus, most people would probably just think it was lime zest).  The frosting was particularly popular – much creamier than a buttercream – and felt light and whippy in your mouth; more ice cream than buttercream.  It was very difficult to stop at one cake!


Mr CC really took against the concept of courgette cakes – every time I mentioned I was making this recipe he would produce a repulsed shudder of Oscar worthy proportions.  I asked him why and his objection was that courgette, unlike carrot, was a wetter vegetable and he hated the thought of vegetable juice in a cake.  I’m sure you can predict how the story ends....guess who really liked them?


Ingredients

For the cupcake sponge:
125g unsalted butter, at room temperature
125g golden caster sugar
2 eggs
1 teaspoon vanilla extract
125g self raising flour
60g courgette, coarsely grated – this is about half a medium courgette
60g sultanas
20g walnuts, roughly chopped

For the frosting:
50g unsalted butter, at room temperature
125g icing sugar
125g mascarpone
1 teaspoon vanilla extract

NB: if you double all these quantities you can make a 20cm round sandwich cake instead – make sure you increase the baking time to about 30 minutes.

Method

Preheat the oven to 180°C/ fan oven 160°C/ 350°F/ Gas mark 4.

Line a cupcake pan with 12 paper cases.

Start by making the sponge: beat the butter until pale and whippy.

Beat in the sugar and beat until it looks fluffy – don’t skimp on this stage; the mix should look almost like whipped cream.

Beat in the eggs and vanilla, adding some of the flour if it looks like it might curdle.

Stir in the flour.

Fold in the courgette, sultanas and walnuts.

Spoon the mixture into the paper cases.

Bake for approximately 15-18 minutes or until a skewer inserted into the cakes comes out clean.

As soon as you can safely handle them, remove the cupcakes from the cupcake pan – the metal of the tray will retain heat and continue to cook them – get them out the tin and let cool on a wire rack. NB.  Don’t worry as they cool, particularly if you store them overnight, the case will come away from the sponge.  Often it can be a sign that the cake is overcooked, but it isn’t always – these are incredibly moist cakes and will peel away from the paper.

Now make the frosting: beat the butter until it is pale and whippy looking.

Add the icing sugar and beat until you have a smooth mix.

Beat in the mascarpone and vanilla.

Spoon in generous dollops on top of each cupcake – this is not a topping for fancy piping!

The cakes will keep for a couple of days but must be refrigerated because of the mascarpone in the frosting.

Bask in the glory of the wonderful thing you have created.


Eat

Sunday, 4 May 2014

Norfolk vinegar cake


There cannot be many words less appealing to see included in the title of a cake than vinegar.  Corned beef perhaps?  Mustard?  Socks?  I think the vinegar is added to turn the milk into a buttermilk i.e. the acidity curdles the milk a little.  Rest assured; the cake does not taste of vinegar…now that would be a tough sell! (Although perhaps not so much to me as I adore vinegar and will put it on virtually any savoury item given the chance – try it on cabbage for a taste sensation; you’ll never look back.)


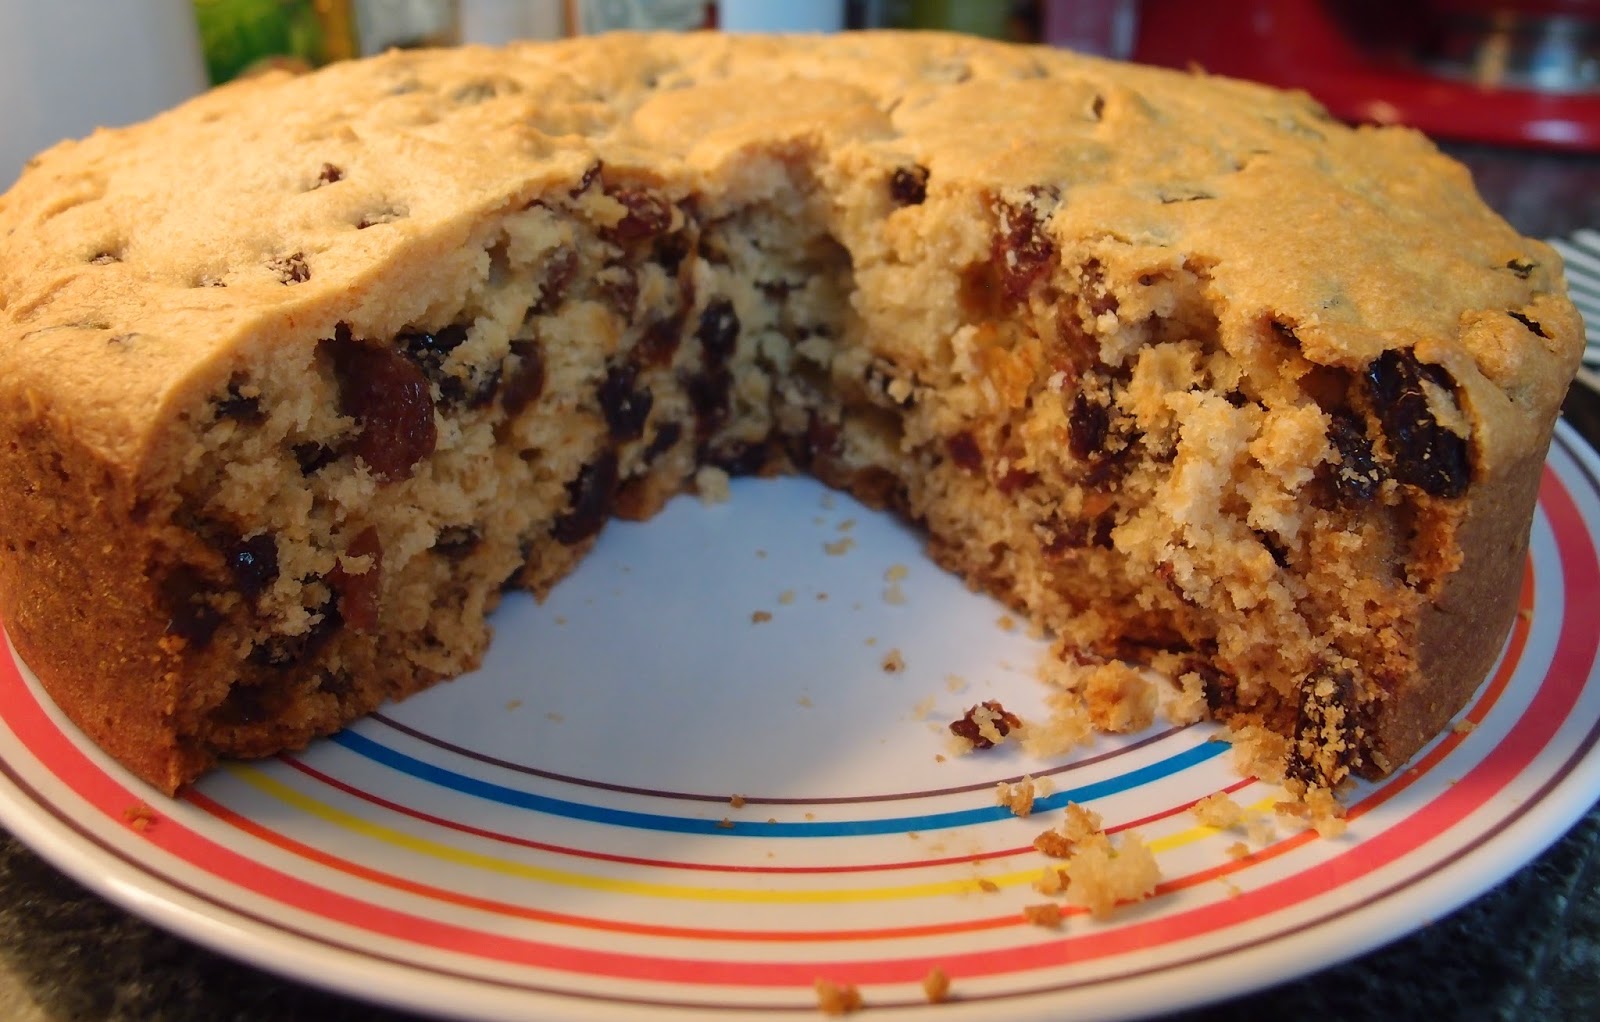
This is a light fruit cake – it’s not a full on ‘house brick in your stomach’ slab of Christmas cake.  It’s actually like a cross between light fruitcake and bread pudding.  Mr CC is always partial to a light fruit cake so I thought I would make it for him to enjoy over the Bank Holiday weekend.  He did admit he was repelled by the word ‘vinegar’ in the cake’s name but he got past it when a glorious sweet smelling fruit cake emerged from the oven.  My photos probably make it appear over-crumbly because I cut it when it was still slightly warm; normally I bake the day before I cut but couldn’t this time.


Fruit cake has its haters and I can understand that if dried fruit’s not your thing then this is probably not your dream cake, but for me it’s a perfect concoction of cake and fruit, both of which I love.  I also like its unfussy nature – no icings or buttercreams, no fancy preparation and no fancy equipment needed.  It’s the sort of recipe our ancestors would’ve enjoyed and I take comfort in that.  A fruit cake is like a big hug from the past.


It also keeps well.  The only thing better than cake is more cake.  There is nothing as pleasing as having a cake in the tin you can cut from every day until it’s gone and it keeps getting better!  Did I mention it’s a big cake? And egg free, so people with egg allergies can enjoy it too.  Hurray!


Ingredients

450g plain flour
225g unsalted butter
225g golden caster sugar
225g raisins
225g sultanas
275ml milk
2 tablespoons cider vinegar
1 teaspoon bicarbonate of soda

Method

Preheat the oven to 180°C/fan oven 160°C/ 350°F/ gas mark 4.

Line a 23cm round springform tin with baking paper.

Place the flour in a bowl and rub in the butter until you have a mix that resembles breadcrumbs.  You can do this in the food processor if you have dexterity issues.

Stir in the sugar, raisins and sultanas.

Measure out the milk then remove one tablespoon of it into a small bowl.

Add the cider vinegar to the larger amount of milk.

Stir the bicarbonate of soda into the tablespoon of milk and ensure it is fully dissolved.

Add to the milk and vinegar mix.  Nothing much will happen initially but then a gentle frothing will occur and the liquid will puff up  - so make sure you’re using a jug that can accommodate some growth!

Add the milk mix to the dry ingredients and stir only enough to combine; don’t over mix.  At first you will think there isn’t enough liquid, but there is and you will end up with a lovely soft cake mix.

Spoon into the prepared tin and level the surface.

Bake for 30 minutes before reducing the oven temperature to 150°C/fan oven 130°C/ 300°F/ gas mark 2.

Bake for a further hour or until a skewer inserted into the cake comes out clean.  Check the cake after 40 minutes anyway, and if it’s browning too quickly cover loosely with foil for the rest of the cooking time.

Leave to cool in the tin on a wire rack for 30 minutes, or until it is cool enough to safely handle.

De-tin and leave to cool completely.

Bask in the glory of the wonderful thing you have made.


Eat.