Showing posts with label cherry. Show all posts

Sunday, 20 March 2016

Cherry, fudge oat traybake


Cherry, fudge oat traybake aka ‘help – my planned cake/blog post has turned out dismally and is now sitting in the compostables bin where even the foxes will snub it’.  Yes, this cake is the phoenix rising out of the ashes of a doomed ancestor.  I had planned on a peanut butter based cake but something was amiss and it came out both Frisbee-like and savoury, neither of which were ideal outcomes. 


This recipe is my own invention and it developed along the way.  The cherry and fudge components came from being fed up with seeing the ingredients on my baking shelf, and the oats then got involved because I love oats and thought the cake might benefit from some texture.


I mused whether to make it as a 20cm round cake – and it would’ve worked – but I decided on a traybake as that would give shallower slices and stop the oats becoming claggy.  I have mixed advice: wait until it gets completely cool before cutting as it’s very soft and tears otherwise…..on the other hand; if you eat it warm, before the fudge has set, you get divine little sticky pockets of fudgy goo that make a raggedy slice worth it!


As is often the way, things made on the fly are usually the tastiest!  This is no exception – the flavours and textures work so well together and it’s a perfect tasty accompaniment to a cup of tea.  Which I definitely needed after my earlier frustrations…I take it very personally when a recipe fails…i.e. rude words are spoken.


Ingredients

225g unsalted butter, at room temperature
225g light brown soft sugar
3 eggs
225g self raising flour
100g rolled oats
150g fudge chunks
260g tin of black cherries, chopped into pieces – this was the drained weight, the tin was 425g)
3 tablespoons milk


Method

Preheat the oven to 180C/fan oven 160C/350F/gas mark 4.

Grease a 20cm x 30cm traybake tin.

Beat together the butter and sugar until well combined – it won’t go light and whippy.

Beat in the eggs, one at a time.

Fold in the flour and oats.

Fold in the fudge and cherries.

Stir in the milk.

Spoon into the traybake tin and level the surface.

Bake for approximately 30-40 minutes or until a skewer inserted into the cake comes out clean.

Leave to cool in the tin before cutting into squares.

Bask in the glory of the wonderful thing you have created.


Eat.

Sunday, 16 February 2014

Cherry, chocolate and coconut traybake


Five ingredients and about five minutes work to get into the oven – now that’s efficient!  Seriously, look how short the method is to make these.  These bars are a cross between coconut ice and an old fashioned coconut macaroon, with chewy bits of cherry and little chunks of chocolate thrown in for good measure. 


This is what a term a ‘me’ bake.  It uses some of my favourite ingredients but, at the same time, I knew it wouldn’t appeal to other members of my family as much as it did me.   (Don’t worry – I made them some rock buns on the side to ensure everyone was happy!)


I recommend cutting the fingers while the mix is soft and warm from the oven; you’ll have to cut again once cool but the grooves will guide your knife and stop the traybake crumbling too much.


These are crispy, crunchy and chewy at the same time but what I loved most of all were the little jammy sticky bursts of cherry – simply delicious!  Now I am an annoying baker; the sort that says to their eaters, ‘there are only five ingredients in these, who can guess what they are?’  Mr CC guessed flour (nope, does this make them gluten free?), butter (no) and then almonds.  And I know why he guessed almonds – the squidgy dense texture is reminiscent of the frangipane layer of a bakewell, and the cherries taste very jammy.  Therefore, if you like coconut and you like bakewells you will love these!


Ingredients

200g desiccated coconut
50-85g caster sugar, depending how sweet your tooth is -I used 85g obviously!
2 eggs
200g white chocolate, roughly chopped
90g glace cherries, chopped into quarters


Method

Preheat the oven to 180°C/fan oven 160°C/350°F/gas mark 4.

Line a 24cm x 20cm roasting tin with baking paper or non stick foil.

Mix together all the ingredients until well combined.

Spoon into the prepared tin and level the surface.  Take time to ensure the mix is pressed down and there are no air pockets.

Bake for approximately 20 minutes or until the top is golden brown and it feels firm to the touch.

Use a knife to score the warm mix into bars and then leave to cool completely.

Use the score lines to cut into fingers when cool.

Bask in the glory of the wonderful thing you have created.


Eat.

Sunday, 6 October 2013

Black forest gateau


 I have a theory (actually I have a few, but we’ll save those for other times) that thin chocolate always tastes better than thick chocolate.  I’m sure this is why we all pay large amounts of money for small amounts of chocolate come Easter time – thin chocolate tastes too good to resist!  It is why I have always been a fan of buttons – they are like portable versions of Easter eggs.  When one of my favourite chocolate companies, Lily O’Brien started making buttons, I obviously got excited!


My discovery of Lily O’Brien buttons coincided most fortuitously with Mr CC noting that I never made gateaux.  He is a big fan of gateaux and can put creamy cakes away in a far greater capacity than a non-creamy cake.  I think it might have been The Hairy Bikers we saw making a black forest gateau and we both got nostalgic for the time when, being children of the 1970s, a Sara Lee defrosted black forest gateau was a Sunday highlight.


I decided to use the dark chocolate buttons melted and added to the cake batter, and milk chocolate buttons for decoration.  Normally I find dark chocolate too bitter to eat on its own but these buttons had the dark richness without a bitter edge.  Solves the problem of what to do with the kilo bags.....! (Don’t you just love it when the only option is to buy a kilo bag!)


For an impressive dessert this is actually pretty simple – the only baking requirement is the sponge and that is a very straightforward recipe.  I piped the cream for decoration around the edge,  in an attempt to look neat, but if you are handy with a palette knife it would look just as good.


I know the black forest gateau is derided as naff but I cannot fathom why when it tastes sooooo good.  The chocolate sponge moistened with kirsch, the cherries, cream and more chocolate...if that’s naff then bring me my metallic shell suit cos I don’t want to be cool!


Ingredients:

For the sponge:
175g unsalted butter, softened
175g golden caster sugar
3 eggs
100ml milk (whole or semi skimmed)
200g self raising flour
1 teaspoon baking powder
200g dark chocolate (I used Lily O’Briens buttons)
1 teaspoon vanilla extract

To assemble:
900ml double cream
1 jar of cherries in kirsch – mine were Opies, and I found them in Waitrose
Chocolate buttons or curls (I used Lily O’Briens milk chocolate buttons
)


Method:

Preheat the oven to 180°C/fan oven 160°C/350°F/Gas mark 4.

Line a 20cm round springform tin with baking paper.

Cream the butter and sugar together until they are pale and fluffy. Don’t skimp on this stage – give the mixture a good beating.

Add the eggs, flour, baking powder and milk to the bowl and beat until thoroughly combined. The mix will look deliciously creamy.

Melt the dark chocolate either in the microwave (it will require approximately a 1 minute 30 seconds, in 30 second bursts) or in a bowl above a pan of simmering water on the hob.

Stir the melted chocolate into the batter.


Pour into the prepared tin and bake for approximately 40-50 minutes or until a skewer comes out clean. Mine took roughly 50 minutes.
Allow to cool in the tin for 20 minutes before removing and leaving to cool totally on a wire rack. Once cool, the cake can be stored in an airtight container for a day or so before assembling the cake.

When you wish to assemble the gateau cut the sponge into three even layers.  It’s important the layers are flat, so you might need to sacrifice any dome on the top of the sponge. (NB. ‘sacrifice’ means cut off and eat!)

Whip the cream until it is almost at stiff peak stage, but not quite.
Take a disc of cake and place on a plate.   Brush over some of the kirsch from the cherry jar – how much depends on you and how boozy you want it to taste.

Pipe a scant ¼ of the cream over the disc and dot with some cherries.

Place the second disc of sponge on top and repeat the kirsch, cream and cherries.

Place the final disc of sponge on the top.

Pipe the remaining cream over the top and sides of the gateau.

Decorate with chocolate around the sides and some more cherries on the top.

Refrigerate so the cream firms up and you will be able to cut nice slices.  Take out of the fridge about 10 minutes before serving.

Bask in glory at the wonderful thing you have made.

Eat.

Sunday, 29 September 2013

Turkish Tahini cake


Jacqui Small Publishing really is becoming one to watch for any (slightly obsessed) book buying baker (i.e. me!).  I’d had Roger Pizey’s “Worlds Best Cakes” on my radar for a little while, waiting for it to be released and – joy of joys – I was offered a copy to review!  Please also see the offer for all readers at the end of this post.


Like many bakers I read my books when they arrive and tab the pages that interest me.  As you can see there were quite a lot of tabs in this lovely book leaving Mr CC to suggest that it might be easier if I tabbed the pages of things I didn’t want to make!


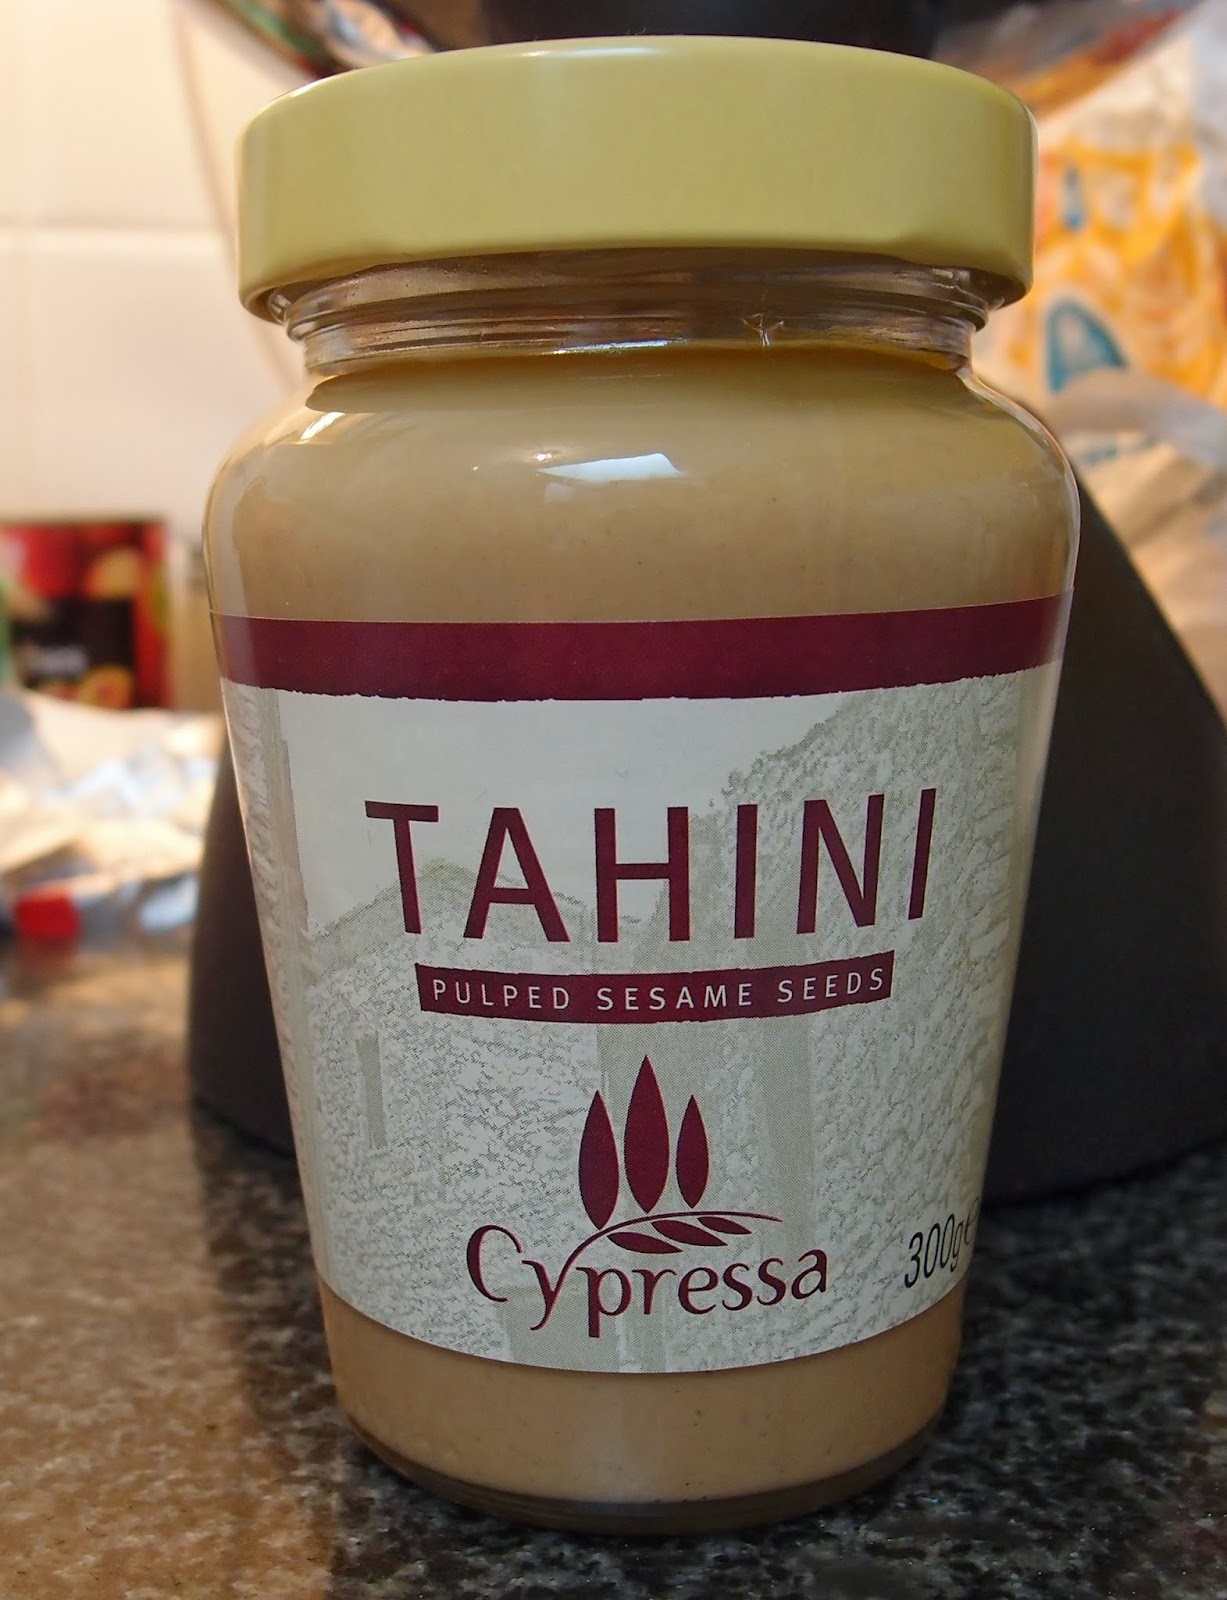
I will be making so many recipes from this encyclopaedic book and what I particularly loved was the variety: easy to difficult, simple flavours to complex, everyday to exotic.  It truly covers the globe and my eyes (OK, my stomach!) were drawn to this Turkish tahini cake for several reasons – I love tahini but have never considered it a baking ingredient; also, the recipe doesn’t contain any butter or eggs, which instantly sets it apart from virtually all my other bakes.  I have never seen a cake like this and the novelty of it excited me.  Make sure you buy a tahini that is pure sesame seed; some were called ‘tahini sauce’ and had lots of other ingredients.


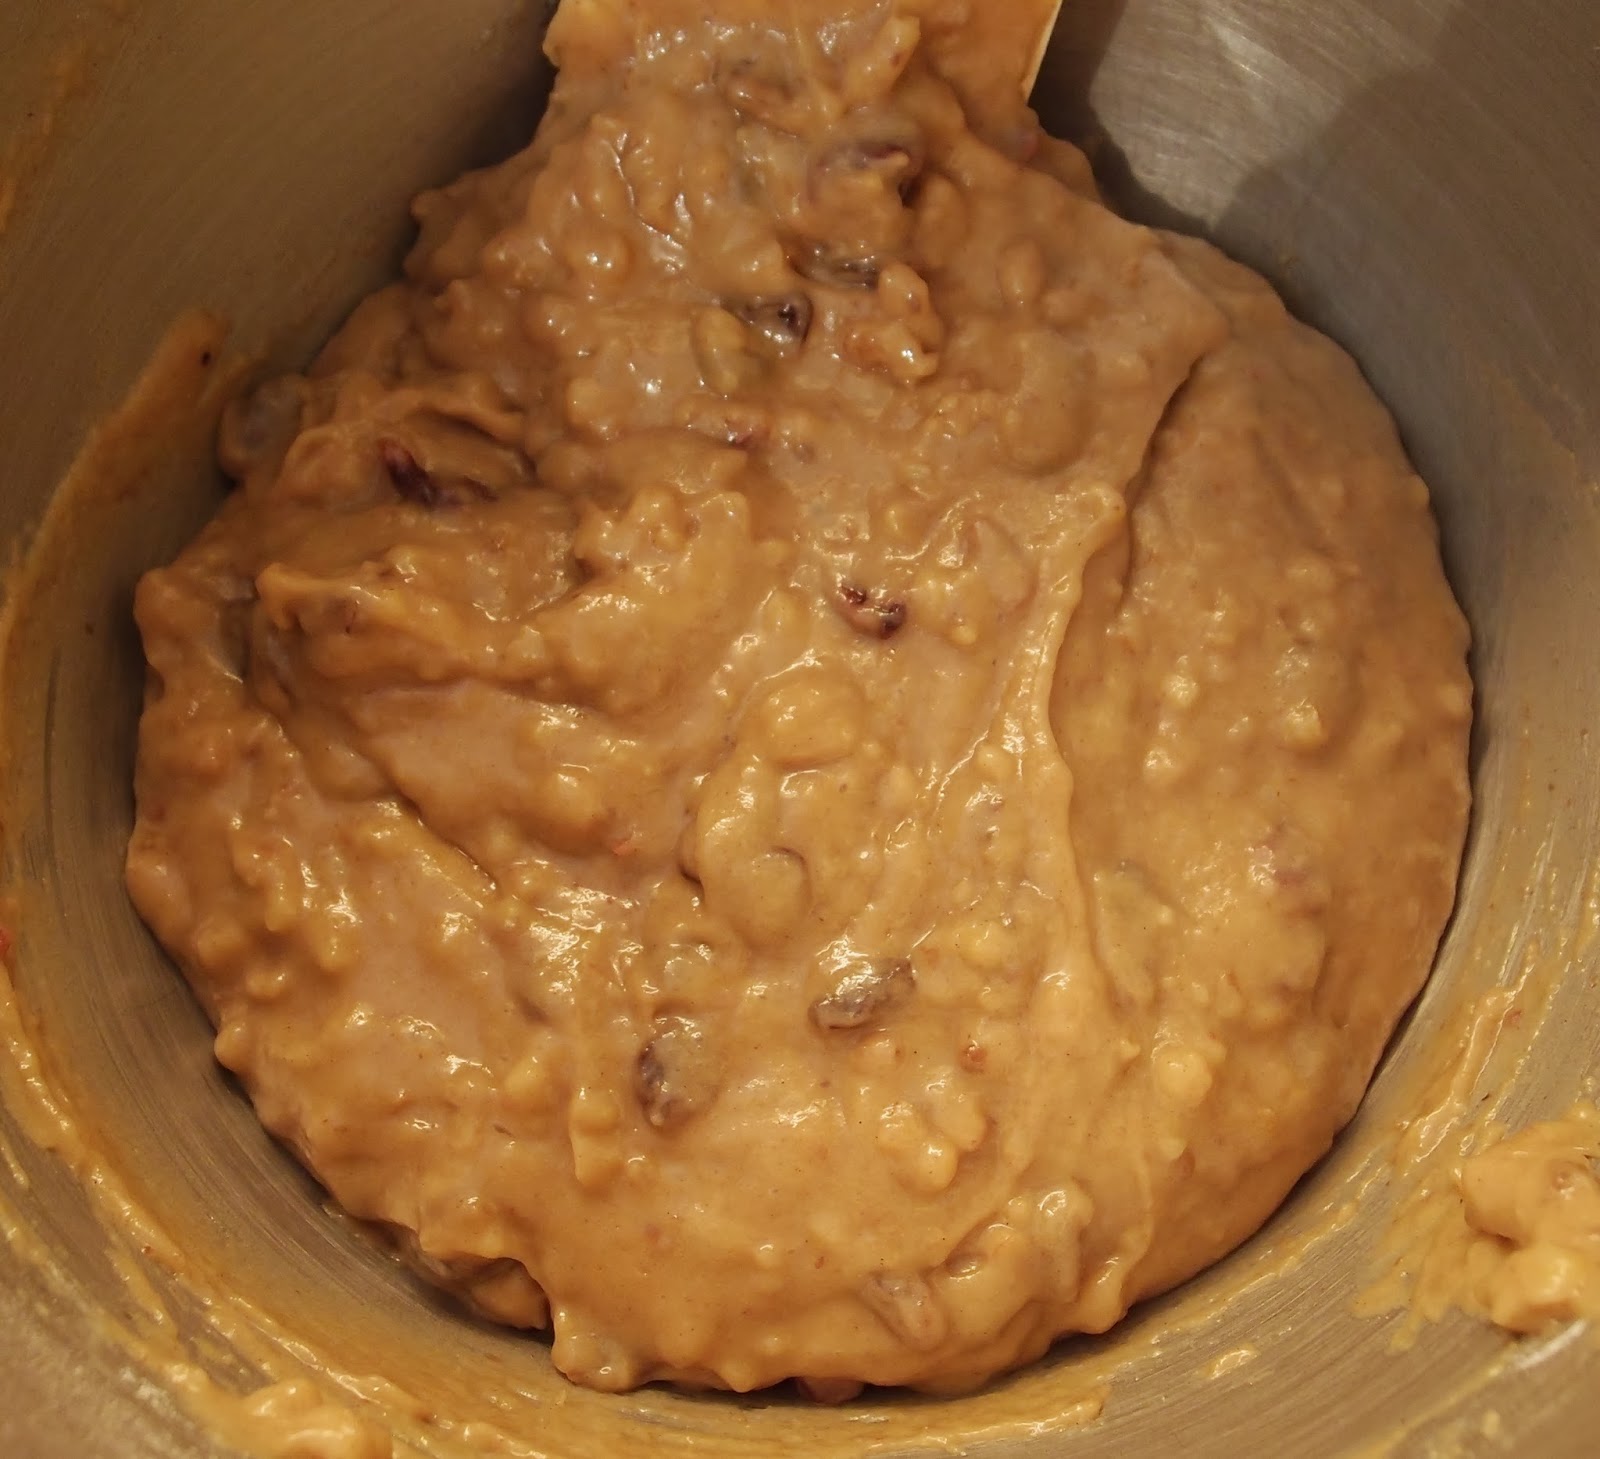
When you think about it, tahini is a perfectly sensible cake ingredient – it’s pretty similar to peanut butter really and we’re all used to seeing that.  It added a gentler, more subtle flavour than peanut butter; I sometimes find peanut butter can overpower everything else, but the tahini sat alongside all the other flavours.  The batter had that lovely almost Christmas cake richness to it:


This was a moist cake with a squidgy fruitiness – I loved it.  It is a heavier cake (intentionally so) so don’t make it expecting a light, airy sponge.  It was a perfect cake for an Autumnal afternoon.


To order World's Best Cakes at the discounted price of £24.00 including p&p* (RRP: £30.00), telephone 01903 828503 or email mailorders@lbsltd.co.uk and quote the offer code APG20.
Alternatively, send a cheque made payable to: 
Littlehampton Book Services Mail Order Department,
Littlehampton Book Services,
PO Box 4264,
Worthing,
West Sussex BN13 3RB. 

Please quote the offer code APG20 and include your name and address details. 
*UK ONLY - Please add £2.50 if ordering from overseas.


Ingredients

250g tahini (Make sure you buy one that is 100% sesame - I poured the oil off the top before using)
200g caster sugar
1 teaspoon bicarbonate of soda
2 tablespoons cognac – I used rum because I prefer it!
200g plain flour, plus extra if needed
2 teaspoons ground cinnamon
150g walnuts, chopped
75g glace fruit such as cherries or peel, chopped – I hate glace fruit so used dried morello cherries
75g sultanas
240ml orange juice
3-4 handfuls sesame seeds

Method

Preheat the oven to 170°C/fan oven 150°C/325°F/gas mark 3.  I upped the oven temperature as my cake was not taking on any colour – I would recommend baking at 190°C/fan oven 170°C/375°F/gas mark 5 – but you know your oven.  If things cook quickly stick with the original temperature.

Line a 20cm round springform tin with baking paper.

Beat the tahini until it is smooth and light.

Keep beating and add the sugar gradually.  Beat it as you would normally beat butter and sugar – it behaves similarly.

Mix together the cognac (or rum) and bicarb and beat in.

Weigh out the flour, cinnamon, walnuts and fruit.  Tip half into the tahini mix and beat in.

Beat in half the orange juice.

Beat in the remaining flour and fruits, followed by the orange juice.

The batter should be thicker than a normal cake batter – quite thick and heavy.  If it isn’t add some more flour.  Mine was at dropping consistency so I added three further tablespoons of flour and this made the mix noticeably heavier.

Spoon into the prepared tin and level the surface.

Sprinkle over the sesame seeds.

Bake for approximately 50 minutes or until the cake is dark and a skewer inserted into it comes out clean.

Leave to cool for 20 minutes before removing from the tin and leaving to cool completely on a wire rack.

The cake keeps beautifully and – if anything – the flavours improve over time.

Bask in the glory of the wonderful thing you have created.


Eat.

Sunday, 30 June 2013

Cherry almond sponge cake


I do love a good sponge; it has always been a weakness of mine.  This week I decided to keep it really simple – a lovely sponge with thick white icing.  Given it’s turned out to be the hottest weekend of the year so far, it was a good choice – definitely not the time to be making delicate buttercreams!


I toyed with calling this a bakewell sponge, but it is more bakewell influenced in that it borrows the idea of almond, cherry and icing.  There is something about adding almond to a sponge that elevates it to a higher level of delight – particularly the day after baking when all the nutty richness has been released.


I have finally realised – embarrassingly late, perhaps – how much better hot water is than cold when making a white icing/glaze.  Not sure why, but my thought would be that the hot water (I used boiled, straight from the kettle) melts the sugar on impact giving a smoother finish, and then sets quicker.  Am I imagining it, or do you agree?


This recipe is similar (but not identical) to a previous bakewell sandwich cake that I made.  In that recipe I made the cake in two sandwich tins and used jam and icing.


Ingredients

For the cake:
265g unsalted butter, at room temperature
265g caster sugar
4 eggs
265 self raising flour
½ teaspoon baking powder
35g ground almonds
1 teaspoon almond extract
5 tablespoons soured cream

For the icing:
200g icing sugar
2-3 tablespoons hot water, or enough to make a thick, but pourable, icing

To decorate: glace cherries


Method

Preheat the oven to 180°C/fan oven 160°C/350°F/gas mark 4.

Line a 20cm square pan with baking paper.  If you prefer, you could use a 30cm x 20cm traybake tin but you will get a ‘flatter’ sponge.

Beat together the butter and sugar until pale, light and whippy.  It should look almost like whipped cream.

Beat in the eggs one at a time.  If the mixture looks like it might curdle beat in some of the flour.

Stir in the flour, baking powder, ground almonds, soured cream and almond extract.

Spoon into the prepared tin and level the surface.

Bake for approximately 45 minutes or until a skewer inserted into the cake comes out cleanly.  Start checking the cake for ‘done-ness’ after 40 minutes.  NB, if you are using the shallower traybake tin only bake for approximately 30 minutes before checking.

Leave to cool for 10 minutes in the tin; the cake will settle a little.

Remove from the tin and leave to cool completely on a wire rack.

Now make the icing: beat together the icing sugar and water until you have a thick but pourable glaze.  Always add the water gradually – it’s easy to add more, but harder to correct a too runny consistency.

Pour the glaze over the cake and leave to set.

Before fully set decorate the top of the cake with glace cherries.  I chose to leave them whole so they stood proud from the icing.

Bask in the glory of the wonderful thing you have created.


Eat.

Sunday, 19 August 2012

White chocolate ricotta cheesecake


Anyone in the South East of England will know that we are in the midst of a mini heatwave and, with temperatures exceeding 32° this weekend, it is not a time to be standing in the kitchen with the oven firing on all cylinders.  Hence, my gelatine set cheesecake!


This cheesecake has a lot of good things in it...in large quantities.  It is as rich and delicious as the ingredients suggest and probably best to make when you have company as even I could only manage a thin slice.  OK, when I say ‘thin slice’ it’s probably what most people would call a large slice...but it’s all relative. 


I must confess I prefer the chilled or gelatine set cheesecakes to their baked cousins.  I know in many parts of the world a statement like that amounts to heresy but I can’t help it; I just find them lighter and texturally more pleasing. 


A time saving tip I have discovered with making biscuit bases is that if you make them using the food processor, there is no need to melt the butter.  If anything, it’s better not to as you don’t get that greasy/oily seepage as the base sets.  I always put this in the method but, am so pleased at cutting out a stage of the process, that I thought I’d mention it here too!


The cheesecake can be decorated however you wish – chocolate curls or sprinkles, a fruit garnish, or maybe left plain and served with a fruit coulis.  I had some gorgeous English cherries in the fridge, so dipped them in white chocolate – voila, a beautiful and healthy decoration (what do you mean the chocolate cancels out the fruit???  Who makes these rules?)


Ingredients

For the base:
200g digestive biscuits
50g unsalted butter

For the topping:
5 leaves gelatine
200g white chocolate – I used Green & Blacks with a hint of vanilla
6 tablespoons milk
500g ricotta
300ml double cream
50g icing sugar
2 eggs, separated

To decorate – anything you choose!  White chocolate curls, fruit, fruit dipped in chocolate...or nothing at all!  If you make chocolate dipped cherries like me, you’ll need 100g additional white chocolate.

Method

Preheat the oven to 200°C/fan oven 180°C/390°F/gas mark 6.

Line the sides of a 20cm round springform tin with baking paper.  I used a different shape tin – a rounded rectangle measuring 30cm x 11cm but a standard round tin will work just as well and hold the same amount.

Blitz the biscuits in a food processor until you have crumbs.

Add the butter and blitz again until you have the consistency of wet sand.  If making the base this way, there is no need to melt the butter.

If you make the base by bashing the biscuits into crumbs with a rolling pin, you will need to melt the butter to incorporate it.

Press the crumbs into the prepared tin and bake for 5 minutes.

Put to one side to cool.

Place the gelatine leaves in a bowl of cold water – the volume of water is irrelevant as it’s not used in the recipe; just make sure that you can submerge the leaves.

Place the chocolate and milk into a dish and cover.  Microwave in 20 second bursts and stir after each go, until you have melted chocolate.  You can place a bowl over a simmering pan of water if you prefer, but I find the microwave perfect for tasks like this (and less washing up!)

Squeeze all the water out of the now soft gelatine and whisk into the hot, melted chocolate.

Put to one side.

Beat together the ricotta, double cream, icing sugar and egg yolks until smooth and creamy.

Pour in the melted chocolate and stir in until fully incorporated.

In a separate bowl whisk the egg whites to stiff peaks.

Fold the egg whites into the chocolate mix.

Pour (it will be runny) over the cooled biscuit base.

Cover the tin with clingfilm and refrigerate until set – ideally overnight.

Serve in slices with more chocolate, fruit, coulis etc – the choice is yours!

Bask in the glory of the wonderful thing you have created.

Eat.

Sunday, 13 May 2012

Blueberry, cherry, cranberry and pecan oaties


Fruity oat biscuits and just in time for the first hint of summer!
  Somehow using blueberries, cherries and cranberries rather than the more usual dried fruit fare makes these tasty, fresh and new – a refreshing change for your palette.


These are classic fruity oat biscuits but with an almost hidden secret: pecans.  In all honesty, I’m not sure you’d know the biscuits contained pecans (I chopped mine quite small) but you’d know there was something extra as there is a rich roundness to the flavour that is an unusual, but most welcome, addition to an oat biscuit.


The texture is like a crisp flapjack.  I must warn you that the dough is sticky in its raw state.  Don’t fret when you’re shaping the dough into a fat sausage for chilling – it really firms up in the fridge and is easy to work with.  A good sharp long bladed knife makes the cutting easier – I experimented with a serrated knife and it rather butchered the dough!


A very popular bake this one – the CCB (Caked Crusader’s Brother) commented that they had everything he loved about a biscuit.  When asked what this was, his first (and only) response was that they were, “big”.


Save yourself time and double the quantities for a 24 biscuit batch; they keep well for days and are very pleasing to have in the biscuit tin for emergencies.....such as needing a biscuit urgently.


Ingredients
175g plain flour
½ teaspoon baking powder
85g porridge oats
175g golden caster sugar
1 teaspoon ground cinnamon
140g unsalted butter – straight from the fridge
90g dried fruit – I used blueberries, cherries and cranberries but raisins or sultanas would also work
50g pecans – chopped
1 egg

Method
Place the flour, baking powder, porridge oats, golden caster sugar and cinnamon in a large bowl and mix together.
Add the butter and rub the mixture through your fingertips until the butter is completely incorporated.
Stir in the dried fruit, nuts and the egg.  At this point the mixture will be wet and clumpy but not quite coming together.
Use your hand to bring the dough together then tip out onto a large sheet of clingfilm.
Roll the dough into a fat sausage and flatten the ends.  You’re aiming for a diameter of about 6cm.
Wrap in clingfilm and place in the fridge for about an hour or until the dough has firmed up.
Preheat the oven to 180°C/fan oven 160°C/350°F/Gas mark 4.
Line two baking sheets with baking paper.
Remove the biscuit log from the fridge and unwrap the clingfilm.
Cut the log into 12 fat discs and place on the baking sheets.  Don’t worry if the biscuit log crumbles a bit while you cut it – it will squidge back together.
Bake for approximately 15 minutes or until golden.  Mine took a bit longer – approx 20 minutes.
Leave, on the tray, to cool and firm up.
Store in an airtight container.
Bask in the glory of the wonderful thing you have created.
Eat.