Showing posts with label fruit caramel. Show all posts

Sunday, 20 April 2014

Raspberry bakewell tart


 Two weeks ago I made the best jammy dodger biscuits I have ever tasted (modest, I know) using raspberry caramel.  What to do with the leftover caramel has occupied my brain probably more than it should so I was pleased when I decided on incorporating it into a raspberry bakewell tart.


I used the caramel in place of the jam layer that sits between pastry and frangipane and it behaved well –not making the pastry soggy and adding such sweet jamminess to the tart that I wonder if I could ever go back to jam. (Note to self: yes you will go back to jam because that only requires unscrewing a jar, whereas the raspberry caramel gave you anxious, tense moments peering into a pan of boiling sugar.
  Stop being pretentious.)

I added raspberries to the frangipane to add a hit of freshness and acidity and I think it ended up looking rather splendid (again, note my modesty!)  Perhaps it isn’t the most Easter-looking bake but I really fancied something bakewell themed.

You could serve this at room temperature with cream or warm for dessert with ice cream.  Every time I say about serving dessert warm with ice cream you should picture Mr CC in the background shouting, ‘or custard.  Custard would work.’  He likes custard.  A lot.


Ingredients
For the almond shortcrust pastry:
170g plain flour
60g ground almonds
110g unsalted butter, cold
50g icing sugar
2 egg yolks
2 tablespoons cold water
For the frangipane:
150g unsalted butter, at room temperature
150g caster sugar, plus an extra teaspoon for sprinkling
100g ground almonds
2 eggs
½ teaspoon almond extract
1 teaspoon baking powder
50g plain flour
Handful of flaked almonds for scattering on top
For the raspberry:
6-8 tablespoons raspberry jam or raspberry caramel
200g fresh raspberries
To serve: thick cream; I chose clotted.  If you serve the tart warm then custard or ice cream

Method
Make the pastry: Place the flour and ground almonds in a food processor and briefly pulse until they are combined.
Add the butter, diced into small cubes, and blitz until the mixture resembles bread crumbs. If you don’t have a food processor you can use the rubbing in method.
Add the sugar and blitz briefly.
Add the 2 egg yolks and water and pulse the processor until the dough just starts to come together.
Tip the dough out onto a sheet of clingfilm and bring together into a soft ball.
Flatten the ball into a disc shape (this will make rolling out easier) and wrap in the clingfilm.
Refrigerate for at least 30 minutes.
Preheat the oven to 180°C/fan oven 160°C/350°F/gas mark 4.
Roll the chilled pastry out between two sheets of clingfilm and use to line a 23cm loose bottomed round flan tin. No need to grease the tin as the pastry is buttery enough not to stick. It is very important that your pastry has no holes in it so patch carefully if need be! Don’t trim the pastry yet – leave the excess hanging over the side.
Line the pastry with a sheet of baking paper and weigh down with some baking beans.
Bake the pastry case for 15 minutes, then remove the beans and paper and return to the oven for a further 10 minutes.
Leave the pastry case to cool and, when cool, trim off the excess pastry.  I use a serrated bread knife as I find it doesn’t tear at the pastry and I have more control. (NB. For this tart I left the pastry untrimmed as it gave a nice rustic finish).
Now make the frangipane filling: Place all the ingredients in a large mixing bowl and beat until whippy and combined.
Spoon the raspberry jam or caramel into the bottom of the pastry case - there should be just enough to cover the base; any more than this and the tart will be too sloppy.
Spoon the frangipane onto the raspberry jam/caramel and spread ensuring that it forms a seal with the pastry so no puree will bubble up during cooking.
Arrange the raspberries on top of the frangipane.
Scatter over a handful of flaked almonds, then finally sprinkle over a teaspoon of sugar.
Bake for approximately 45 minutes or until a skewer inserted into the frangipane comes out clean.
Leave to cool, in the tin, on a wire rack – only remove from the tin just before serving.
Serve either warm with ice cream or custard, or at room temperature with cream.
Bask in the glory of the wonderful thing you have made.

Eat.

Sunday, 6 April 2014

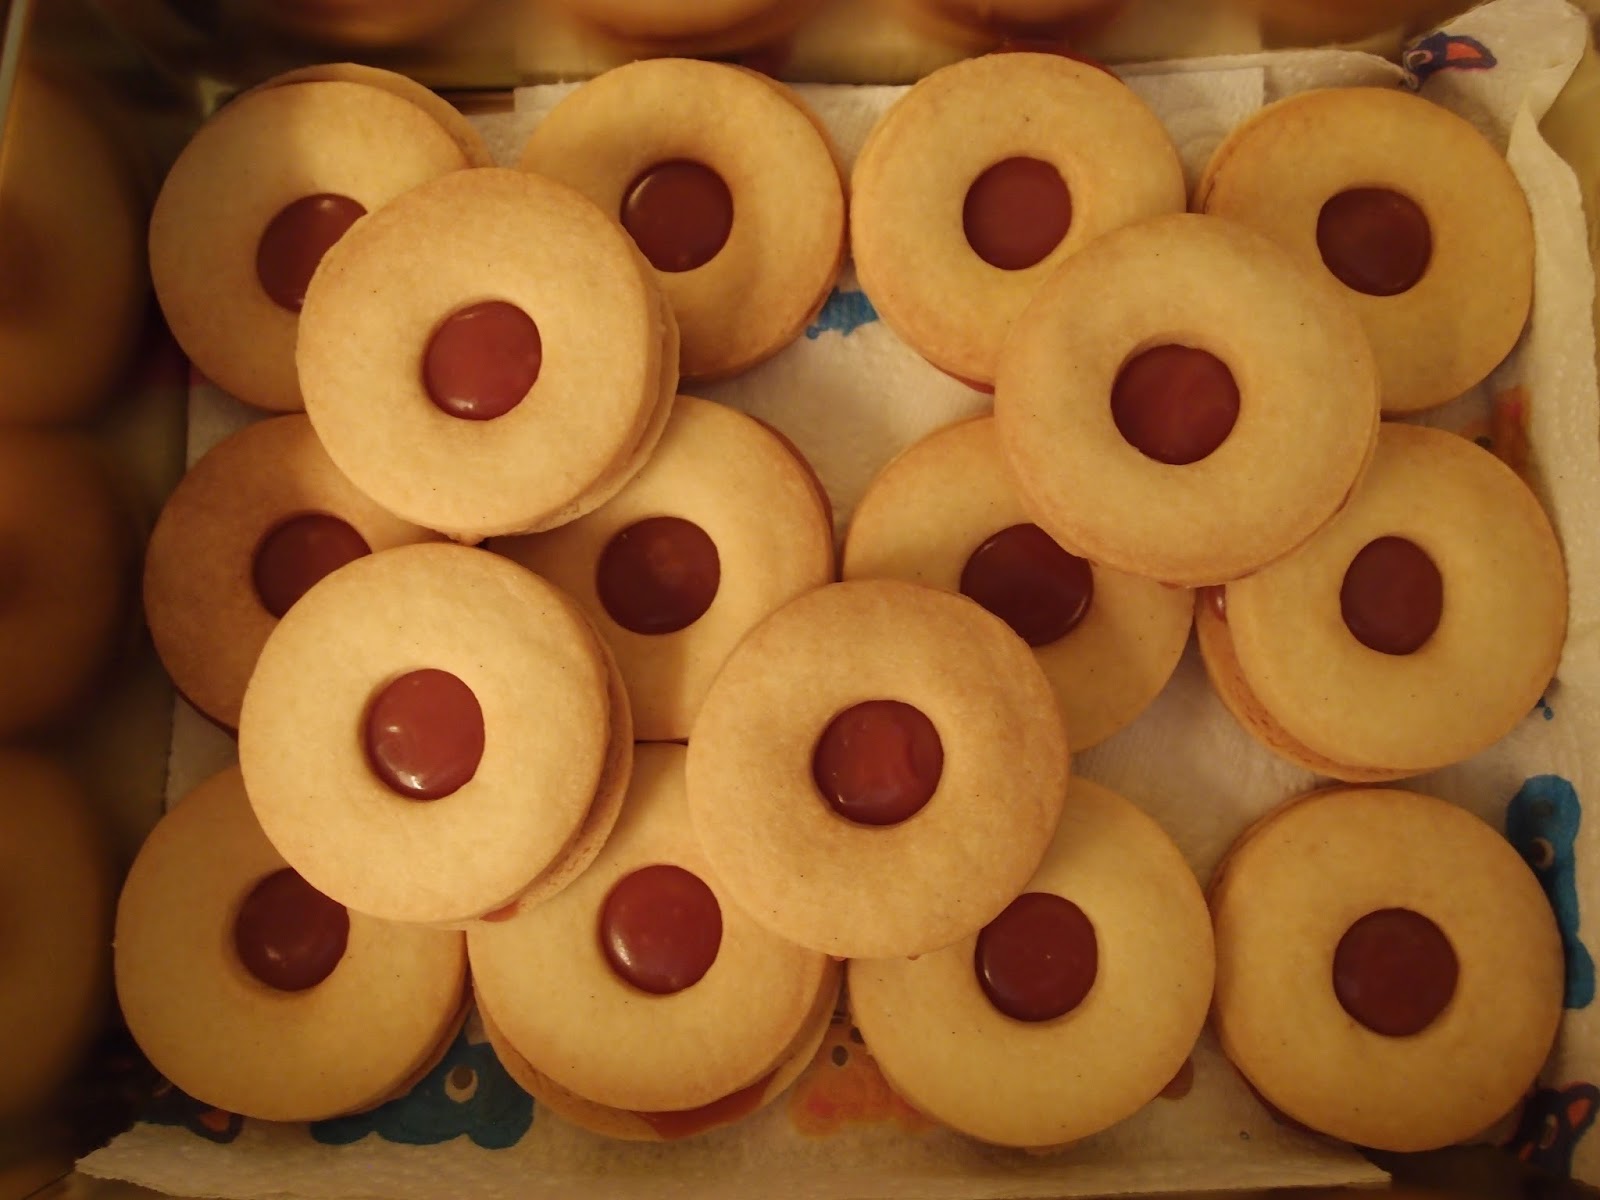
Jammy dodgers


Every once in a while, because I am a good wife, I ask Mr CC if there’s anything he would like me to make.  Every time (without fail) he will pick something that, when I look at the recipe, I think ‘hmmm, not sure I can really be bothered with that’.  These biscuits are a good example.  They are also a good example of why you should let yourself be pushed out of your comfort zone because they are divine, and I would NEVER have chosen to make them!


I’ve made biscuits sandwiched with jam before but they don’t have that chewy quality that a good jammy dodger has.
  Now I know why.  It’s because you should use raspberry caramel rather than jam.  I say this like it’s my idea – it isn’t.  I learned this whilst searching for recipes and coming across The Pink Whisk a blog written by a former Great British Bake Off finalist.  The most I can take credit for here is being able to read.


I tend to avoid anything that involves making caramel; boiling sugar is not my friend.  We fell out a while back when I decided to test if the top of a crème brulee was crispy but tapping it with my finger.  Once I had separated finger tip from boiling sugar I realised I had a new kitchen foe to join yeast (well documented on this site) and squash (long story).


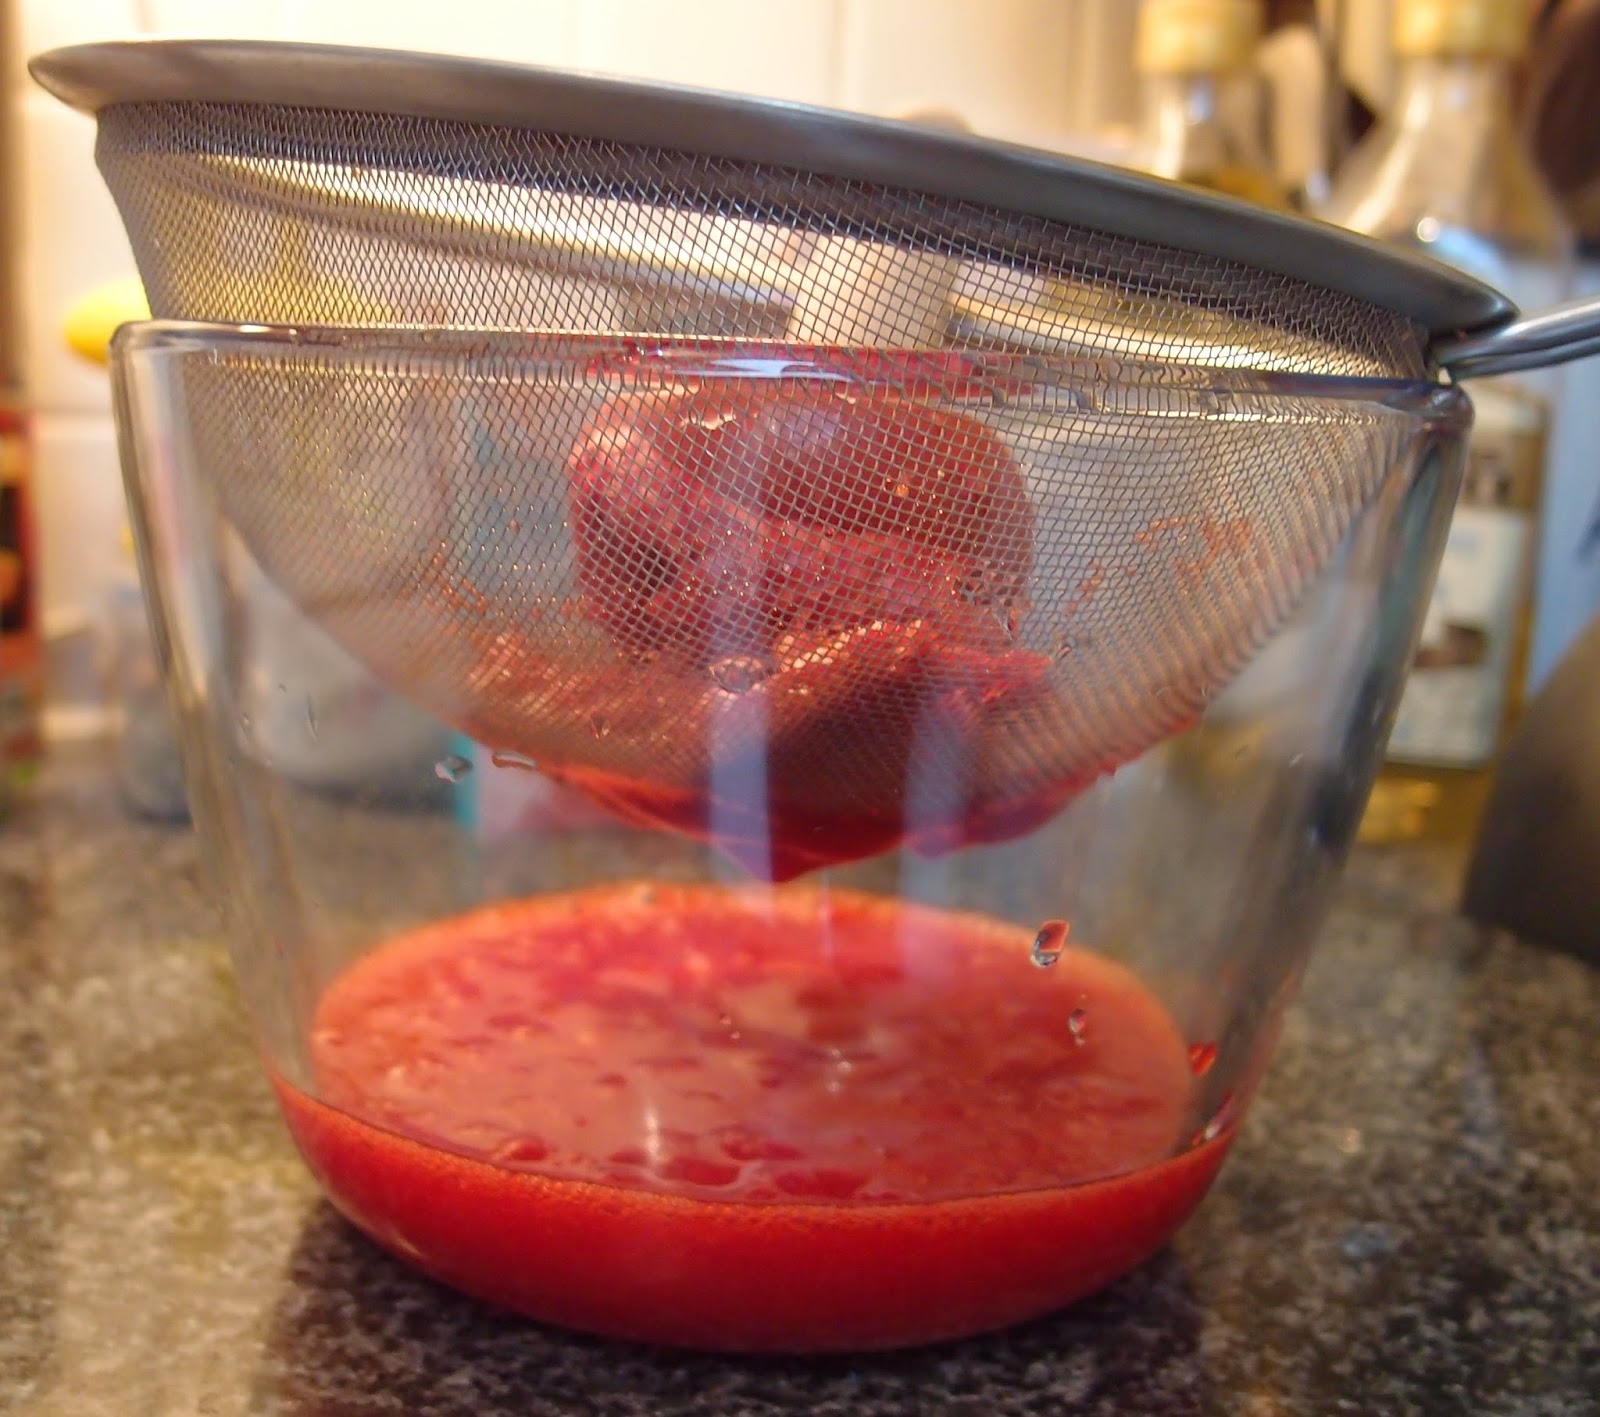
Passing the raspberries through a sieve is so much easier with a sieving mushroom.  This is a simple piece of kit – I think mine cost under £3 but it is the best thing for getting every scrap of goodness out of something you’re straining.  It leaves behind a dry pulp of seeds.  I’ve had mine for a few years now and I love the way each fruit stains the wood a darker colour – a sign of use! So much equipment is over-engineered or too complex but this is as simple as the day it was invented and does the job perfectly:


The caramel is a faff to make but worth it.  Stupidly, I decided to double the quantity as I was doubling the biscuit amount – this meant it took longer to boil than it would normally and it wasn’t necessary anyway as the recipe quantities (as stated below) makes more than you would need for a double batch of biscuits.  Not that it’s a bad thing – it keeps in the fridge for 3 weeks so I shall use it in other bakes.


The biscuit is a classic buttery vanilla biscuit and it’s got a lovely short but not too crumbly texture.  It’s the perfect carrier for the star of the show – the raspberry caramel.  It’s more jammy than jam and, as you’ll see from the recipe, contains a lot of sugar...but it’s not too sweet.  It is a really exciting discovery for me and I’m already thinking about how good blueberry caramel would be.


These were a big hit and I fear I’ve made a rod for my own back as I know they will be requested again.  It’s not that they’re difficult to make but they take time.  Any biscuit where you have to roll out and cut the dough takes time, but the addition of the caramel means they are not a quick bake.  Good job I made a double batch!


Ingredients
For the raspberry caramel:
120g fresh raspberries
Approx 75ml double cream
300g caster sugar
75ml water
100g unsalted butter, at room temperature
For the biscuits:
220g unsalted butter, at room temperature
110g caster sugar
1 teaspoon vanilla extract
340g plain flour

Method
Start by making the raspberry caramel: Mash the raspberries through a sieve into a bowl or, if the top is wide enough, your measuring jug.
Transfer the raspberry juice to a measuring jug and add cream until you have 140ml of liquid.
Place the sugar and water into a large pan – go larger than you think for safety reasons.  A silver lined pan makes it easier to spot the caramel darken.
Gently heat the sugar and water and, initially just to ensure the sugar and water are mixed, you can stir.  Stop stirring after a couple of minutes.
Have a heatproof pastry brush (mine was silicon) and a bowl of cold water to hand.  As the sugar melts you will see little crystals stick to the pan; wet the brush and just push them back into the syrup.  This will minimise the risk of your caramel crystallising later.
Bring to the boil.  As the mix heats up it will become clearer.  You will also notice the size of the bubbles decreases and the mix takes on a thicker texture.
After a few minutes of boiling the colour will start to change.  Don’t walk off and do something else as it can burn very quickly. 
When you have a rich caramel colour remove the pan from the heat and add the raspberry cream and butter.  It will bubble up so be prepared for it (this is also why you should use a bigger pan than it looks like you’ll need).
Stir vigorously to mix all the elements together.  My sugar started to clump a bit at this point but returning to the heat got rid of virtually all the issues!
Return to the heat and stir all the time whilst bringing it up to the boil.
Boil for two minutes before pouring into a bowl and leaving to set.  I poured it through a sieve into the bowl and was glad I did as there were a couple of lumps of sugar.
Leave to cool.
Place in the fridge to set.
Now make the biscuits: beat together the butter and sugar until light and fluffy.
Beat in the vanilla.
Add the flour and mix together, finishing off by using your hands to make a ball of dough.
Flatten into a fat disc and wrap in clingfilm.
Refrigerate for 20 minutes.
Preheat the oven to 180°C/fan oven 160°C/350°F/gas mark 4.
Line as many baking sheets as you have in non stick foil or baking paper.  I have three and used them in rotation, baking in batches.
Roll the dough out between two sheets of clingfilm.  You’re aiming for the thickness about no more than a £1 coin.
Cut out the biscuits using the size cutter of your choice.  I used a plain round cutter just over 6cm in diameter and got 16 biscuits from the quantity of dough given in the ingredients above. 
Use a tiny round cutter to remove the centre of half the biscuits – this will provide a window to showcase the raspberry caramel.
There is no need to leave big gaps on the baking sheet as the biscuits hardly spread whilst baking.
Bake for approximately 10-12 minutes until golden brown.  I turned the trays round halfway through cooking to ensure even baking.
Leave to firm up on the baking sheet for ten minutes before transferring to a wire rack and leaving to cool completely.
I didn’t make the biscuits up until the day I planned on serving them just to ensure the caramel didn’t make the biscuits soggy.
When you’re ready to make them up, place a generous ½ teaspoon of the raspberry caramel onto a biscuit, and top with a biscuit that has a circle cut out of it.  Squeeze gently to ensure the caramel covers the whole biscuit.
NB. If your caramel is too hard to spread, heat it briefly to soften and it will spread like a dream!  I didn’t do this and gave it a rapid stir to soften it – this worked for me as I wanted to keep the caramel on the stiff side so the top biscuit didn’t slide.
To keep the caramel firm, store in the fridge until 10 minutes before serving.
Bask in the glory of the wonderful thing you have made.

Eat.