Showing posts with label cake. Show all posts

Sunday, 12 June 2016

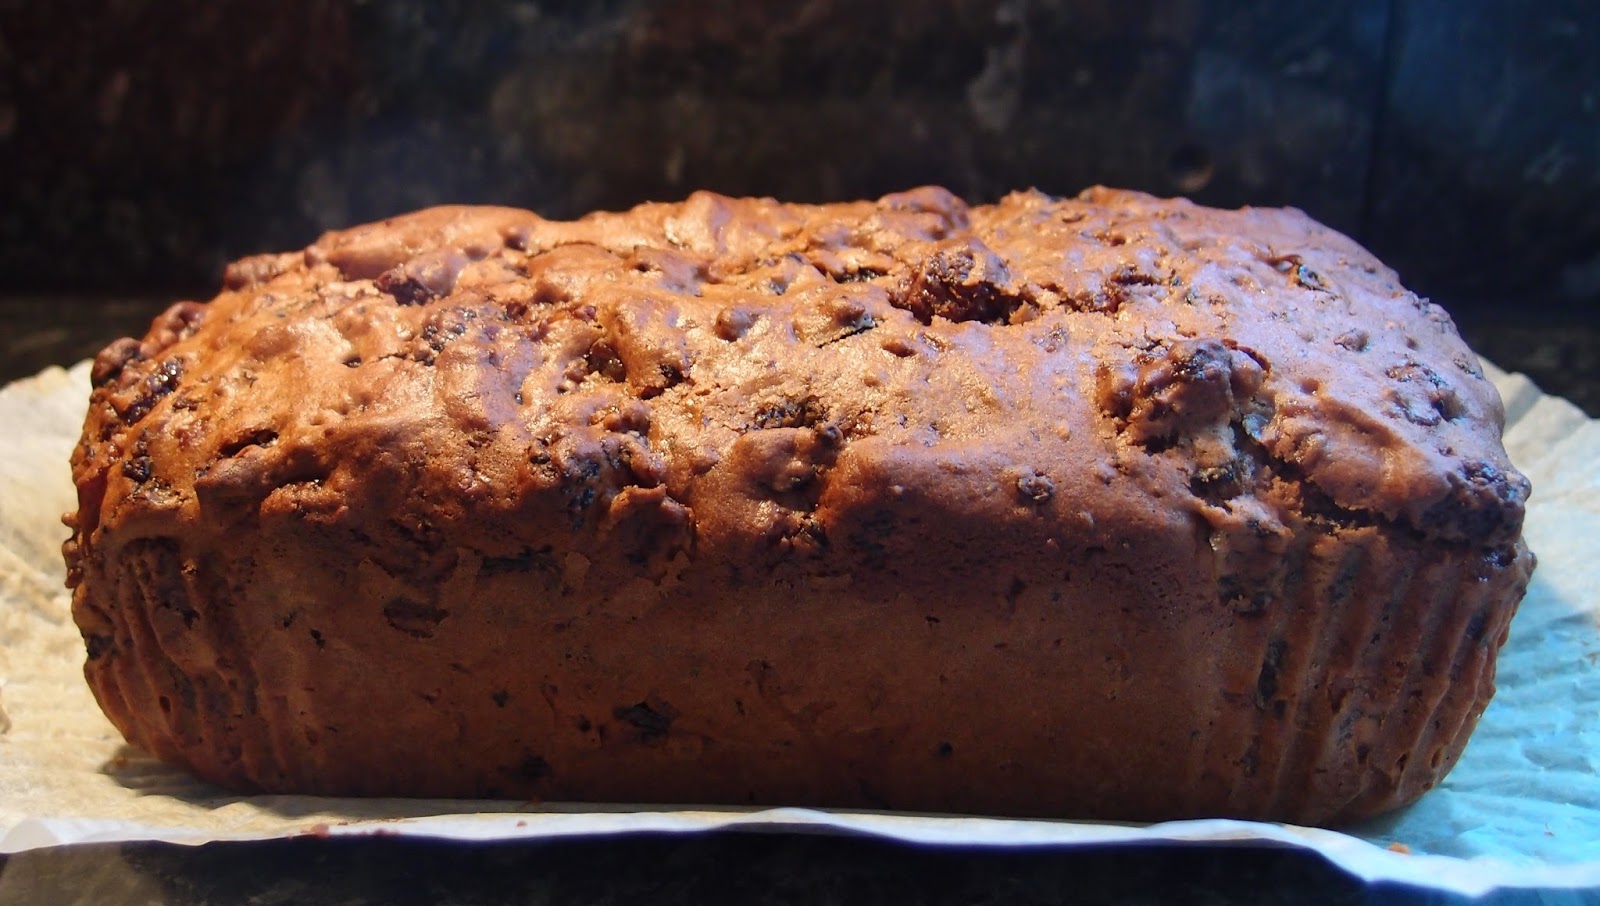
Ginger and rum cake


I think I must be a contrarian baker.  Now that summer actually seems to have arrived, I know I should be thinking about strawberries, cream and other such light frippery….but what I really wanted this week was ginger cake.  And rum.  And dates.  And all things that make you think of colder weather (not that I even like colder weather).  As I said – contrarian.


This cake is always better the day after baking, and the day after that; it’s always the way with sticky spicy cakes – they need time to mellow and let their flavours mature.  I do have a penchant for rum and have a selection at home that would rival most cocktail bars; for this cake I chose a spiced rum as I thought the extra punch of flavour would work well.  Spiced rum always seems to have a vanilla note to it too and I never miss the opportunity to get a bit of vanilla into something.


You can taste each of the main flavours in the cake: ginger, dates and rum.  Putting the rum in the icing gives a raw hit – if you like your booze softer, and more baked, consider putting more in the cake and leaving it out of the icing.


Without checking through almost nine years of blogging, I don’t remember putting dates into a ginger cake before.  It was a good move – it turned a standard ginger cake into something more akin to a sticky toffee pudding.  You could leave the icing off this cake and serve it warm, as dessert, with custard or ice cream.  Personally, I am always partial to a white icing and a bit of the itchy teeth feel it can sometimes create.  Many older people I know have lost their taste for overly sweet things…I do sometimes wonder if it will ever happen to me.  I just can’t imagine being that person who winces when they eat something and say, ‘ooh, that’s a bit sweet for me’.  Does. Not.  Compute.


Ingredients

75g unsalted butter
100g dark muscovado sugar
125g black treacle
125g golden syrup
2 eggs
3 tablespoons rum – I used spiced rum
225g self raising flour
2 teaspoons ground ginger
50g stem ginger, finely chopped
75g medjool dates – pitted and finely chopped
For the icing:
100g icing sugar
1-2 tablespoons spiced rum
1 tablespoon stem ginger syrup (from the jar of stem ginger)

Method

Preheat the oven to 180C/fan 160C/350F/gas mark 4.

Line a 900g loaf tin with baking paper.

Place the butter, sugar, treacle and golden syrup into a saucepan and melt together over a gentle heat.

Leave to cool for at least 5 minutes before beating in the eggs and rum – if the mix is too hot the eggs will scramble and leave lumps in the cake.  Not nice.

Stir in the flour and ground ginger.

Stir in the chopped ginger and dates.

Pour into the prepared baking tin.

Bake for 50 minutes – 1 hour, or until a skewer inserted into the cake comes out clean.

Leave to cool for 10-15 minutes in the tin, before de-tinning and leaving to cool completely on a wire rack.

Now make the icing: mix the icing sugar with 1 tablepsoon each of rum and ginger syrup – add the extra spoonful of rum only if needed.  You’re aiming for a thick, glossy icing that has movement to it but isn’t so loose it will just run off the cake.

Spoon the icing over the cake and leave to set.

This cake gets better with age – it becomes stickier and more flavoursome.

Serve in generous slices with a cup of tea.

Bask in the glory of the wonderful thing you have created.

Eat.


Sunday, 22 May 2016

Cider cake


For Mr CC’s birthday we took a luxury train trip right the way across the country to Somerset; the carriages were all authentic Pullman carriages from the Art Deco era (the sort of train someone usually gets murdered on in an Agatha Christie tale…luckily our trip was less eventful!) – ours had been used by the Queen for a trip so we felt pretty pampered:


I think I mentioned a week or two back that, wherever we visit, I try to buy a fridge magnet and honey.  Honey didn’t seem right for Somerset so I flexed the rule to mean ‘local food produce’ and came back with a rather lovely little jug of cider.  If I’m being entirely honest it was the jug that swayed me more than the cider.


The cider is somewhere between the extremely fizzy ciders you find in supermarkets and the more traditional flat cider.  ‘Flat’ always sounds an unappealing description; it has a critical edge to it, but all I mean is it’s not fizzy.  While I’m always partial to a bit of fizz I must confess to rather liking the less carbonated varieties as I seem to taste the apple more somehow.  I also thought it would be nice for baking with, hence this week’s choice of cake.


The addition of the cinnamon is lovely because it emphasises the apple element and conjures up the flavours you expect from an apple pie.  The sponge is a light texture and makes the cake very eatable (I know – all cakes fall into this category, but there is just something about a soft, crumbly sponge!).  I added a sprinkling of sugar on the top for a bit of crunch.


Ingredients

150g unsalted butter, at room temperature
150g light muscovado sugar, plus 2 tablespoons extra for the topping
3 eggs
340g plain flour
1 ½ teaspoons bicarbonate of soda
1 ½ teaspoons ground cinnamon
225ml cider


Method

Preheat the oven to 180C/fan oven 160C/350F/gas mark 4.

Line a 20cm round springform tin with baking paper.

Beat together the butter and sugar until light and pale – it won’t go truly whippy, as it would with caster sugar, as the muscovado is grainier.

Beat in the eggs, one at a time.

Weigh out the flour, bicarbonate of soda and cinnamon and mix together.

Fold in a third of the flour mix, followed by a third of the cider.

Repeat until all the ingredients are incorporated.

Spoon into the prepared tin and level the surface.

Sprinkle the additional sugar over the top.

Bake for approximately 40-50 minutes or until a skewer inserted into the cake comes out clean.

Leave to cool in the tin for approximately 20 minutes, until you can safely handle to de-tin. 

Leave to cool completely on a wire rack.

The cake will keep for several days in an airtight tin.

Bask in the glory of the wonderful thing you have created.


Eat.

Sunday, 8 May 2016

Date, honey and walnut cake


Whenever we go on a trip out there are usually two purchases I make: a fridge magnet, and a jar of local honey.  My latest honey acquisition came after a visit to an Essex Wildlife Trust centre at the wonderfully named FingringhoeWick.  It doesn’t sound like it should be a real place!


I’ve spent a lot of time recently sorting through my cookbook collection; it had got out of hand and so disorganised following our house move (over 18 months ago now – eek! No excuse anymore!) that I couldn’t find anything.  Now it’s all nicely arranged by type, so I had no trouble locating an old cookbook I have dedicated entirely to honey.


This simple cake stood out as the one to make; I’ve boosted the quantities a bit but the ratios remain the same.  With the weather predicted to be warm, I didn’t want anything too fiddly or involving buttercreams – and this cake couldn’t be easier or quicker to make.


Don’t be fooled by this cake’s plain Jane looks; it packs a glorious punch with comforting flavours and a soft texture punctuated by walnuts and chewy dates.  It’s a more old fashioned sort of crumbly sponge and the walnuts stop it getting too sweet, which you might think it would be given the inclusion of sugar, honey and dates. It really is worth making.  Keeps well too…which might not be an issue!


Ingredients

185g unsalted butter, at room temperature
115g castor sugar
75g runny honey
3 eggs
115g dates, chopped
115g walnuts, chopped
300g self raising flour


Method

Preheat the oven to 180C/fan oven 160C/350F/gas mark 4.

Line a 20cm round springform tin with baking paper.

Beat together the butter, sugar and honey until light, soft and whippy.

Beat in the eggs one at a time.

Mix in the dates, walnuts and flour and ensure everything is well combined.

Spoon into the prepared tin, level the surface and bake for approximately 1 hour or until a skewer inserted into the cake comes out clean.  Start checking it after 40 minutes, as ovens vary.

Leave to cool in the tin until you can safely handle; de-tin and leave to cool completely on a wire rack.

Bask in the glory of the wonderful thing you have created.


Eat

Sunday, 17 April 2016

Fruit tea loaf


This recipe came into being because I made a whim purchase.  Whilst visiting a Greek Cypriot supermarket on the quest for baklava (as instructed by Mr CC; if only all quests in life were this tasty!), I spotted a pouch of dried red and white mulberries.  I was starting from a position of ignorance: I didn’t know anyone other than silk worms ate mulberries, but, seeing as I didn’t see any silk worms doing their shopping I deduced that they must also be human food.


What caught my attention was their beautiful knobbly appearance.  I want to describe them as looking like a raisin that had suffered a severe allergic reaction to something but this wouldn’t convey how cute they are.  Texturally, they are similar to a dried fig i.e. they have a bit of grittiness about them.  They are also very dry, which was why I decided to use them in a tea loaf, where they’d have the opportunity to plump and rehydrate.


Having read up about mulberries they seem to be considered a superfood.  I always struggle with this term as – to me – most food is pretty darned super, but it is because they’re high in protein, iron and vitamins blah blah science etc.  They taste nice too – which is the most important thing; imagine a less sweet sultana.


Thickly buttered fruit loaf is one of life’s great joys.  I always say that you can toast the loaf and then butter it, but I never have any left to get to do that!


Ingredients

340g dried fruit – I used dried mulberries and sultanas
60g glace cherries – chopped
110g dark brown soft sugar
200ml cold tea – I used 2 teabags to boost the flavour
225g self raising flour
1 egg


Method

The night before you wish to bake the cake: place the fruit, cherries and sugar in a bowl and mix with the tea.  Cover the bowl and leave - ideally overnight but longer won't hurt.

Day of baking: Preheat the oven to 190C/fan oven 170C/375F/gas mark 5.

Line a 900g loaf tin with baking paper.

Mix the flour and egg into the pre-soaked fruit mix – ensure it is well combined and no pockets of dry flour or egg remain.

Spoon into the prepared tin and level the surface.

Bake for approximately 1 hour or until a skewer inserted into the cake comes out clean.  If the cake is browning too quickly, don’t be afraid to cover it loosely with foil.

Leave to cool on a wire rack.

Serve in slices with butter thick enough to leave teeth marks when you bite into it!

Bask in the glory of the wonderful thing you have created.


Eat.

Sunday, 20 March 2016

Cherry, fudge oat traybake


Cherry, fudge oat traybake aka ‘help – my planned cake/blog post has turned out dismally and is now sitting in the compostables bin where even the foxes will snub it’.  Yes, this cake is the phoenix rising out of the ashes of a doomed ancestor.  I had planned on a peanut butter based cake but something was amiss and it came out both Frisbee-like and savoury, neither of which were ideal outcomes. 


This recipe is my own invention and it developed along the way.  The cherry and fudge components came from being fed up with seeing the ingredients on my baking shelf, and the oats then got involved because I love oats and thought the cake might benefit from some texture.


I mused whether to make it as a 20cm round cake – and it would’ve worked – but I decided on a traybake as that would give shallower slices and stop the oats becoming claggy.  I have mixed advice: wait until it gets completely cool before cutting as it’s very soft and tears otherwise…..on the other hand; if you eat it warm, before the fudge has set, you get divine little sticky pockets of fudgy goo that make a raggedy slice worth it!


As is often the way, things made on the fly are usually the tastiest!  This is no exception – the flavours and textures work so well together and it’s a perfect tasty accompaniment to a cup of tea.  Which I definitely needed after my earlier frustrations…I take it very personally when a recipe fails…i.e. rude words are spoken.


Ingredients

225g unsalted butter, at room temperature
225g light brown soft sugar
3 eggs
225g self raising flour
100g rolled oats
150g fudge chunks
260g tin of black cherries, chopped into pieces – this was the drained weight, the tin was 425g)
3 tablespoons milk


Method

Preheat the oven to 180C/fan oven 160C/350F/gas mark 4.

Grease a 20cm x 30cm traybake tin.

Beat together the butter and sugar until well combined – it won’t go light and whippy.

Beat in the eggs, one at a time.

Fold in the flour and oats.

Fold in the fudge and cherries.

Stir in the milk.

Spoon into the traybake tin and level the surface.

Bake for approximately 30-40 minutes or until a skewer inserted into the cake comes out clean.

Leave to cool in the tin before cutting into squares.

Bask in the glory of the wonderful thing you have created.


Eat.

Sunday, 6 March 2016

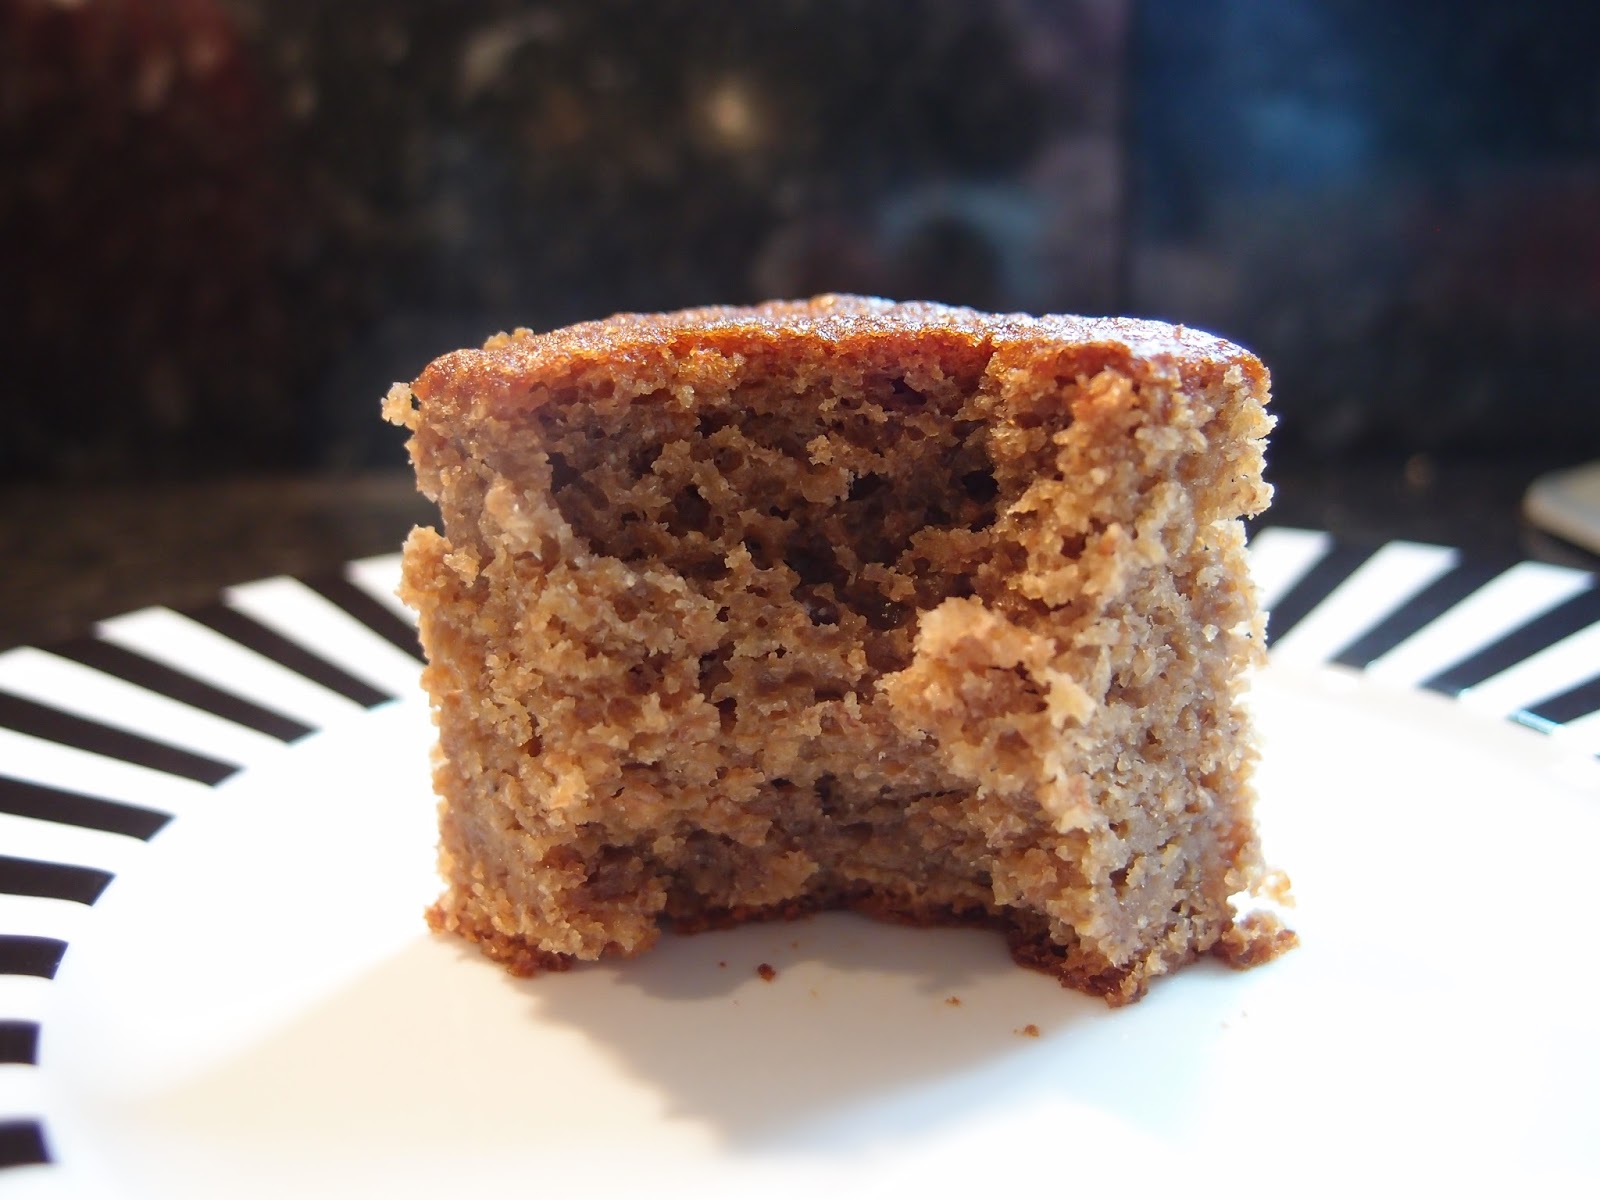
Banana and ginger cake


I had four bananas, slowly turning black on the kitchen counter, giving me that judgemental look as if to say, ‘yes, you manage to eat all the biscuits well before they go off, but look at us – unwanted and unloved’ and realised it was time to find a good banana cake recipe.


This cake is adapted from a Dan Lepard recipe and caught my attention because I have never seen banana and ginger combined and they are two of my favourite flavours.  I only made one minor tweak – changing his glace ginger for stem.


The flavour of this cake is rich and indulgent and gets better with age – the dark sugar seems to get stickier and more treacly.  It works well as a companion to a mug of tea, but is also great warm with custard for dessert.  The smell of it baking drove me half insane – sugar and spice; if there are happier kitchen smells I can’t think what they are!


The sponge is soft and lighter than you might expect.  The ginger is subtle and doesn’t overpower the banana.  Personally, being a ginger fiend, next time I make this cake I would up the ginger – probably with a teaspoon or two of ground ginger.


Don’t let the plain looks 
fool you; this is actually a glossy beauty and has become my go-to banana cake recipe.


Ingredients

For the cake:
200g dark muscovado sugar
300g ripe bananas – this is approx. 2 large bananas
125ml flavourless oil suitable for baking – I used light olive oil
4 eggs
75g stem ginger – finely chopped
200g wholemeal flour
3 tsp baking powder


Method

Preheat the oven to 180C/fan oven 160C/350F/gas mark 4.

Line a 20cm square cake tin with baking paper.

Put the sugar and bananas in a bowl and mash until almost smooth – as long as there are no big lumps it will be fine.

Beat in the oil and eggs.

Stir in the ginger.

Add the flour and baking powder, stir well, then pour into the tin.

Bake for 50-60 minutes, or until a skewer inserted into the cake comes out clean.

Leave to cool in the tin for 30 minutes or so before de-tinning and leaving to cool completely on a wire rack.

Serve in generous slices.

Bask in the glory of the wonderful thing you have created.


Eat.

Sunday, 28 February 2016

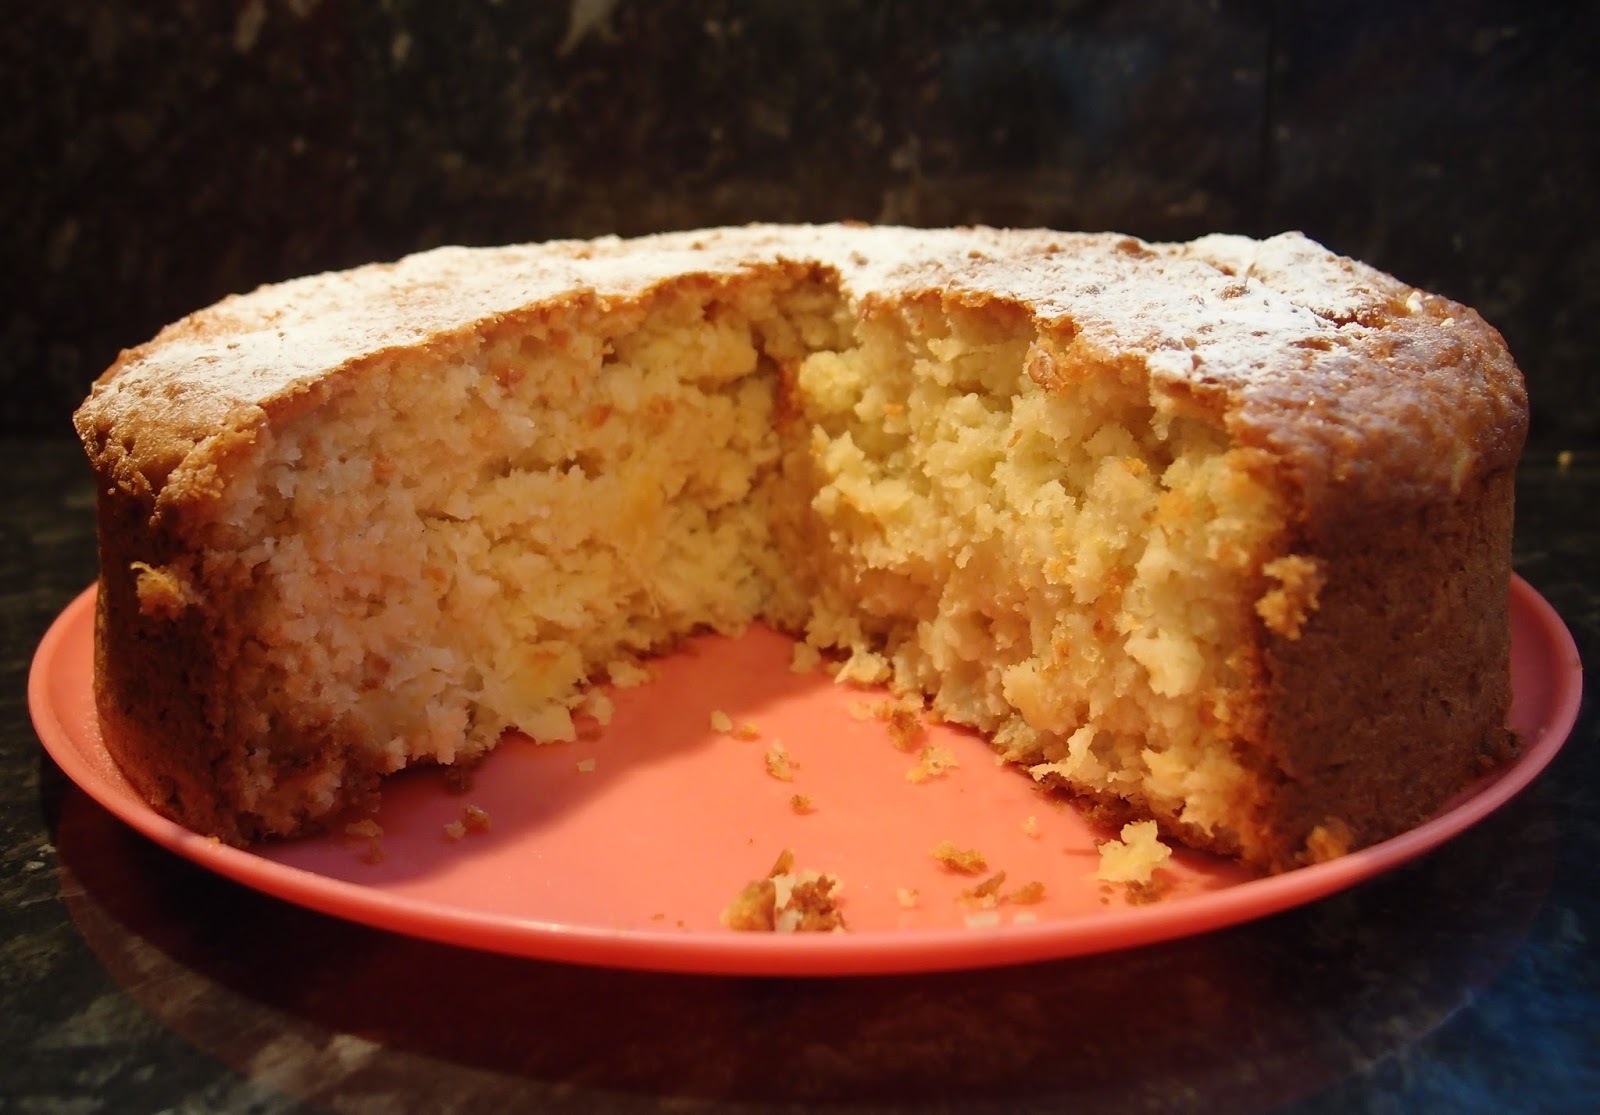
Pineapple and coconut sponge


It has felt so cold this week that I have been reminiscing about when I used to have to travel for work and got to dodge some of Winter’s bleakness with trips to glorious places such as the Bahamas and Cayman Islands.  I don’t miss the travel at all – in fact I love getting to sleep in my own bed every night – but a bit of sunshine wouldn’t go amiss. I had ice on the inside of my car windscreen this week – the inside!!!


My choice of bake was to capture the feeling of more tropical climates – for me, this is always pineapple and coconut; two flavours I adore.  The addition of sour cream to the sponge created a soft crumb texture.  This is a dangerous cake in that you could happily work your way through several slices in one sitting…..hypothetically, of course…..this didn’t actually happen….oh no….never…not my style….


I decided to make this all about the sponge so didn’t bother with any icing or buttercream, opting for a light dusting of icing sugar – we call this ‘Fannying it’.  Fanny Cradock fans out there will understand what I mean by this; whenever she made anything and it didn’t look too pretty or seemed burned, she would always bury it under about 3 inches of icing sugar to hide the defects (usually claiming it was what they did in Paris!) – her lovely mincemeat omelette is a good example.  There was nothing to hide with this bake, but I ‘fannyed it’ anyway!


Ingredients

165g unsalted butter, at room temperature
165g caster sugar
3 eggs
375ml sour cream
300g self raising flour
1 teaspoon bicarbonate of soda
225g desiccated coconut
300g pineapple, crushed or in chunks – I used tinned, and drained the crushed pineapple in a sieve to stop it being too wet

To decorate: 2 tablespoons icing sugar


Method

Preheat oven to 180C/fan oven 160C/350F/Gas mark 4.

Line a 23cm springform round tin with baking paper – don’t be tempted to gamble and use a 20cm tin; it’s a big cake.

Beat together the butter and sugar until pale and fluffy.

Beat in the eggs, one at a time.

Fold in the sour cream.

Fold in the flour and bicarbonate of soda.

Stir in the coconut and pineapple.

Spoon into the prepared tin and level the surface.

Bake for approximately 45 minutes -1 hour or until a skewer inserted into the cake comes out clean.  Mine took an hour.

Leave to cool in the tin for about 20 minutes before de-tinning and leaving to cool completely on a wire rack.

Just before serving, dust the top of the cake with icing sugar.

Bask in the glory of the wonderful thing you have created.


Eat.

Sunday, 17 January 2016

Fruit yoghurt sponge


Sorry I’ve been absent for a while – it was a triple whammy of New Year low, new job and new home computer.  It’s a fairly regular pattern I think: after all the richness of Christmas excesses my palate always starts craving something simple and wholesome around this time of year.  And what could be better than a simple sponge cake?


This cake is enriched by using yoghurt; I’ve experimented by using a flavoured yoghurt and matching it with some fresh fruit.  I went for blueberry because that was all my local supermarket had other than strawberry, and I am not made about strawberries baked into things.


I was hoping for the cake to take on the purple tinge of the yoghurt but, as you can plainly see, it didn’t.  What I didn’t expect – and what turns out to be the true joy of this cake – is that the sponge tastes of blueberry….


…let me clarify: the sponge itself tastes of blueberry.  Normally in such a cake, the sponge tastes of sponge and you get the burst of blueberry in your mouth when you bite into a blueberry.  However, with this cake, the flavoured yoghurt has infused the sponge resulting in the most wonderfully fruity tasting cake.  I loved it.


Ingredients


175g unsalted butter, at room temperature
275g caster sugar
1 teaspoon vanilla extract
3 eggs
175g Greek style yoghurt – I used blueberry flavour
275g self raising flour
1 teaspoon bicarbonate of soda
130g fresh blueberries
2 tablespoons light brown sugar to sprinkle on top of the cake


Method

Preheat oven to 180C/ fan oven 160C/ 350F/ gas mark 4.

Line a 20cm round springform tin with baking paper.

Beat together the butter and sugar until light and whippy.  Don’t skimp on this stage.

Beat in the vanilla and the eggs, one at a time.

Stir in half of the yoghurt, followed by half of the flour.

Take a spoonful of the remaining flour and toss the blueberries in it to stop them sticking or sinking in the batter.

Stir in the second half of the yoghurt, the flour and all of the bicarbonate of soda.

Fold in the blueberries.

Spoon into the prepared tin and level the surface.

Sprinkle the light brown sugar over the top of the cake.

Bake for approximately 1 hour or until a skewer inserted into the sponge comes out cleanly.   Don’t panic if your cake takes longer – mine took about 1 hour 15 minutes.

Leave to cool in the tin for about 15 minutes before de-tinning and leaving to cool completely on a wire rack.

Bask in the glory of the wonderful thing you have created.


Eat.

Sunday, 6 December 2015

Ginger and parsnip cake


If I were to say to Mr CC I was making a carrot cake his response would be favourable.  However, when I made courgette cakes he prejudged them negatively even though he ended up eating them and liking them.  The Brussel sprout cake was admittedly ‘interesting’ (interesting in this context = bleughhhhhh! Don’t say I didn’t warn you!) but I made that before I met him so, other than hearing scare stories from survivors, he escaped it unscathed. 


Parsnips are basically carrots that have used higher SPF sunscreen (this view might not stand up to biological scrutiny) so I was torn whether to ‘fess up to their inclusion in this cake prior to serving it.  I decided not to and instead turned it into a game of ‘this cake has an unusual ingredient – can you guess what it is?’  He didn’t.


Parsnips, like carrots, have a natural sweetness but, unlike carrots, have an earthiness that added to the depth of flavour in the cake.  I’m not sure my palate would’ve detected that it wasn’t carrot but, once you know, the taste is subtly different.  The sponge was light and soft with tiny flecks of creamy coloured parsnip visible.  It was a lovely combination with the ginger. 


I attended the BBC Good Food show at the NEC last week and bought a bottle of ginger juice.  I used some in the buttercream; ending up with 2 tablespoons of ginger juice and 2 of syrup from the jar of stem ginger.  It added an extra bit of zing and heat – I do like my ginger to leave a lasting impression on my tongue!


I have never said, thought and written the word ‘parsnip’ as much as I have whilst baking this cake.  When you think about it, it’s a pretty odd word...and gets sillier the more you say it.  Parsnip.  Paaaaarsniiiipppp.  It’s a funny word – and I like it!

 
Ingredients 

For the sponges:
250g self raising flour
1 teaspoon bicarbonate of soda
1 teaspoon baking powder
½ teaspoon salt
2 teaspoons ground ginger
250g golden caster sugar
3 balls of stem ginger, very finely chopped
3 eggs
200g grated parsnip – this equates to two average sized parsnips
1 teaspoon vanilla extract
125g unsalted butter – melted but not hot (leave to cool for about 5-10 minutes)
Splash of milk, if needed
 

For the icing:
400g icing sugar
200g unsalted butter, at room temperature
4 tablespoons stem ginger syrup from the jar
 

Method
 

Pat the oven to 180C/fan oven 160C/350F/gas mark 4.

Line two 20cm loose bottomed sandwich tins with baking paper.

Place the flour, bicarb, baking powder, salt, ground ginger and sugar in a bowl and stir together.

Add the stem ginger and stir so that it is coated with dry ingredients and not clumping together.

In a separate bowl – a large jug is easier if you have one - beat together the eggs, grated parsnip, vanilla and melted butter.

Pour the wet ingredients into the flour mix and fold together, taking care not to over mix.

If the mixture is not firm, and doesn’t drop from the spoon easily, add a splash of milk.

Spoon into the prepared tins and level the surface.

Bake for approximate 25 minutes or until a skewer inserted into the cakes comes out clean.  Mine took a bit longer – nearer 40 minutes, but it’s worth checking after 25 minutes as ovens vary.

Leave to cool in the tins for at least 20 minutes before turning out and leaving to cool completely on a wire rack.

Now make the buttercream: Beat together all the ingredients until smooth and whippy.

Place one sponge on the serving plate and use a stingy 1/3 of the buttercream to spread over the top.

Place the other sponge on top.

Use the remaining buttercream to cover the top and sides of the cake.

Place your decorated gingerbread on the cake.

Bask in the glory of the wonderful thing you have created.

Eat.


Sunday, 8 November 2015

Oat and pear traybake with pecan crumble topping


I’m such a clichĂ© but the first whiff of winter and I’m cracking open the spice jars like nobody’s business!  I found the recipe for the oat sponge and crumble topping on a recipe sharing website and decided that it needed an extra element.  Oats, spice and pecans led me to the very easy decision to add some pear to the mix.  Pear is one of my absolute favourite fruits to bake with.


The pear is fruity and juicy and stops the sponge being too dry or heavy.  The nutty crumble topping adds texture and richness; the dark sugar seeps into the cak almost like a sauce.  I served the cake at room temperature with a cup of tea but it would work so well warm with ice cream or custard.  You could even bake it in individual pudding moulds for a fancy dessert (but reduce the cooking time accordingly).


Adding fruit to a batter always increases the wetness during baking so it’s worth draining the tinned fruit and patting it dry with kitchen paper.  I think that without the addition of the fruit the sponge may have been a bit dry; the juice was absorbed by the oats making an almost fragrant sponge – imagine an oaty bread pudding and you’re pretty close.  Have I mentioned how much I love baking with pears?


I suspect it won’t be an issue, but the cake keeps really well for several days.  The pear keeps the cake soft, and the nuts in the crumble topping improve with age (unlike the baker!).


I took a photo of a slice and went for my obligatory ‘fork shot’.  Then I went for another...and another....and it ended up like this:


NB.  The crumbs were left on the plate for artistic purposes and were polished off the moment I put the camera down!  Waste not, want not etc.......


Ingredients

For the cake:
100g porridge oats
330ml boiling water
115g unsalted butter, at room temperature
220g dark brown soft sugar
2 eggs
2 teaspoons vanilla extract
1 teaspoon cinnamon
1 teaspoon baking powder
½ teaspoon bicarbonate of soda
215g plain flour
1 tin diced pears – the tin was 410g with a drained weight of 225g

For the crumble:
100g dark brown soft sugar
10g plain flour
½ teaspoon cinnamon
½ teaspoon grated nutmeg
40g unsalted butter – cold
100g pecan nuts – roughly chopped


Method

Preheat the oven to 190C/ fan oven 170C/ 375F/ gas mark 5.

Grease a 30cm x 20cm traybake tin.

Cover the oats with the boiling water and put to one side.

Now make the crumble topping: Mix together the sugar, flour, cinnamon and nutmeg.

Rub in the butter until you have lumpy crumbs.
Stir in the chopped pecans.

Place in the fridge until needed; a cold crumble is always easier to scatter over the top as your hands won’t melt the butter as much.

Now return to making the cake: Beat the butter and sugar until soft and well combined – it will never go fluffy and whippy when you’re using dark sugar.

Beat in the eggs, vanilla and cinnamon.

Fold in the baking powder, bicarbonate of soda and plain flower.

If there is any, drain any unabsorbed liquid away from the oats and fold them into the mix.

Spoon the batter into the prepared tin. 

Drain the pears and pat them dry with some kitchen paper.

Scatter the diced pears over the batter and gently press down into the batter.

Sprinkle the chilled crumble over the top of the batter.

Bake for approximately 30-40 minutes or until a skewer inserted into the cake comes out clean.

Leave to cool in the tin before de-tinning and storing in an airtight container.

Bask in the glory of the wonderful thing you have created.

Eat.