Showing posts with label jam. Show all posts

Sunday, 5 June 2016

Bakewell thumbprint biscuits


If there’s one thing I’ve learned since I’ve been blogging it’s that good recipes can turn up anywhere; a particularly good source being supermarket free magazines.  This one is from the Co-Op’s magazine and combines two of my favourite things – biscuits and bakewells.  Sadly, I no longer live near a Co-Op but my mother in law does, and diligently picks up the new magazine for me whenever it’s available – thanks Dot!


We all probably made thumbprint biscuits as children; they must be up there with fairy cakes and rock buns as the ideal ‘starter’ bake for children.  But what I liked about this recipe was that it reinvented the familiar biscuit and introduced almonds and white icing to create a bakewell hybrid.  It really is a winning combination.


The recipe makes a lot of biscuits.  A lot.  The recipe said it would make 40, and I got 26 (this isn’t bad for me – normally when a recipe says 40 I get about 12!). This is very handy as it is a strong individual who will stop at one!


The lemon zest in the biscuit and the lemon juice in the white icing is quite strong; if you want the almond and jam to be more dominant I would recommend maybe using the zest in the biscuit and making the icing up with water.


Ingredients

For the biscuits:
175g unsalted butter, at room temperature
175g caster sugar
1 lemon’s zest
1 teaspoon vanilla extract
1 egg
150g ground almonds
150g self raising flour
approx ½ a jar of raspberry jam

For the icing:
80g icing sugar
1 lemon’s juice
Handful of toasted flaked almonds


Method

Preheat the oven to 180C/fan oven 160C/350F/Gas mark 4.

Line two (or four if you have them, otherwise you can just rotate the baking trays and use them twice) baking sheets with baking paper or non stick foil.

Beat together the butter, sugar, zest and vanilla until light and whippy; you will notice the mix turning pale.

Add the egg and beat well.

Add the ground almonds and self raising flour and stir until just mixed.

Take a heaped teaspoon of the mix and roll into a ball.

Place on the baking sheet.

Repeat until the tray is full – they do spread while baking so aim for a maximum of 8 per baking sheet (depending on the size of your sheet.)

Push your thumb into each ball to form a well.

Spoon ½ teaspoon of jam into each well.

Bake for approximately 10-12 minutes until golden and nicely spread. I found mine needed longer – about 16-18 minutes, but it’s good to check after 10 minutes if only to rotate the trays for an even bake.

Repeat the process until all your biscuit dough is used up.

Leave to cool.

Now make the icing: mix together the icing sugar with just enough lemon juice (you won’t need it all) until you have a thick but runny icing.

Drizzle across the top of the cooled biscuits.

Scatter over the flaked almonds.

Bask in the glory of the wonderful thing you have created.


Eat.

Sunday, 22 November 2015

Jam steamed sponge pudding


Today is my birthday but, as I’ve been really busy the last few days (lunches, cocktails, even the opera daaaaaaahling), I find myself in the position of having precisely zero birthday cakes. I know!!! I will rectify this shameful situation when I have time (an interesting ginger concoction has caught my eye) but for now all I really fancied was a steamed sponge pudding.


Whenever I post a steamed sponge I get requests for a step by step in pictures.  My method is considered old fashioned now, in that I place a steamer above a pan of simmering water; the modern method seems to be to place an upturned bowl or saucer in the bottom of the pan containing the water to elevate the pudding.  This is not the way I do it but, if you’re interested, the BBC Goodfood website has two tutorials:


I have metal pudding bowls with clip on lids.  I bought them from Amazon almost 10 years ago and find them so much less faff than glass pyrex dishes where you have to make a pleated lid out of baking paper and foil, and then tie it up with string making a handle at the same time.  I have never been dextrous with knots.  The second tutorial link above covers the paper and string method. (NB.  Amazon don’t seem to stock them anymore but they do have a different range of lidded pudding basins if you search the site)


Compared to making a sponge mix, spooning it into a cake tin and baking in the oven for 30 minutes or so steaming could look like a lot of time and effort but please, please, please give it a try.  Firstly, it’s no more time to prep the pudding for steaming than it is a cake for the oven, and while the cooking time is a lot longer you don’t really need to do anything during that time.  Nothing that comes out of the oven will ever match a steamed sponge in terms of lightness.  It’s like eating spongey air.


I grease my pudding bowl and place the jam in the bottom:


Spoon in the batter:


Clip on the lid.  Place in the steamer, over a pan of simmering water:


Leave for 1.5 – 2 hours.  It’s not precise like a baking time and the pudding won’t suffer for being left to steam longer than actually needed to cook it so don’t feel pressured by the cooking time or guess when it’s ready.  I always give it two hours.


Turn out and enjoy!


NB. Do not adjust your monitor – I did serve rather large portions.  In my defence it was my birthday and freezing cold; I feel either of these facts alone would excuse me but - together - form a rock solid argument.  A pudding this size will serve 6 people easily....just because I cut it into quarters doesn’t mean you have to!


Ingredients

4 tablespoons jam – whichever flavour you prefer
115g unsalted butter, at room temperature
115g caster sugar
2 eggs
115g self raising flour
1-2 tablespoons milk

To serve: custard


Method

Place a large saucepan on the hob and fill 3/4s with water – test that the steamer basket will not touch the water.  Bring the water to a gentle simmer while you are making the pudding.

Grease, with butter, an 850ml pudding bowl (either metal, ceramic or heatproof glass).  If it has a lid, grease that too.

Spoon the jam into the bottom of the pudding bowl.

Now make the sponge: beat together the butter and sugar until light and whippy.

Beat in the eggs one at a time.

Stir in the flour.

Beat in enough milk to ensure a light dropping consistency.

Spoon into the pudding bowl and level the surface.

Clip on the lid or, if your bowl doesn’t have a lid, cover the bowl with a piece of baking paper and a piece of foil, pleated across the middle to allow for expansion.  If you are using the paper/foil option tie string around the bowl to keep it in place and then loop the string over the top to make a handle, which will help you lift the pudding out of the steamer.

Place the steamer basket over the pan of simmering water.

Place the pudding bowl in the steamer basket and place the lid on top to ensure the pudding is enclosed in it’s own personal sauna!

Leave to steam for anywhere between 1.5-2 hours; I always leave it for two hours.

The water level may need topping up after the first hour – it depends on the size of the saucepan.  Simply boil a kettle of water and then lift the steamer basket off of the pan, top up the water lever, and replace the steamer basket – this will not hurt your pudding at all.

Run a knife around the edge of the pudding and turn out onto a plate.

Serve with custard.

Wrap any left over pudding in foil and enjoy the next day – it reheats like a dream in either the oven or the microwave.

Bask in the glory of the wonderful thing you have created.

Eat.


Monday, 9 February 2015

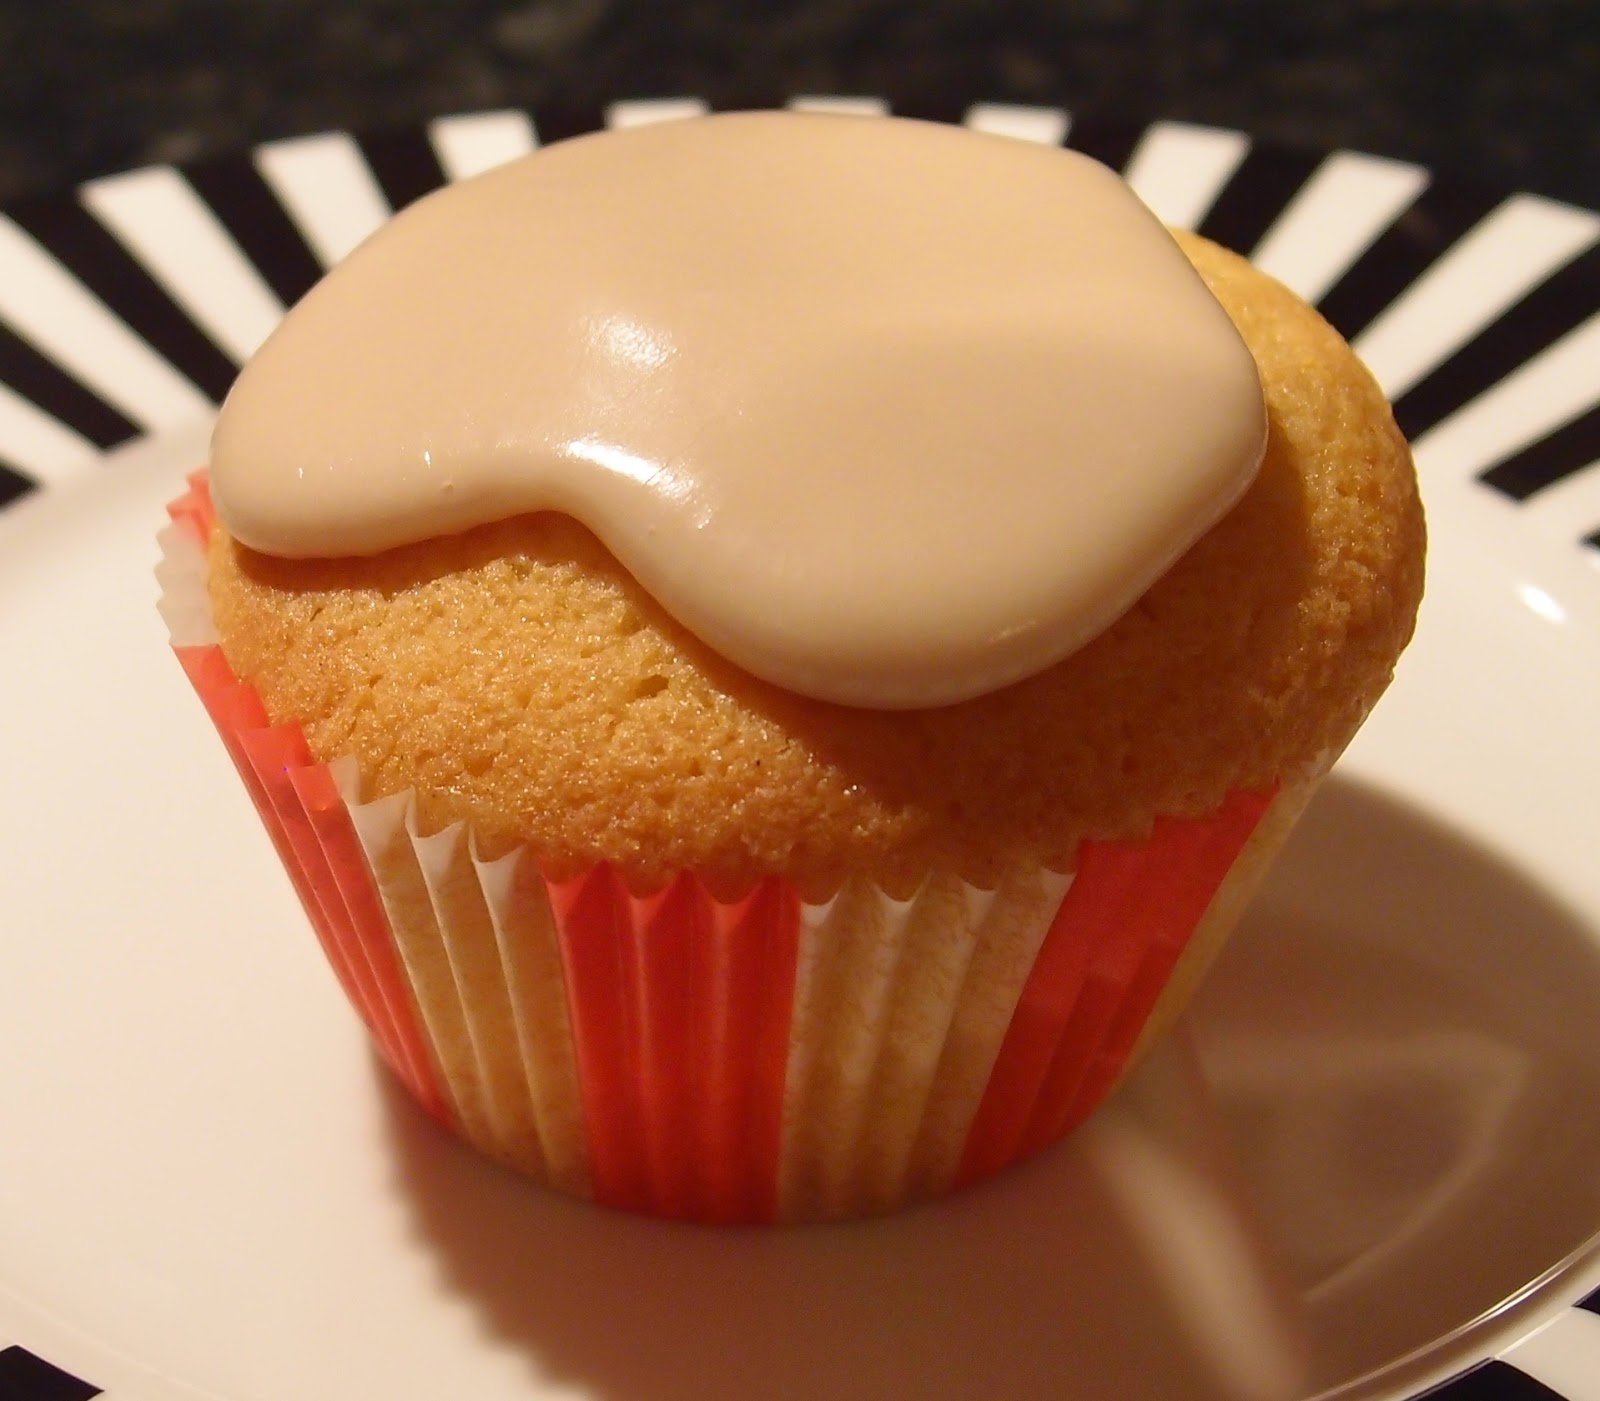
Rhubarb and custard cupcakes


When Duerr’s kindly offered me a sample of their new range of baking jams and told me they would send me the rhubarb and custard flavour, I was very excited as these are two of my favourite things!  I started thinking about what to use it for.   Since we have moved I haven’t fully unpacked all my baking boxes and every time I walk from the kitchen to the dining room I see boxes of cupcake paraphernalia staring at me as if they’re saying, ‘hey, what about us?  We want to move into our new home too!’  To placate my cupcake overlords I decided to make some cupcakes.


The jam is amazing.  It messed with my head a little bit because it was jam that tasted like rhubarb and custard boiled sweets....yes, that good!


I nearly didn’t post these cupcakes.
  They were meant to have a custard buttercream I’d successfully made before...but it was one of those days were everything felt against me.  Lots of anguish and an abandoned buttercream later I decided to top them with a simple glace icing.  I was so fed up at this point I didn’t even let it set properly before photographing the cakes.  It would be a fair assessment to say I was in a bit of a mood (ahem).  You can see how angry I was by the fact I didn’t even stick a wafer daisy on top to pretty them up!


Summary: yes, they look like they were made by a particularly un-artistic five year old but, in their defence, they taste amazing.  The sponge was so fluffy, the jam so sweet and sticky and the simple glaze was actually all they needed.  I still wasn’t going to post them, but Mr CC took them into work and they turned out to be one of most popular bakes for a long time.  I’m a little ashamed by how they look but I shall bow to my eaters on this one!


Ingredients
For the sponges:
175g unsalted butter at room temperature
175g caster sugar
2 teaspoons vanilla extract
3 eggs
175g  self raising flour
2 tablespoons milk
6 teaspoons jam – I used Duerr’s rhubarb and custard jam

For the icing:
200g icing sugar
2 teaspoons vanilla extract
Enough hot water to make a thick icing – add a teaspoon at a time – mine took 3 teaspoons


Method


Preheat the oven to 180C/ fan oven 160C/350F/Gas mark 4.

Line a cupcake pan with 12 paper cases.

Start by making the sponges: beat together the butter and sugar until pale and fluffy.  The mix should look almost whipped – don’t be tempted to skimp on this stage.

Beat in the vanilla and the eggs, one by one.

Fold in the flour.

Stir in enough milk to get a dropping consistency batter.

Spoon into the cupcake cases and bake for about 12-14 minutes or when a skewer inserted into the cakes comes out clean – better to be a little under than over, as they will continue to cook as they cool.  Don’t worry if they take longer (mine took nearer to 20 minutes) – they are big cupcakes.

Remove from the baking pan as soon as you can do so safely (the heat from the tin may cause them to overbake), and leave to cool completely on a wire rack.

Use a cupcake corer or knife to remove some of the sponge.

Spoon half a teaspoon of jam into each cupcake.

Now make the icing: beat together the ingredients until you have a really thick, glossy icing.

Spoon over the cupcakes.

Leave to cool and firm up.

Bask in the glory of the wonderful thing you have created.

Eat.

Sunday, 1 February 2015

Coconut jam sandwich biscuits


There are few biscuits, in my opinion, that can compete with a good coconut biscuit.  There is something about the crumbly texture and subtle sunshine flavour that pleases me beyond words.  Team that crumbly, coconut flakiness with sticky, fruity jam and I am in biscuit nirvana!


You could, in theory, not sandwich the biscuits at all and leave them as they are.  My question to you though would be this: how on earth are you going to get away with eating two biscuits at a time with that kind of shoddy preparation?

Ready for oven....


....and baked:


The only time in preparing these biscuits is rolling the dough into balls and then rolling the balls in coconut.  I rather enjoyed this process – it gets quite repetitious and zen.  Because I am hopeless in uniformity I made a ball that pleased me then weighed it to ensure that all subsequent balls were the same size.  This may sound a bit extreme but I can assure you that, if I didn’t do this, the balls towards the end of the process would be double the size of those at the start – I can’t help myself.  Don’t they look pretty?


The biscuits have the soft, crumbly texture of a Viennese biscuit and would be lovely left as singles; however, if you do this I recommend adding some flavour to the biscuit be it vanilla or coconut extract.


Ingredients

200g unsalted butter, at room temperature
50g cornflour
150g plain flour
50g icing sugar
100g desiccated coconut
Optional: a couple of drops of coconut extract

To sandwich: jam (or nutella) of your choice


Method

Preheat the oven to 180C/fan oven 160C/350F/gas mark 4.

Line two baking sheets with baking paper or non-stick foil – you may have to bake the biscuits in batches and reuse these trays.

Mix together the butter, cornflour, plain flour, icing sugar and coconut extract until it comes together as a dough.

Take heaped teaspoons of the mix and roll into balls – I found a 15g ball of dough was the right size (I got 31 individual biscuits i.e. 15 1/2 when sandwiched).

Roll each ball in the desiccated coconut.

Place on the prepared baking sheet and flatten using a fork – space the biscuits out as they will expand as they bake.

Sprinkle a little extra coconut over the top to replace that displaced by the fork.

Bake for approximately 15-20 minutes until golden.

Leave on the baking tray to firm up for 10 minutes before removing from the tray and leaving to cool completely on a wire rack.

Match the biscuits in pairs.

Spread one biscuit with jam then sandwich with the other biscuit.

Bask in the glory of the wonderful thing you have created.

Eat.


Sunday, 23 February 2014

Jam and custard bundt cake


I’ve had this gorgeous bundt cake for a while but not used it.  I wanted to save it for a special cake and this is it!  It was important that the outside of the cake was left simple and not over-iced so as to hide the intricacy of the mould.  Therefore, all the goodies are stashed away inside the cake and only revealed on cutting.


I hummed and hawed for a while over whether to put some glace icing over the top.  I do love glace icing but didn’t want to cover the cake, so I compromised – I went for a slightly thinner consistency of icing so it would cover but not hide the pattern.  Yes, I know it looked better without the icing but in my defence I truly love white icing! 


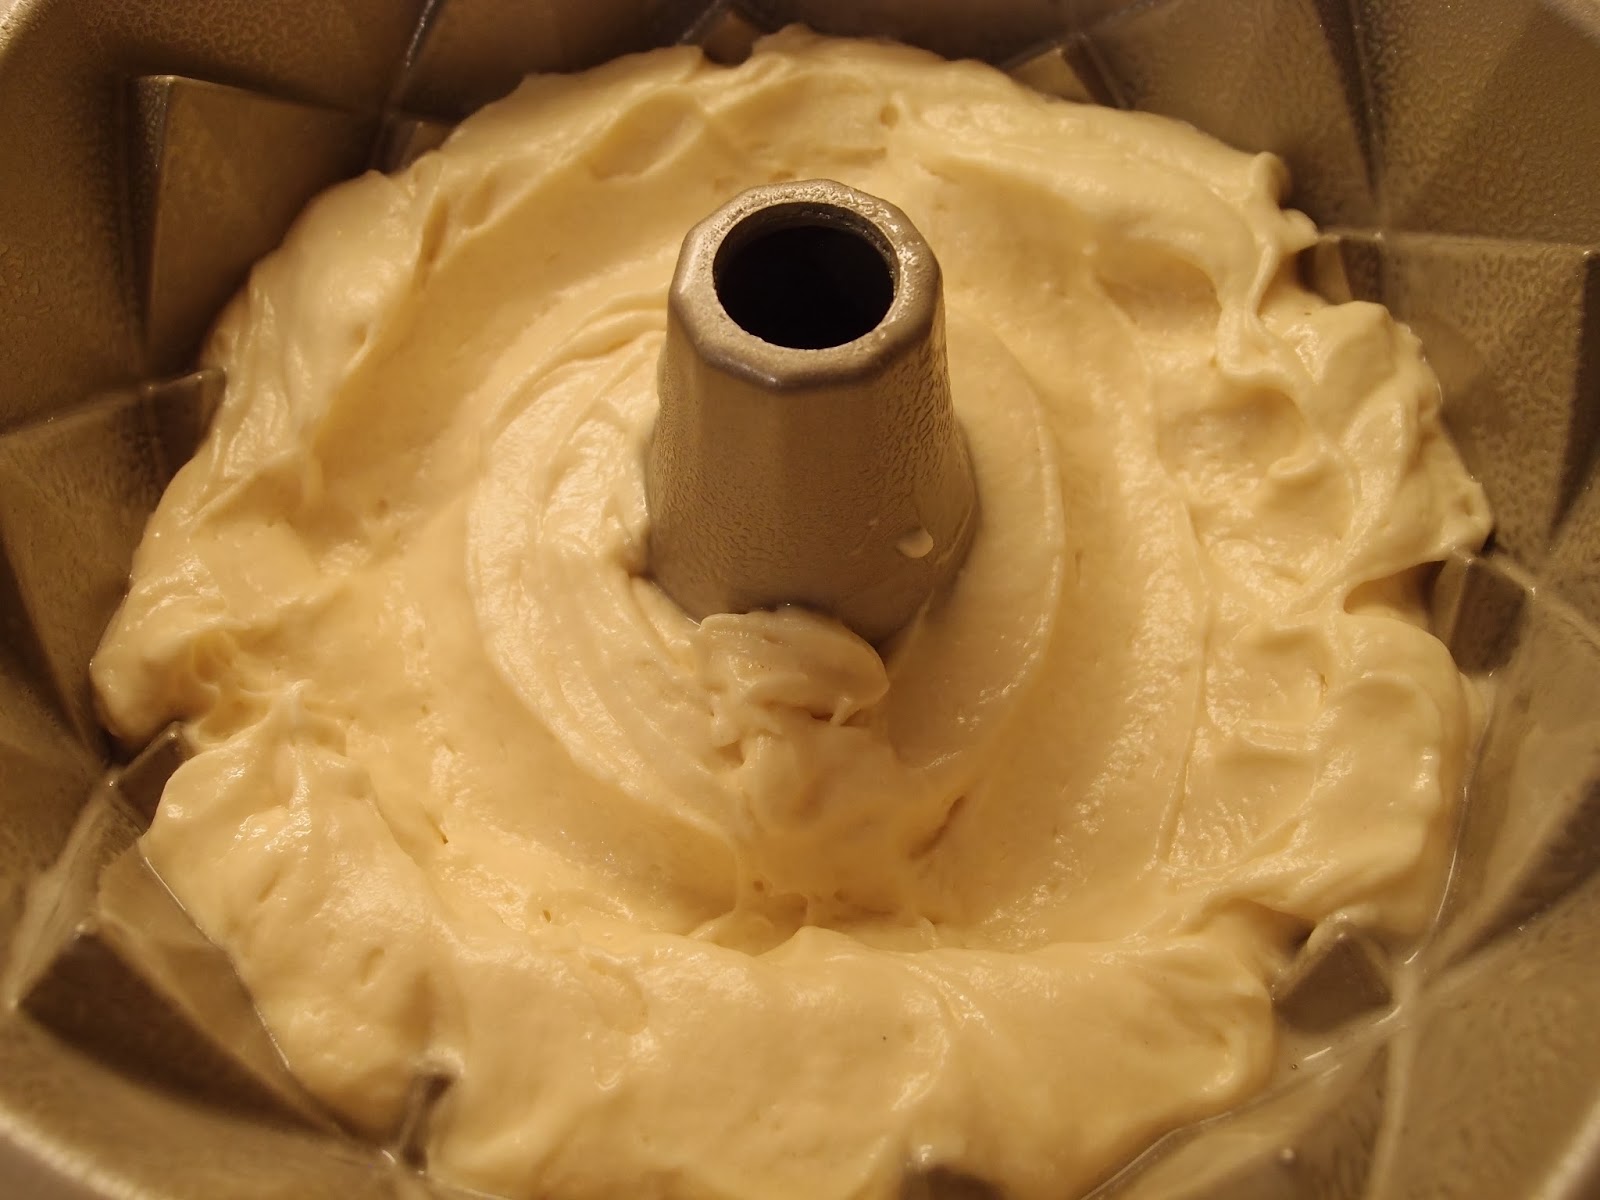
To stop the custard or jam seeping to the edge of the batter and possibly burning during baking I came up with a method to make channels in the batter and spoon the fillings into it.  Use a spoon or knife to make a channel like this:


Take care to spoon the custard and jam into the channel, making sure there is batter protecting it from the edges of the tin:


Cover with batter and spread carefully so as not to squidge the custard and jam out to the edge.


You get a lovely big slice from a bundt cake like this; the batter was the perfect quantity to fill the tin and, when baked, the cake only needed a thin trim to cut off the crust and make it stand nicely on a plate.


The sponge is lovely – soft and springy, and would be nice on its own with a buttercream or full covering of icing.  Definitely a keeper!


Ingredients:

For the custard:
2 tablespoons custard powder
1 tablespoon caster sugar
280ml milk
For the cake batter:
225g unsalted butter, at room temperature
450g caster sugar
4 eggs
2 tbsp vanilla extract
350g plain flour
1/2 tsp bicarbonate of soda
250ml natural/Greek style  yogurt
4-5 teaspoons jam – I used strawberry
For the glaze:
150g icing sugar
2-3 tablespoons warm water


Method:

Preheat the oven to 180°C/ fan oven 160°C/ 350°F/gas mark 4.

Spray the bundt tin with cake release spray – my bundt tin was a N0rdicware 2.4l, 10 cup, 10 inch.

Make up the custard according to the instructions on the packet and leave to set.  You want the custard cold before you add it to the batter.

Beat the butter and sugar until pale and fluffy; don’t skimp on this stage.

Beat in the eggs one at a time, add a little of the flour if it looks like the batter might curdle.

Beat in the vanilla.

Weigh out the flour and bicarbonate of soda.

Measure out the yoghurt.

Stir in a third of the flour mixture followed by half the yogurt. Repeat this until everything is combined. Don’t over-beat the batter at this stage.

Spoon about a third of the batter into the prepared tin and ensure it is evenly spread out.   (NB.  I did this and my jam and custard sank during baking, so I think next time I’d put half the batter in first, then a layer of jam/custard, then half the remaining batter, layer of jam/custard, final bit of batter)

Take a blunt knife or teaspoon and bank the batter up the sides of the tin a little, to make a channel for the custard and jam.

Spread out half the custard onto the batter, taking care that it doesn’t reach the edges – you want it enclosed in the cake batter.

Dot some jam on top.

Spoon a further third of batter over the jam and custard, taking care not to squidge it out to the edges.

Bank the sponge again to make a channel.

Repeat the process with the remaining custard, jam and cake batter.  The final layer of cake batter should be spread smooth – no need to make a channel.

Bake in the centre of the oven for about 1 hour 15 minutes or until a skewer inserted into the cake comes out clean.

Leave the cake to cool in the tin for about 20 minutes, then de-tin and leave to cool completely on a wire rack.

Now make the glace icing:  mix the icing sugar with a little warm water until you have a thick, glossy icing that’s runny but not watery.   If in doubt, keep the icing on the thick side.

Spoon it over the cake and allow to drizzle down the sides.

Leave to set.

Bask in the glory of the wonderful thing you have created.


Eat.

Sunday, 12 August 2012

Coconut biscuits


I’m writing this as the biscuits are baking in the oven – the smell of toasting coconut is driving me mad!  Why won’t they bake faster????  Coconut is one of my all time favourite baking ingredients. 


When I looked at the method for these biscuits I expected them to be like the oaty melting moments biscuits I remember making at school.  While the method is similar i.e. roll dough into ball, roll in coconut, the result is quite different.  These are not shortbread-like in texture – they are a cross between a biscuit and a macaroon (note the ‘oo’ there – I’m talking about those big flat coconut macaroons you used to find in bakeries).  Slightly chewy and satisfyingly filling.


I’m limited in my opportunity to bake with coconut as the CCB and Boy Wonder (Caked Crusader’s Brother and my nephew) hate it; so I can only use it on weekends I won’t be seeing them.  In truth, the Boy Wonder doesn’t hate coconut at all and likes anything with it in...until you tell him its coconut!  Men, huh?


The quantity below yielded 25 biscuits for me.  According to the recipe it should’ve been 32.  I have never yet got the recommended number of biscuits out of ANY recipe I’ve made.  I don’t know why – I used the teaspoon measurement, like they said but my heaped teaspoons always seem a little more heaped than anyone else’s.  Maybe you’re not meant to see it as a challenge as to how much dough you can pile up onto the small spoon?


You can decorate the biscuits by placing half a glace cherry in the centre of each biscuit before baking but, seeing as the first thing I do is pick it off, I didn’t bother!


News just in – I’ve had a decadent idea...how about spreading the flat side of the biscuit with a little raspberry or strawberry jam – a sort of biscuit version of a Madeleine?  
Ever eager and dedicated to my research (ahem), I have scuttled to the kitchen and tested my theory:


Oh yes, it tastes even better than it looks!  This is the BEST way to enjoy these biccies!


Ingredients

120g unsalted butter, at room temperature
250g caster sugar
2 eggs
150g desiccated coconut – you may need a tablespoon or so extra
300g plain flour
Optional: Jam to spread on the biscuit (strongly recommended!)


Method

Preheat the oven to 180°C/fan oven 160°C/350°F/gas mark 4.

Line three baking sheets with baking paper.

Place the butter, sugar and eggs into a bowl and beat together until you have a custardy looking cream.

Measure out the coconut then take four rounded tablespoons of it and place on a plate for later. 

Add the rest of the coconut to the butter mix and stir in.

Stir in the flour – you should have a firmish and sticky dough.

Take a rounded teaspoon of the dough and roll into a ball – it won’t be as sticky as you expect and will handle easily.

Roll the ball in the reserved coconut. (I found I needed an extra tablespoon of coconut to ensure all the balls got a nice even covering)

Place on a baking sheet and flatten so that you have a thick disc of approx 4cm across.

Continue to do this with the remaining dough.

Place the biscuits a little apart as they do spread on baking.  I was too cautious and put 8-9 per baking sheet; they could’ve gone closer!

Bake for approximately 18 minutes or until golden.  I turned the trays around halfway through to ensure even colour.

Leave to cool on the baking sheet before storing in an airtight container.

Bask in the glory of the wonderful thing you have created.

Eat

Sunday, 4 March 2012

Cake balls, four ways


I have resisted the phenomenon that is cake pops because I can never get past the line in the method that instructs you to break the cake into crumbs. I wouldn’t need buttercream to bind the crumbs; my tears (caused by such wanton vandalism) would do the job. But I have to admit I do like the look of them, the size of them and their versatility.


Enter Lakeland with their cake ball machine
. For those who haven’t seen it, it’s a plug in counter-top machine that bakes small amounts of sponge mix into balls in less than 5 minutes. Impressive, non? And you get all the joy of a cake ball without having to desecrate the sponge.


I found that lifting the balls out was easy if you used two cocktail sticks; they are small enough so as not to tear the sponge:


For my first dalliance with this machine I kept it simple. All the cake balls are made from the same tried-and-tested vanilla cupcake sponge recipe
. Some I rolled in jam and coconut for a classic English Madeleine:


When I rolled the balls in the hot jam I just had to photograph them as they looked so beautiful – almost like plums:


Others were rolled in chocolate ganache
and chopped nuts:


As you can see, the sponge is a lovely texture; I was really impressed with this little machine:


For the citrus lovers amongst my eatership I rolled the sponge in lemon drizzle mix
so that the whole ball was covered in the thin crusty glaze (it pains me to say it, but these were voted the favourites on the day – even by only casual lemon-eaters):


And finally, so no one had any grumbles, I cut some in half and sandwiched them with peanut butter cheesecake
.


Serving them in mini cupcake cases gave the air of a box of truffles – a really cute look with no need for any decorating skills at all:


Ingredients and method

Obviously, the quantities will vary depending how many cake balls you wish to make. Here are the basic quantities that you can scale up or down based on your needs.

For the cupcake sponge (this will make 12 normal sized cupcakes or 32 cake balls):
125g unsalted butter, at room temperature
125g caster sugar
2 teaspoons vanilla extract
2 eggs
125g self raising flour
1 tablespoon milk

Beat together the butter and sugar until light and fluffy.

Beat in the vanilla

Beat in the eggs, flour, and milk.

When the mixture is smooth and well combined, spoon teaspoonfuls of batter into the oiled (I used Dr Oetker cake release spray and – contrary to the cake ball maker’s instructions found that I didn’t need to reapply) cake ball maker. It’s important to work quickly and cleanly – if you drip batter anywhere other than the holes you will find you don’t get nice clean cake balls.

Bake for 4 minutes or until the balls are firm. Mine took exactly 4 minutes and the easiest way I found to remove them from the machine was to spear them lightly with 2 cocktail sticks and lift them out.

Leave to cool on a wire rack.

When they are cool, gently pick off any surplus batter that makes them look like Saturn with its rings!

Now the fun bit – decorating!

For the Madeleine version (enough for 16 balls):
Heat some jam (I used almost a whole jar of raspberry) and roll the balls in it.

Roll in a approx 100g of desiccated coconut.

For the chocolate ganache (enough for 16 balls):
125g dark chocolate – I used half dark, half milk
150ml double cream
100g chopped nuts

Place the chocolate, broken into chunks, in a heatproof bowl.

Heat the cream to boiling point, then immediately pour over the chocolate.

Leave to stand for a couple of minutes then stir until it is smooth and well combined.

Leave to cool and firm up before rolling the balls in it.

Roll the balls in chopped nuts.

For the lemon drizzle (enough for 16 balls):
2 lemons – zest and juice
2 tablespoons caster sugar
Icing sugar – enough to make a runny icing; the quantity required will depend on the juiciness of your lemon!

Place the lemon zest, juice and caster sugar in a bowl and beat in enough icing sugar to make a thin, extremely runny icing. (The reason for using caster as well as icing sugar is that the caster won’t sink into the cake and leaves a lovely light sugar crust on the top of the cake).

Pierce the cake balls all over – I used a cocktail stick for this.

Sit the balls in the glaze and leave them to absorb the lemon for 5 minutes or so.

Use a fork to lift the balls out and let the excess glaze run off.


For the cheesecake (easily enough for 32 balls – I only used it for 16 and spread the rest on digestive biscuits as a tasty treat!):
150g cream cheese – I used Philadelphia

25g icing sugar
70ml double cream
2-3 tablespoons peanut butter and add more to taste

Beat together all the ingredients except for the peanut butter.

When you have a smooth consistency spoon beat in the peanut butter.

Cut the cake ball in half and spoon or pipe a ring of cheesecake around one flat surface.

Press together with the other sponge half.

Refrigerate until you wish to serve.

Serve in small paper cases or on sticks.

Bask in the glory of the wonderful thing you have created.

Eat.