Showing posts with label peanut butter. Show all posts

Sunday, 25 January 2015

Peanut butter brownies


I don’t make a lot of brownies (last brownies made: November 2013, a shocking statistic), mostly because Mr CC claims not to like them.  Note the use of the word ‘claims’.  The pattern is as follows:
Me – I’m making brownies this week.
Mr CC – I don’t like brownies.
A day or so later….
Mr CC – I took the brownies in to work and had one.  It was actually pretty nice.
Repeat cycle every time I say I will make brownies.
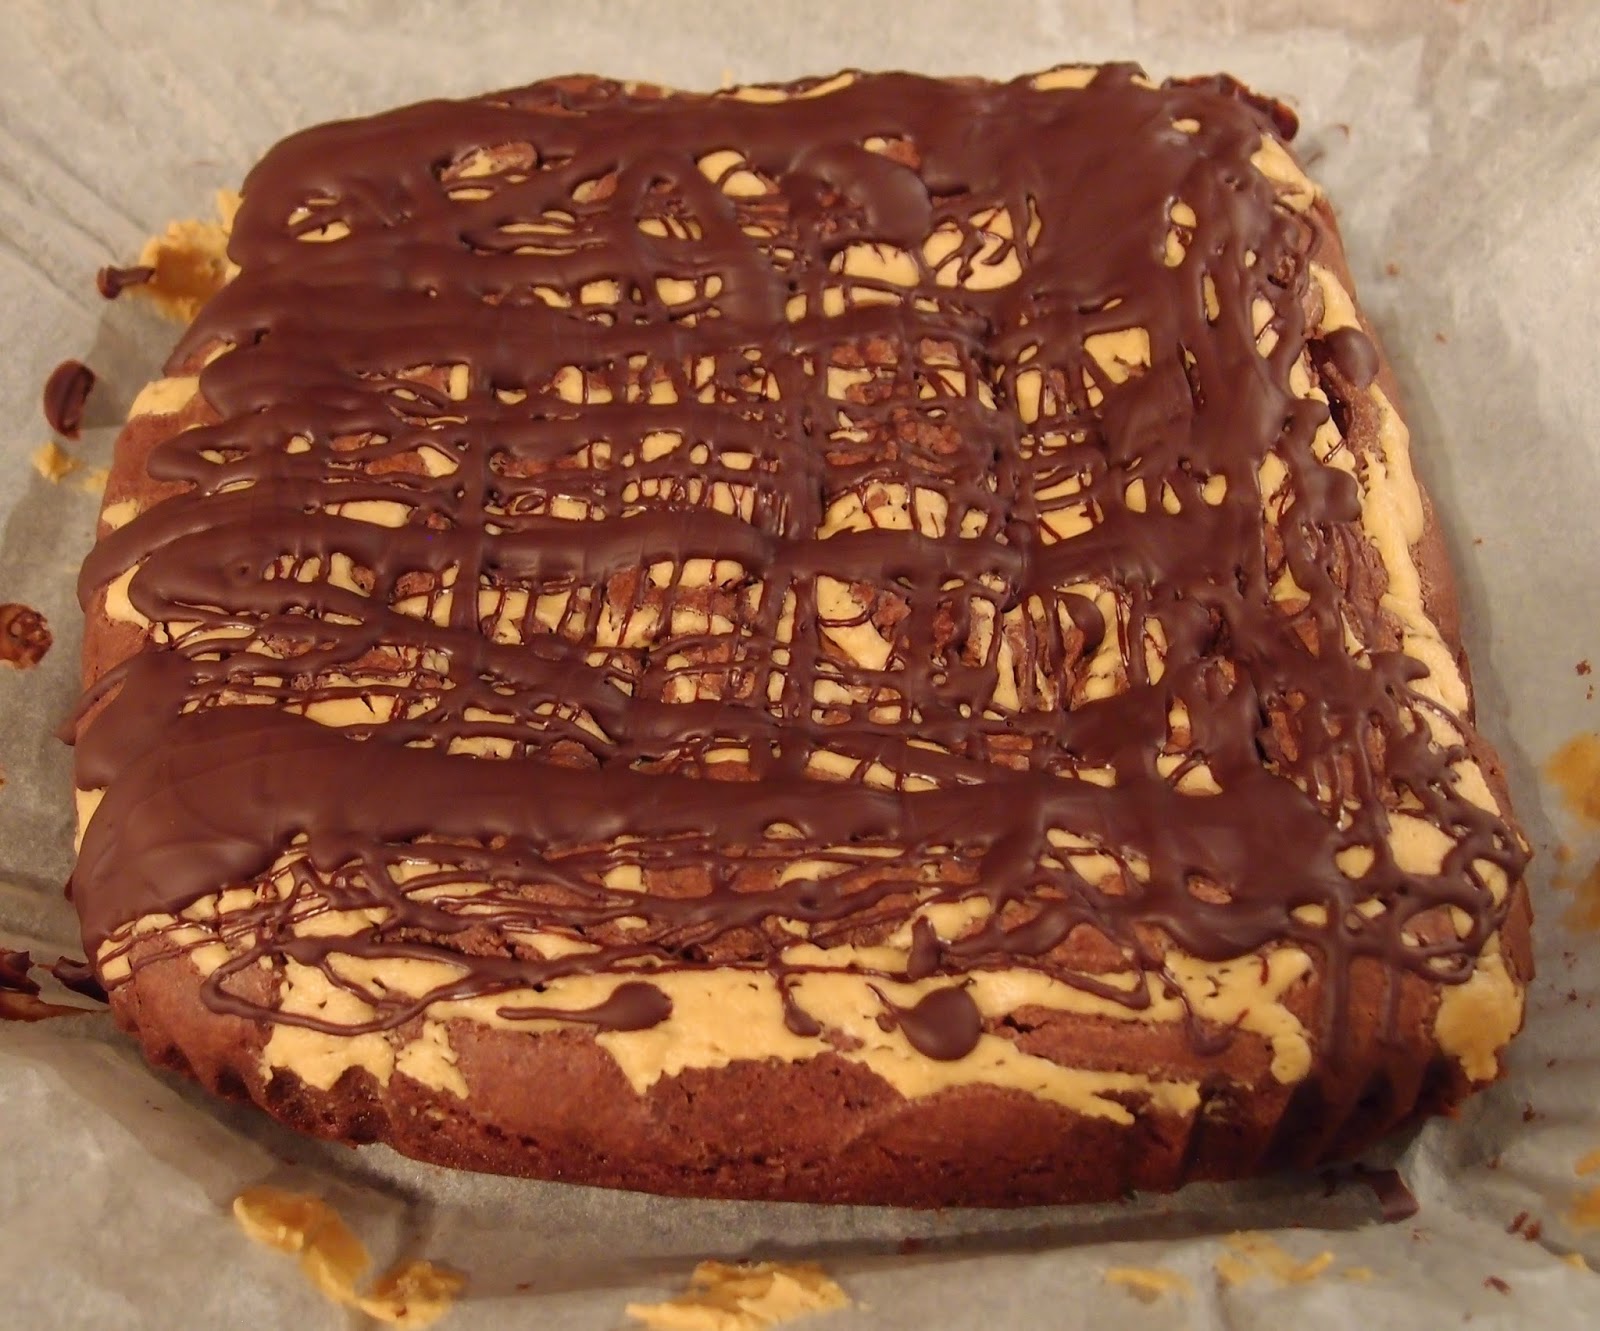


Chocolate and peanut butter is such a satisfying flavour combination.  I love the sweet saltiness that peanut butter adds to baking and, teamed with good dark chocolate, the flavour is rich and mouth-watering.  Often when a recipe calls for dark chocolate I substitute it for half milk, half dark; I didn’t do that here as you need the dark flavour to balance the sweetness.  If you used milk chocolate I think it could be a sugar overkill and end up a little cloying.


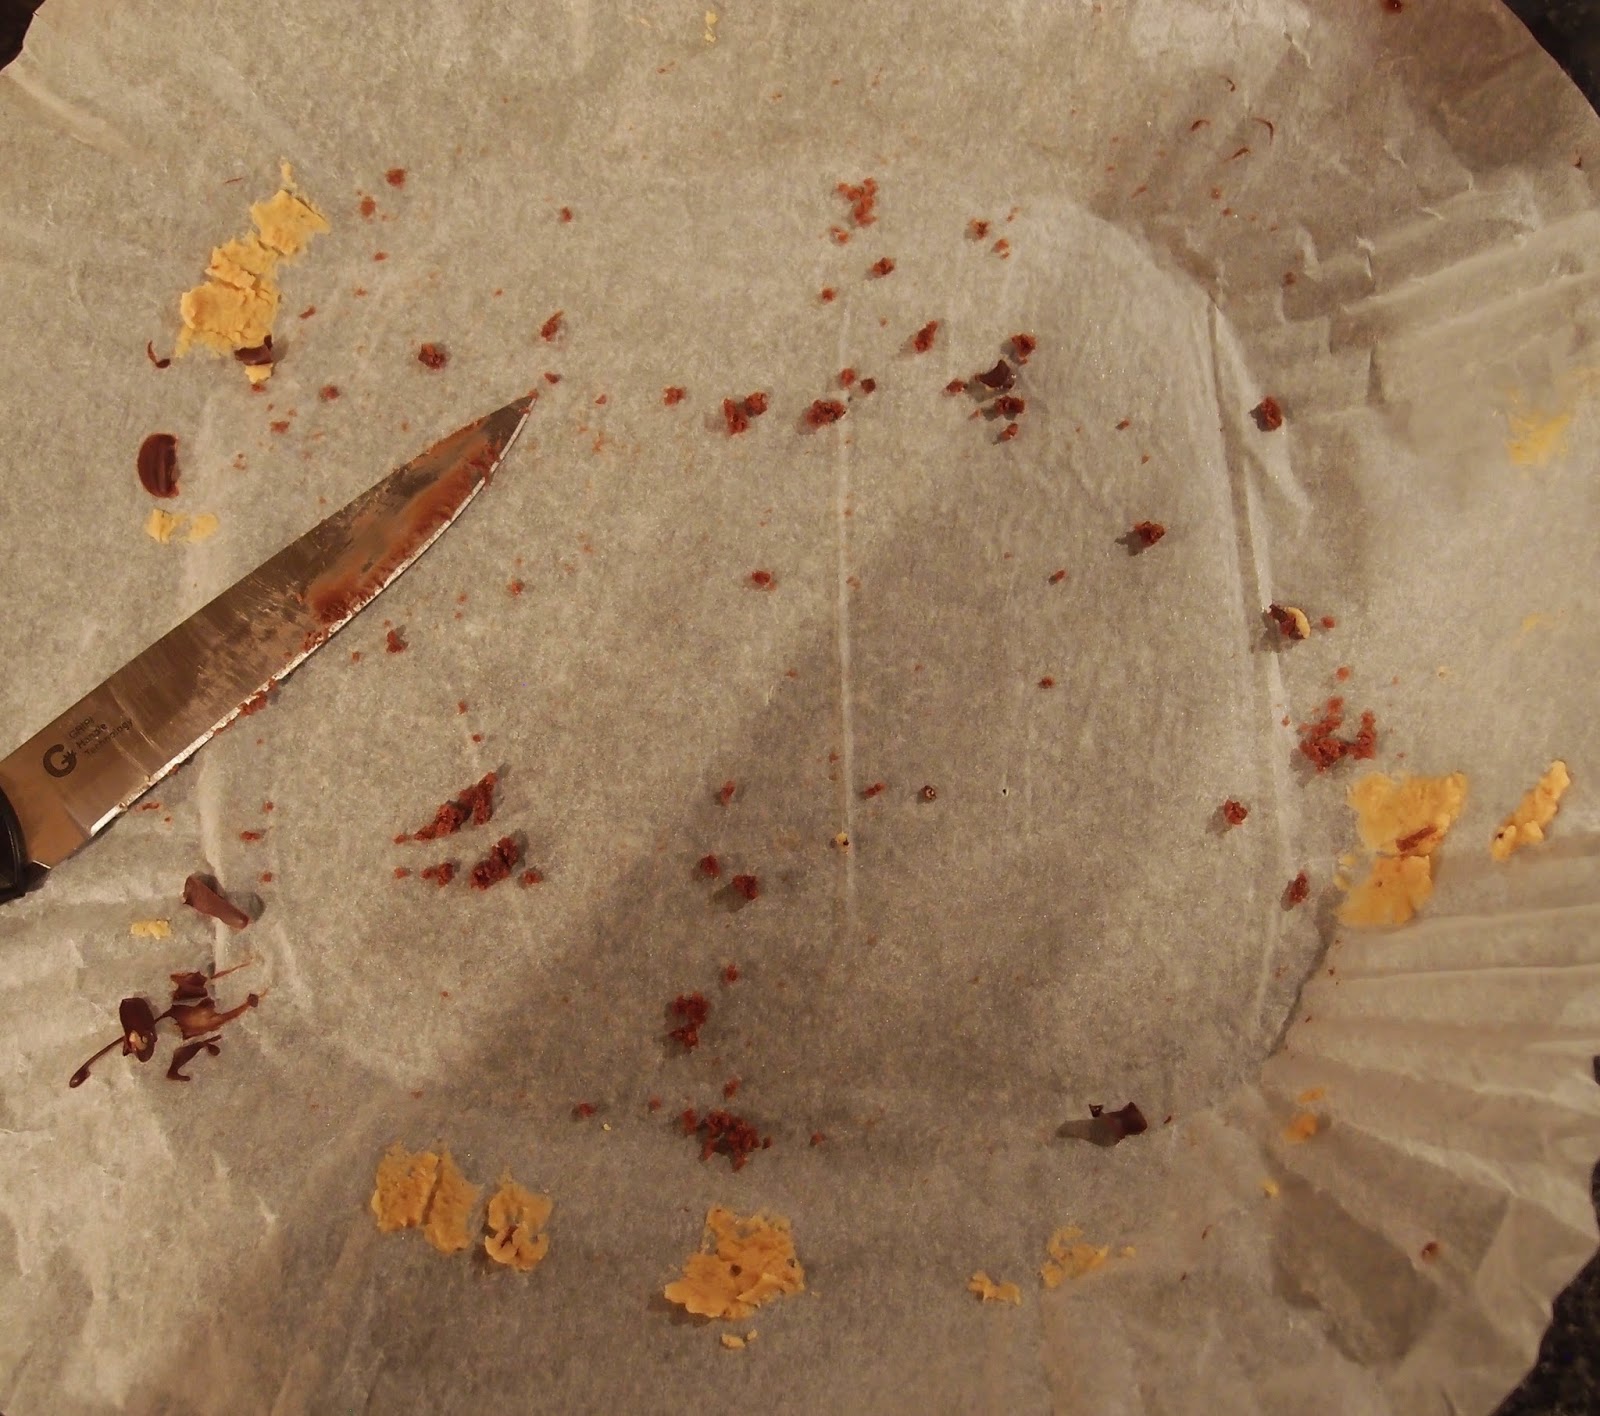
These brownies have that squidgy, dense texture that good brownies should have and are divine served warm with ice cream for dessert, or at room temperature with a cup of tea.  They keep well too, although believe me when I say that really won’t be an issue!  The following photo is all a latecomer should ever see of a good brownie:


Ingredients

For the brownies:
225g smooth peanut butter
150g dark chocolate, broken into squares
200g light brown soft sugar
3 eggs
100g self raising flour

For decoration:
50g dark chocolate, melted


Method

Preheat the oven to 180C/ fan oven 160C/ 350F/ gas mark 4.

Line a 20cm square cake in with baking paper or non stick foil.

Put 50g of peanut butter to one side.

Place the remaining 175g of peanut butter in a bowl with the chocolate and sugar and melt together in a saucepan over a gentle heat.  Stir occasionally. 

Leave to cool for about ten minutes.

Beat the eggs, one at a time, into the chocolate mix.

Fold in the flour.

Pour into the prepared tin and put to one side.

Melt the 50g of peanut butter you put to one side at the start.  You can do this in brief bursts in the microwave or on the hob.  Only heat it until it is thin enough to drizzle.

Drizzle the melted peanut butter over the unbaked brownie.

Bake for approximately 25 minutes, but it’s best to check after 20 minutes as ovens vary widely – you’re aiming for a squidgy middle but with a crust.  It will carry on baking/firming up as it cools.

Melt the remaining chocolate and drizzle over the top of the baked brownie.

Leave to cool completely in the tin, on a wire rack, before de-tinning and cutting into squares.

Bask in the glory of the wonderful thing you have created.


Eat.

Sunday, 28 September 2014

No-bake oat, chocolate and peanut butter bars


Mr CC’s workplace is hosting a big coffee morning for Macmillan Cancer on Monday in order to give everyone time to bake over the weekend rather than have to do it when they got home from work.  I’ve been beavering away making sponge cake and cupcakes and needed something very quick and easy for us to enjoy.  Cake for charity is an extremely worthwhile and noble thing but there’s also the saying that charity begins at home so I knew our own cake tin had to be well stocked too!


This really couldn’t be any quicker or easier.  Or any more delicious which, after all, is obviously the most important thing.  I am always partial to anything oaty – I’ve never met a flapjack I didn’t like, but the addition here of chocolate and peanut butter raises the bar and adds that salty-sweet element that everybody seems to adore.  The molten chocolate peanut butter mix was so glossy and beautiful that I had to photograph it:


The only tricky thing here is not to eat all the warm, buttery oat mix before it finds its way to the pan to chill.  Warning: do not taste a bit ‘just to see what it’s like’.  You will end up eating a pan full of warm oats and wondering if you have enough ingredients left to make a second batch!  I tasted a bit (which I realise makes me fall into the ‘do as I say, not as I do’ camp) and a second bit just to prove the first bit wasn’t misrepresentative of the whole...and after that had to dig deep into my self control reserve (not known for its depth) to leave it alone.  The smell was torturous to resist!


I think from this next picture you could guess that I’m left handed!


Ingredients

225g unsalted butter
100g soft brown sugar
1 teaspoon vanilla extract
375g oats
200g milk chocolate
125g smooth peanut butter


Method

Line a rectangular pan measuring approximately 24cm v 17cm with baking paper or non-stick foil.  Anything close to these dimensions will work so don’t worry if your pan is different.

Melt the butter in a large saucepan over a gentle heat; don’t rush this – you don’t want the butter to take on any colour.

Stir in the sugar and vanilla.

Add the oats and stir well to combine.

Cook over the heat for about 5 minutes.

Divide the mixture in half and press one half evenly into the bottom of the prepared tin.

Put the remaining half to one side.

In a separate pan, gently melt the chocolate and peanut butter, stirring occasionally so the ingredients combine.

Pour over the oaty base in the tin and spread out so the base is completely covered.

Crumble the remaining half of oat mixture over the chocolate taking care to achieve an even distribution.

Lightly press the oats into the chocolate.

Cover with clingfilm and refrigerate for at least three hours, ideally overnight.

Let come to room temperature before cutting into bars.

Bask in the glory of the wonderful thing you have created.


Eat.

Sunday, 25 May 2014

Peanut butter chocolate truffles


These delicious truffles could not be simpler to make but they do require a bit of planning as the ganache needs time to chill properly in the fridge.  I was inspired to make these after Mr CC and I were served them with our tea/coffee at the end of very nice dinner to celebrate Mr CC’s birthday. 


The ones we were served in the restaurant had been rolled in cocoa powder, which I’m not a fan of in its raw form, so I used digestive crumbs instead.  Curses!  I am typing this post at mid point in the process – my ganache is cooling in the fridge.  Unusually, Mr CC is sitting next to me while I’m typing and has noticed that I’ve chosen not to roll them in cocoa....long story short, half will now be in biscuit crumbs, half in cocoa!


I have noticed a curious thing about digestive biscuits: when I buy them to put in my biscuit tin and wish them to stay whole I will open the packet and find several broken, even though I have carefully laid them in the top of one of my bags of shopping and treated them as though they were made of glass.  When I buy digestive biscuits to turn into a cheesecake base or any other recipe that involves smashing them into crumbs I will casually toss them into any of my bags of shopping – in with the potatoes and milk?  Why not? They will be doing the work for me! – and they will come home with not so much as a crumb chipped away. 


Peanut butter and chocolate is a lovely combination for anyone who enjoys that salty/sweet flavour mix.  I challenge anyone to stop at one truffle!  I tried cutting one in half to try and convey the rich, dense texture but it looked a bit crumbly because I cut it straight from the fridge thinking it would give a cleaner cut.  Moral of this story?  When in doubt, bite it in half:


Ganache making is a wonderful process; I never quite trust that the chocolate will mix in but it’s wonderful how it does!


I used a small melon baller to scoop the ganache into individual truffles.  You can tidy the balls up by rolling them in your hands but don’t waste a lot of time on this because, once they are rolled in cocoa or crumbs they look smooth and round anyway.  I made mine quite small – I like a truffle that you pop into your mouth whole and treat like a shot!  This mixture made me over 60 truffles....hurray!  Don't limit yourself to serving them as chocolates - how about using them as decadent cupcake toppers, or cheesecake decorations....in fact, any chocolate dessert?


Ingredients

300ml double cream
6-8 tablespoons smooth peanut butter – depending how peanutty you want it
200g dark chocolate, broken into squares
100g milk chocolate, broken into squares
8 digestive biscuits
6 tablespoons cocoa powder, you may need more


Method

Place the cream and peanut butter in a saucepan and bring slowly to the boil.

Remove from the heat and add both the dark and milk chocolate.

Leave to stand for a couple of minutes before gently stirring to combine into a thick, glossy ganache.

Pour into a heat proof dish and leave to cool before refrigerating until set (at least 4 hours – I left it overnight).

Blitz the digestive biscuits to crumbs either in the food processor or by placing in a bag and bashing with a rolling pin.

Take a melon baller scoop (or a  teaspoon if you don’t have a melon baller) of ganache and roll into a ball.

Repeat until all the ganache is used up.  If the ganache in the dish or the rolled balls start to get too soft return to the fridge for 10 minutes before resuming.

When all the balls are rolled, roll them individually in the biscuit crumbs or the cocoa powder.

Place in a petit four paper case and refrigerate until you wish to serve.  I got over 60 truffles...which made me very popular with everyone!

Bask in the glory of the wonderful thing you have created.


Eat.

Sunday, 3 February 2013

Fat Elvis cupcakes


Now these are going to disgust some people because they are topped with candied bacon!  It’s always good to start a baking post with the admission you’ll be disgusting some people...is your mouth watering yet?  Bacon cupcakes were a big thing a couple of years back and I thought it was time I tried one.  Yes, I am about two years behind the curve on most things....never be an early adopter, that’s my motto!


Mr CC cannot even hear me speak of these cupcakes without grimacing.  He can’t get past the bacon.  I’ve tried rationalising it by asking him to ignore the bacon – pick it off if it appals him – and just focus on the banana cupcake with peanut butter cream cheese frosting.  He then admitted he has a problem with banana too.  I’m not going to convert him on this one, I can tell!


Seriously though, the bacon is a gimmick to tie it in to Elvis.  Simply omit it and you have a far more ‘normal’ cupcake.  The cupcake takes its – admittedly rather cruel – name from Elvis Presley’s alleged penchant, late in his life, for peanut butter, banana and bacon sandwiches.


I loved this cupcake.  The banana sponge is surprisingly light (lighter than say, banana bread) and more banana flavoured than eating a banana.  I know that’s impossible but it tastes so intense.  The cream cheese peanut butter frosting is thick and smooth and one of those things you want to roll around in your mouth because it feels so nice (oh....just me then?)


The bacon.  The bacon is AWESOME!  I went for unsmoked back bacon to stop it being too salty – the peanut butter is salty and I wanted to keep it a balanced, mostly sweet cupcake.  Cooking the bacon in the maple syrup was a special kitchen moment for me – close to spiritual.  The smell!  The look!  The taste!  Sigh.....!  Here are the three stages of the bacon:


I am aware that a lot of food sites are starting to promote Valentine’s baking...and I’ve made Fat Elvis cupcakes.  Perhaps not the most romantic of bakes.  I do have some Valentine’s bakes up my sleeve, but this weekend was more about the food of gluttony rather than the food of love!


Ingredients

For the sponge:
125g unsalted butter, at room temperature
125g caster sugar
2 eggs
125g plain flour
2tsp baking powder
2 small/medium ripe bananas, mashed

For the frosting:

180g icing sugar
230g cream cheese, room temperature
115g unsalted butter, room temperature
130g smooth peanut butter
Optional: a handful chopped salted peanuts

For the glazed bacon:
4-6 rashers of bacon, cut into 1.5 inch pieces
2-3 tablespoons maple syrup


Method

Preheat the oven to 180ÂşC/fan oven 160ÂşC,350°F/ Gas mark 4.
Line a cupcake pan with 12 paper cases.
Beat together the butter and sugar until light and fluffy.  Don’t skimp on this stage.
Beat in the eggs, one at a time, adding a little of the flour if it looks like it might curdle.
Beat in the remaining flour and baking powder.
Fold in the mashed bananas.
Spoon into the paper cases and bake for approximately 20-25 minutes or until a skewer inserted into the sponge comes out cleanly. (They take a little longer than normal sponges because of the large amount of banana – it makes the batter rather wet)
Leave to cool - out of the tin – on a wire rack.
The sponges can be made a day or two in advance if stored in an airtight container.
Now make the frosting:  Sift icing sugar into the mixing bowl.
Add the cream cheese, butter, and peanut butter and beat until smooth.
If the frosting is soft, ten minutes in the fridge will make it the perfect consistency.
Spread or pipe the frosting over the banana cakes and sprinkle with chopped salted peanuts (if using).
Again, the frosting can be made and applied to the cupcakes a day in advance of serving but need to be kept in the fridge because of the cream cheese.
To make the bacon: Start by cutting the bacon into 1.5 inch pieces.
Dry fry the bacon and pour away any fat that comes out.
Add maple syrup and cook until dark brown.  Be patient with this – it takes a while for the liquid of the maple syrup to evaporate and turn into a thick, treacly coating. Don’t rush it!  When it becomes difficult to turn the bacon because it sticks like glue to your spatula...it’s ready!
Leave the glazed bacon to cool – ideally on a non stick surface as it’s pretty sticky!
It can be made a day in advance and kept in the fridge.
Use as a cupcake topper.  I chopped each piece into three, so there wasn’t a huge chunk of bacon on top of the cupcake.
Bask in the glory of the wonderful thing you have created.
Eat.


Sunday, 2 September 2012

Chocolate and peanut butter tart – 5th bloggiversary celebration


This tart is possibly one of the most professional looking things I’ve made.  I think it’s the marbling on top of the peanutty white chocolate through the dark.


The peanut butter and white chocolate melted together was a test of my willpower, in that I wanted to eat it by the spoonful straight from the microwave!


Usually, when a recipe calls for dark chocolate I use a mix of dark and milk to sweeten it.  I didn’t here because this tart is all about the dark chocolate/salty peanut contrast.  The white chocolate adds some sweetness but this is a rich, dark tart which packs a sophisticated punch of flavour.  In this shot I think you can see the three layers of pastry, white choc/peanut butter, dark chocolate:


I had my doubts about the pastry when I made it, and even when I took it from the fridge to roll.  It is dry, and it is a little crumbly, but once you start rolling it behaves.  There is just enough pastry to line the tin so don’t panic – it’s thin and biscuity.


Five years.  I’ve been blogging for five years now.  Those five years have changed my life beyond measure – when I started blogging I hadn’t even met Mr CC, now I can’t imagine life without him.  The five years have contained extreme highs and devastating lows but the constant thing in my life has been baking – however silly that sounds.  My routine of Friday or Saturday bake, Sunday blog has pretty much been set in stone barring holidays and work travel, and even then I’ve tried to post, just maybe on a different day. 


Thank you for visiting my site and leaving your lovely comments; I hope you find enjoyment in what you find – whether it’s using the recipes to create your own delights, or merely treating it like a cake shop and window shopping!


I suppose it is a bit weird to photograph everything you bake (and then assume other people will want to see it!).  All I can say is that I’ll know it’s time to stop when a photo like this doesn’t excite me any more:


Ingredients

For the pastry:
200g plain flour
80g unsalted butter, cold
40g caster sugar
1 egg yolk
1-2 tablespoons cold water – I needed 2

For the dark chocolate filling:
200ml double cream
250g dark chocolate, broken into chunks – I used Green & Blacks 70% dark chocolate
1 tablespoon golden syrup
50g unsalted butter
2 eggs
1 egg yolk

For the white chocolate filling:
100g white chocolate, broken into chunks
100g smooth peanut butter

Method

Start by making the pastry: Place the flour, butter and sugar into the food processor and blitz until you have fine crumbs.  Alternatively, use the rubbing in method i.e.  rubbing the butter and flour through your fingertips until the ingredients incorporate into crumbs.

Add the egg yolk and blitz again.

Add the water, a tablespoon at a time, and pulse the processor until the mixture forms wet clumps.

Tip out onto a sheet of clingfilm and – handling as little as possible – form into a ball.

Flatten into a disc, wrap in the clingfilm and refrigerate for at least 30 minutes.  (I made it the night before and left it in the fridge – it’s fine!)

Roll out the pastry between two sheets of clingfilm.  At first it will seem too crumbly but persevere and, as the pastry warms, it will behave.  You will need to roll it thin to line the tin.

Take a 23cm loose bottomed flan tin and line it with the pastry.  Patch as needed.

Prick the bottom several times with a fork and return to the refrigerator for 30 minutes.

Preheat the oven to 200°C/fan oven 180°C/390°F/gas mark 6.

Line the pastry with baking paper or non stick foil, and weigh down with baking beans.

Place on a baking sheet and bake for 12 minutes.

Remove the beans and foil and return the exposed pastry case to the oven for a further 5 minutes, or until it is a light golden brown.

Leave to cool.

Reduce the oven temperature to 160°C/ fan oven 140°C/320°F/gas mark 3

Now make the dark chocolate filling: place the cream, chocolate, golden syrup and butter in a saucepan and gently heat to melt the ingredients.

Stir frequently and don’t wander off and leave it!

When all the ingredients have melted i.e. you can’t feel any more lumps of chocolate, remove from the heat and leave to cool a little.

When cool, beat in the eggs and yolk and stir with gusto to incorporate.  At first the chocolate will refuse to accept the eggs but suddenly you will feel the mix thicken and come together.
Put to one side.

Now make the white chocolate filling: place the ingredients in a dish, cover and microwave.  I gave it 30 second bursts and stirred after each.  In total, it only took just over a minute to melt.  Alternatively, you can melt them in a bowl, over a pan of simmering water.

Spoon 2/3s of the white chocolate mixture into the bottom of the pastry case.

Pour the dark chocolate mixture over it taking care to be gentle – you don’t want to disturb the white chocolate layer.

Level the surface then spoon over the remaining white chocolate.

Using a skewer swirl the white chocolate so it is evenly distributed across the dark chocolate.

Bake for 25-30 minutes until set.  Mine took 25 minutes.

Leave to cool.

Refrigerate until you wish to serve.  I served with thick cream.

Bask in the glory of the wonderful thing you have created.

Eat.

Wednesday, 9 May 2012

Sticky peanut butter chocolate cake


There is something about the smell of peanut butter – it’s more peanutty than peanuts!  I could just stand with the jar inhaling it, but eating it...on toast...no thanks; I find the texture too thick and cloying.  Baking with it, however, is a pure unadulterated joy.


This recipe interested me as the peanut butter is only in the filling/topping.  The idea of beating smooth peanut butter into molten chocolate – unsurprisingly – appealed to me and I can’t recommend it enough.  I think it would also work really well as a topping for cupcakes or even as the filling of a biscuit sandwich.


The filling packs a lot of flavour.  Initially you get chocolate and sweetness (I added the icing sugar but not the cocoa) then the saltiness of the peanut kicks in before the chocolate returns.  For a sandwich cake, this isn’t a huge amount of filling but don’t be tempted to double it as I think the flavour would overpower the sponge.  It’s perfectly balanced as it is...and I say that as someone who always thinks more is better!


Sometimes being indecisive can really work in your favour (but not necessarily help your waist line).  I spent so long pondering whether to top the cake with chocolate covered peanuts or nut brittle that, in the end, I went with both!  They added nice texture to an otherwise soft and squidgy cake.


Ingredients
For the sponges:
175g unsalted butter, at room temperature
150g caster sugar
25g light brown sugar
3 eggs
1 teaspoon vanilla extract
150g self raising flour
30g cocoa powder
2 tablespoons milk

For the filling:
45g dark chocolate
45g milk chocolate
125g smooth peanut butter
25g unsalted butter, at room temperature
2 teaspoons icing sugar – optional (depends on how sweet the peanut butter is)
2 teaspoons cocoa powder – optional (depends on how ‘strong’ you like your chocolate)

To decorate: chocolate covered peanuts and broke up nut brittle

Method

Preheat the oven to 180°C/fan oven 160°C/350°F/gas mark 4.

Line two 20cm round loose bottomed sandwich tins with baking paper.

Beat together the butter and sugar until the mix is pale, light and fluffy – don’t skimp on this stage as this is where the air gets into the sponge.

Gradually beat in the eggs, one at a time.

Beat in the vanilla.

Fold in the flour and cocoa powder.

Stir in the milk.

Spoon into the prepared baking tins and level the surfaces.

Bake for approximately 25 minutes, or until a skewer inserted into the cake comes out clean.  Mine took just over 25 minutes.

Remove from the oven and leave to cool in the tins.

When cool enough to safely handle, de-tin and leave to cool completely on a wire rack.

Now make the filling: melt both types of chocolate (I use the microwave) and then leave to cool slightly.

Beat in the peanut butter and soft butter until you have a smooth texture.

Taste the mix – depending on your peanut butter and your chocolate, you may wish to add additional icing sugar or cocoa powder.

If your filling is runny let it stand for a few minutes before building the cake – it’s probably just because you were impatient and didn’t let the chocolate cool sufficiently.  I’m not judging you – I did exactly the same!

Place the first layer on the serving plate and spread half the filling over it.

Place the second layer on top and gently press down to ensure the layers have adhered to the filling.

Spread the remaining mix over the top sponge and then decorate, as desired, with chocolate peanut and nut brittle.

Serve in generous slices with a cup of tea.

Bask in the glory of the wonderful thing you have created.

Eat.
