Sunday, 21 June 2015

Chocolate custard tarts


Did you miss me?  When I signed off in February I wasn’t planning on being away for so long but you know how things are sometimes...weeks become months and so it goes on.  Sorry.  If it’s any consolation I missed you all!    I can’t promise that I’ll go back to my regular-like-clockwork weekly updates but I shall try my very best.


This is the first time I have attempted chocolate pastry.  I’ve read before that it’s ‘tricky’ and can be difficult to roll etc, therefore I decided to take the approach I would to turn a sponge into a chocolate sponge: use a trusted recipe and replace some of the flour with cocoa.  It worked well and I didn’t have any issues with texture or rolling.
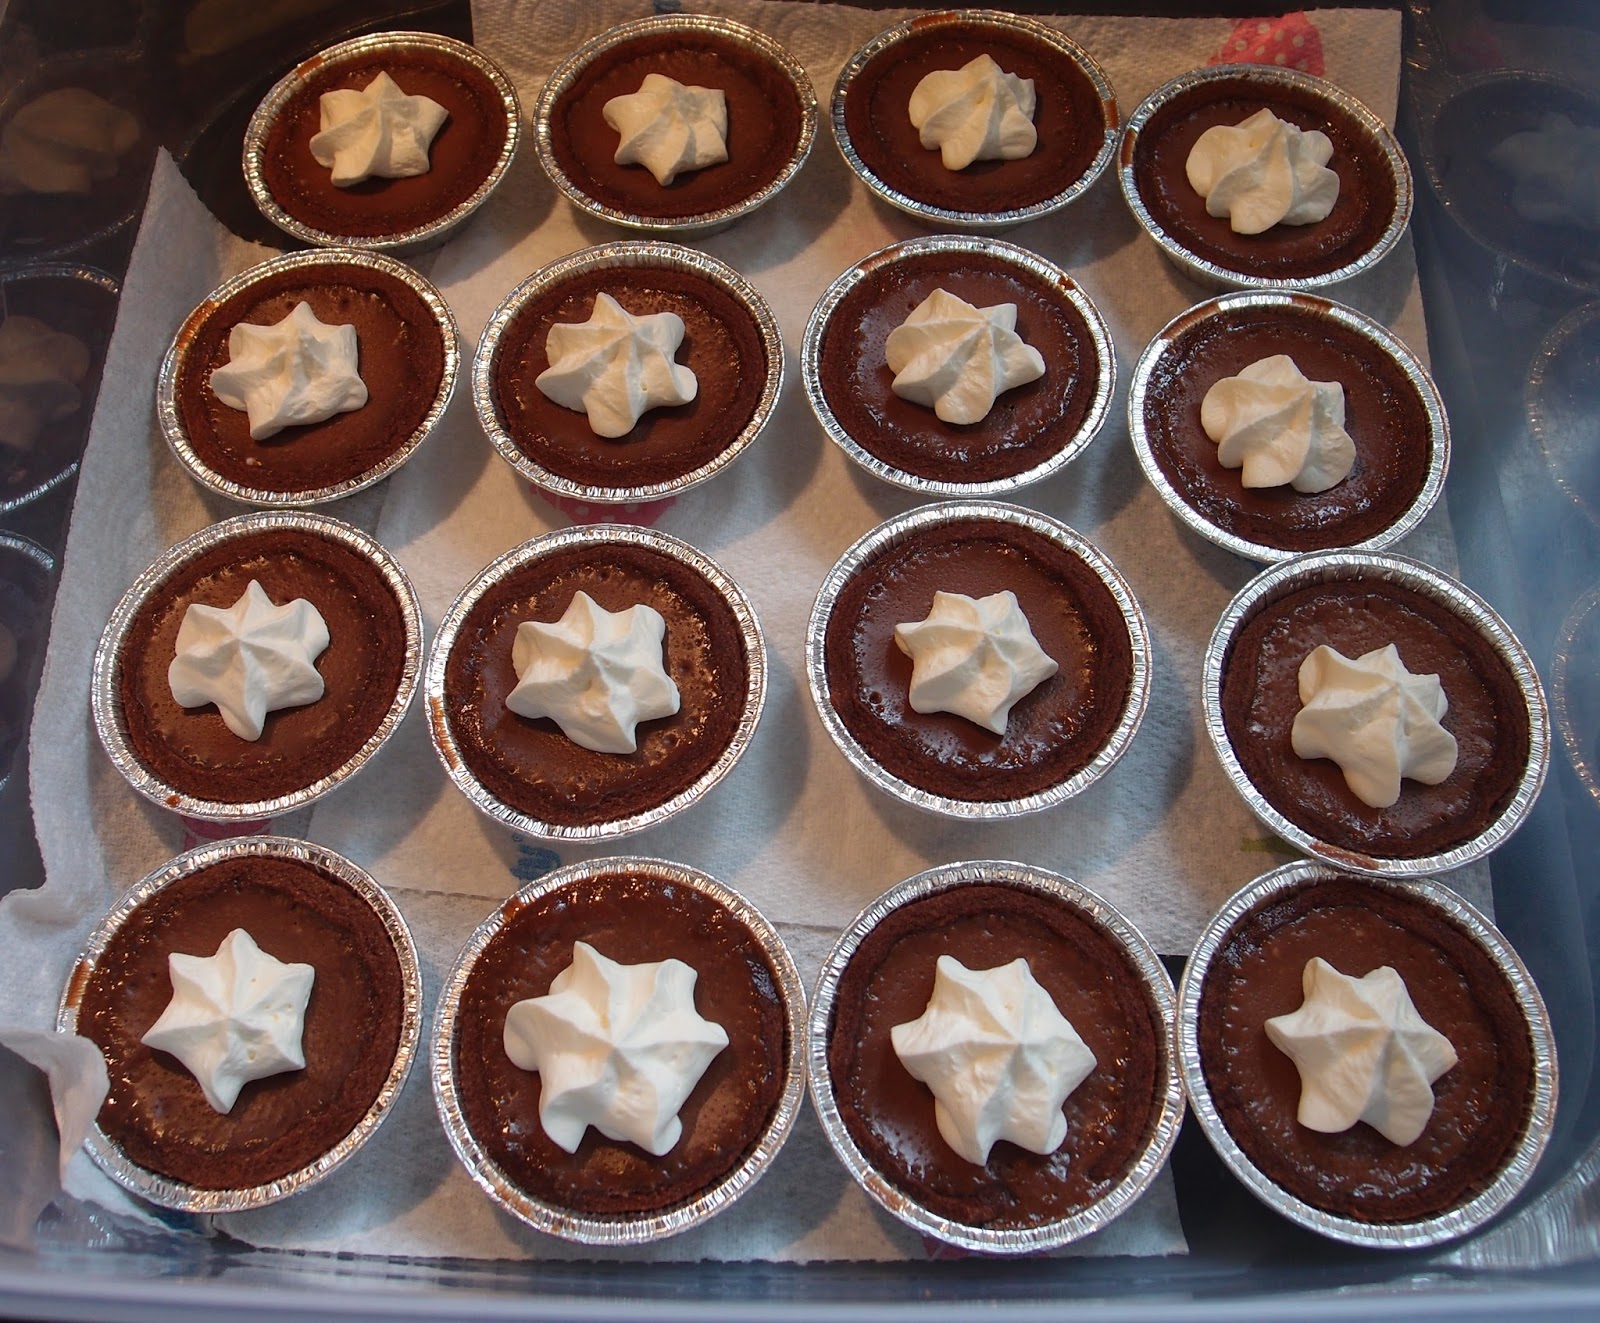


I didn’t have to pack chocolate flavour into the pastry as the tart filling was pure chocolate indulgence!  It combines the intense richness of ganache with the velvety texture of custard – be careful not to overbake it or you will lose the lightness of texture.  The use of milk chocolate makes it a tart to suit most palates (except those odd souls who like their chocolate so bitter it’s more of a punishment than a pleasure).


I only ever make individual pies and tarts in disposable foil cases now – they are so easy to use and the pastry never sticks.  There is no sadder sight in baking than a beautiful tart or pie ruined because it wouldn’t come out of the pan.  We’ve all been there – I remember mine was a batch of mince pies that ended up so scarred and battered by the knife I attacked them with to dislodge them, that I suspect they formed some sort of support group to get over the trauma.


Now of course these don’t need any adornment at all but I never know when to stop, so piped a simple rosette of whipped cream on the top of each tart.  I like the contrast it gave against the dark tarts.  I showed a modicum of restraint in not sprinkling crushed flake over the top….but you can bet your life I thought about it (and wanted to!).


Ingredients

For the pastry:
150g plain flour
25g cocoa powder
85g unsalted butter – cold
30g caster sugar
1 egg yolk
1 tablespoon cold water

For the filling:
225ml single cream
75ml whole milk
300g milk chocolate
2 eggs

To decorate:
200ml whipping cream


Method

Start by making the pastry: place the flour, cocoa and butter in a food processor and blitz until you have crumbs that look a bit like wet sand.

Add the sugar and blitz again.

Add the egg yolk and water and blitz just until the pastry starts to form.

Tip out onto a sheet of clingfilm and bring together into a ball of dough – don’t over handle or it may become tough.

Roll the pastry out between two sheets of clingfilm and, using a cutter of the appropriate size, cut out rounds to line either a cupcake pan or individual foil tart tins (I use the latter as they are a nice way to transport and protect the tarts).  I got 18 tartlets.

Prick the base of each tart with a fork, then cover with clingfilm and chill for about 30 minutes to 1 hour.  It won’t do any harm to chill overnight, if you want to get a head start!

Preheat the oven to 180C/fan oven 160C/350F/gas mark 4.

Line each pastry case with baking paper or non stick foil, then weigh down with baking beans or rice.

Bake for 10 minutes.

Remove the baking beans/rice and paper/foil and return to the oven – uncovered – for a further 5 minutes or until the pastry base no longer looks wet or shiny.  This is the best test for chocolate pastry as the colour will not help you!

Put to one side to cool.

Reduce the oven to 140C/fan oven 120C/275F/gas mark 1

Now make the filling: place the cream and milk in a saucepan and bring just to boiling point.
Remove from the heat and add the chocolate.

Stir until all the ingredients are combined.

Leave to cool for 10 minutes before beating in the eggs.

Spoon into the pastry cases – I found a ladle worked best.

Bake for 10-15 minutes or until the filling looks set but wobbles when you shake the tray – they will continue to set as they cool.

[If you have leftover filling spoon into ramekins and place them in a roasting tin.  Fill the tray with hot water until it comes halfway up the sides of the ramekins and bake for about 15-20 minutes or until set with a wobble – bonus dessert!]

Leave to cool on wire rack.

Decorate with whipped cream if required.

Refrigerate until about an hour before you wish to serve.

Bask in the glory of the wonderful thing you have created.

Eat.


Sunday, 15 February 2015

Blood orange and almond sponge


When I saw some beautiful blood oranges for sale I bought two without really knowing what I was going to do with them.  Did I mention how beautiful they were?  Having given the matter some thought, I decided on a blood orange upside down cake but wanted something a little more than a standard sponge.  One of my first ever posts, way back in the mists of 2007, was an almond sponge.  I have taken this recipe and switched the variety of sugar (from caster to soft light brown) and added some zest. 


Orange and almond is a lovely combination – both add so much in terms of flavour and texture.  The first hit is the sharp citrus zing of the orange, then the almost creaminess of the almond takes over.  The cake keeps beautifully for days; it actually improves with age as the almond releases its oil…I think this is almond’s greatest gift to baking!


Blood oranges can be a bit of a lottery; until you cut it open you never know whether it will look disappointingly like an ordinary orange or gloriously, glowing red.  Mine had flashes of red but weren’t the vivid red I was hoping for.


This post will be my last for a while.  I’m going to take a short break from blogging.  If I’m honest, I feel like I’ve lost my baking mojo of late; I haven’t yet settled into my new kitchen and need to have a tinker with the layout to get things right so I feel happy and relaxed again during my baking.  Fear not – I am the Arnold Schwarzenegger of baking….I will be back!


Ingredients

For the blood oranges:
50g unsalted butter, at room temperature
50g soft light brown sugar
2 blood oranges, peeled and cut into slices

For the sponge:
225g unsalted butter, at room temperature
225g soft light brown sugar
4 eggs
Grated zest of one blood orange
1 teaspoon almond extract
225g plain flour
1 teaspoon baking powder
50g ground almonds


Method

Preheat the oven to 160C/fan oven 140C/325F/gas mark 3.

Line a 20cm round with baking paper.  It is advisable to wrap the outside of the tin with foil in case the oranges ooze juice during baking – better to have a sticky tin, than a sticky oven!

Start by making the blood orange layer: beat together the butter and sugar until it is whippy and well combined. 

Spread, as best you can, over the bottom of the cake tin.

Lay the blood orange slices over the bottom of the cake tin – pack them in as tightly as you can so it will look pretty when you turn the cake out (the bottom during baking will become the top when the cake is turned out).

Now make the sponge: beat together the butter and sugar until the batter is light and fluffy looking.  Do not skimp on this stage.

Beat in the eggs, one at a time.

Beat in the orange zest and almond extract.

Fold in the flour, baking powder and ground almonds.  It will be  a firm batter but this is ideal as it will absorb the orange juice and hold its shape.

Spoon the batter over the blood oranges, taking care not to disturb them.

Level the surface and then spread the batter from the centre out to the edges so it ends up with a dip in the centre i.e. the batter is higher at the edges than the centre.  This will help keep the top level during baking; the top will become the base of the cake when baked so keeping it level will save having to cut any cake away when baked.

Bake for approximately 1 ½ hours or until a skewer inserted in the cake comes out cleanly. (Start testing the cake after an hour and 10 minutes).

Let the cake cool in the tin for about 20 minutes before turning out and leaving to cool completely on a wire rack.  If the top of your cake has peaked during baking, level the surface with a knife before turning out.

Leave to cool completely on the wire rack.

Serve either on its own, or with a blob of cream.

Bask in the glory of the wonderful thing you have created.


Eat.

Monday, 9 February 2015

Rhubarb and custard cupcakes


When Duerr’s kindly offered me a sample of their new range of baking jams and told me they would send me the rhubarb and custard flavour, I was very excited as these are two of my favourite things!  I started thinking about what to use it for.   Since we have moved I haven’t fully unpacked all my baking boxes and every time I walk from the kitchen to the dining room I see boxes of cupcake paraphernalia staring at me as if they’re saying, ‘hey, what about us?  We want to move into our new home too!’  To placate my cupcake overlords I decided to make some cupcakes.


The jam is amazing.  It messed with my head a little bit because it was jam that tasted like rhubarb and custard boiled sweets....yes, that good!


I nearly didn’t post these cupcakes.
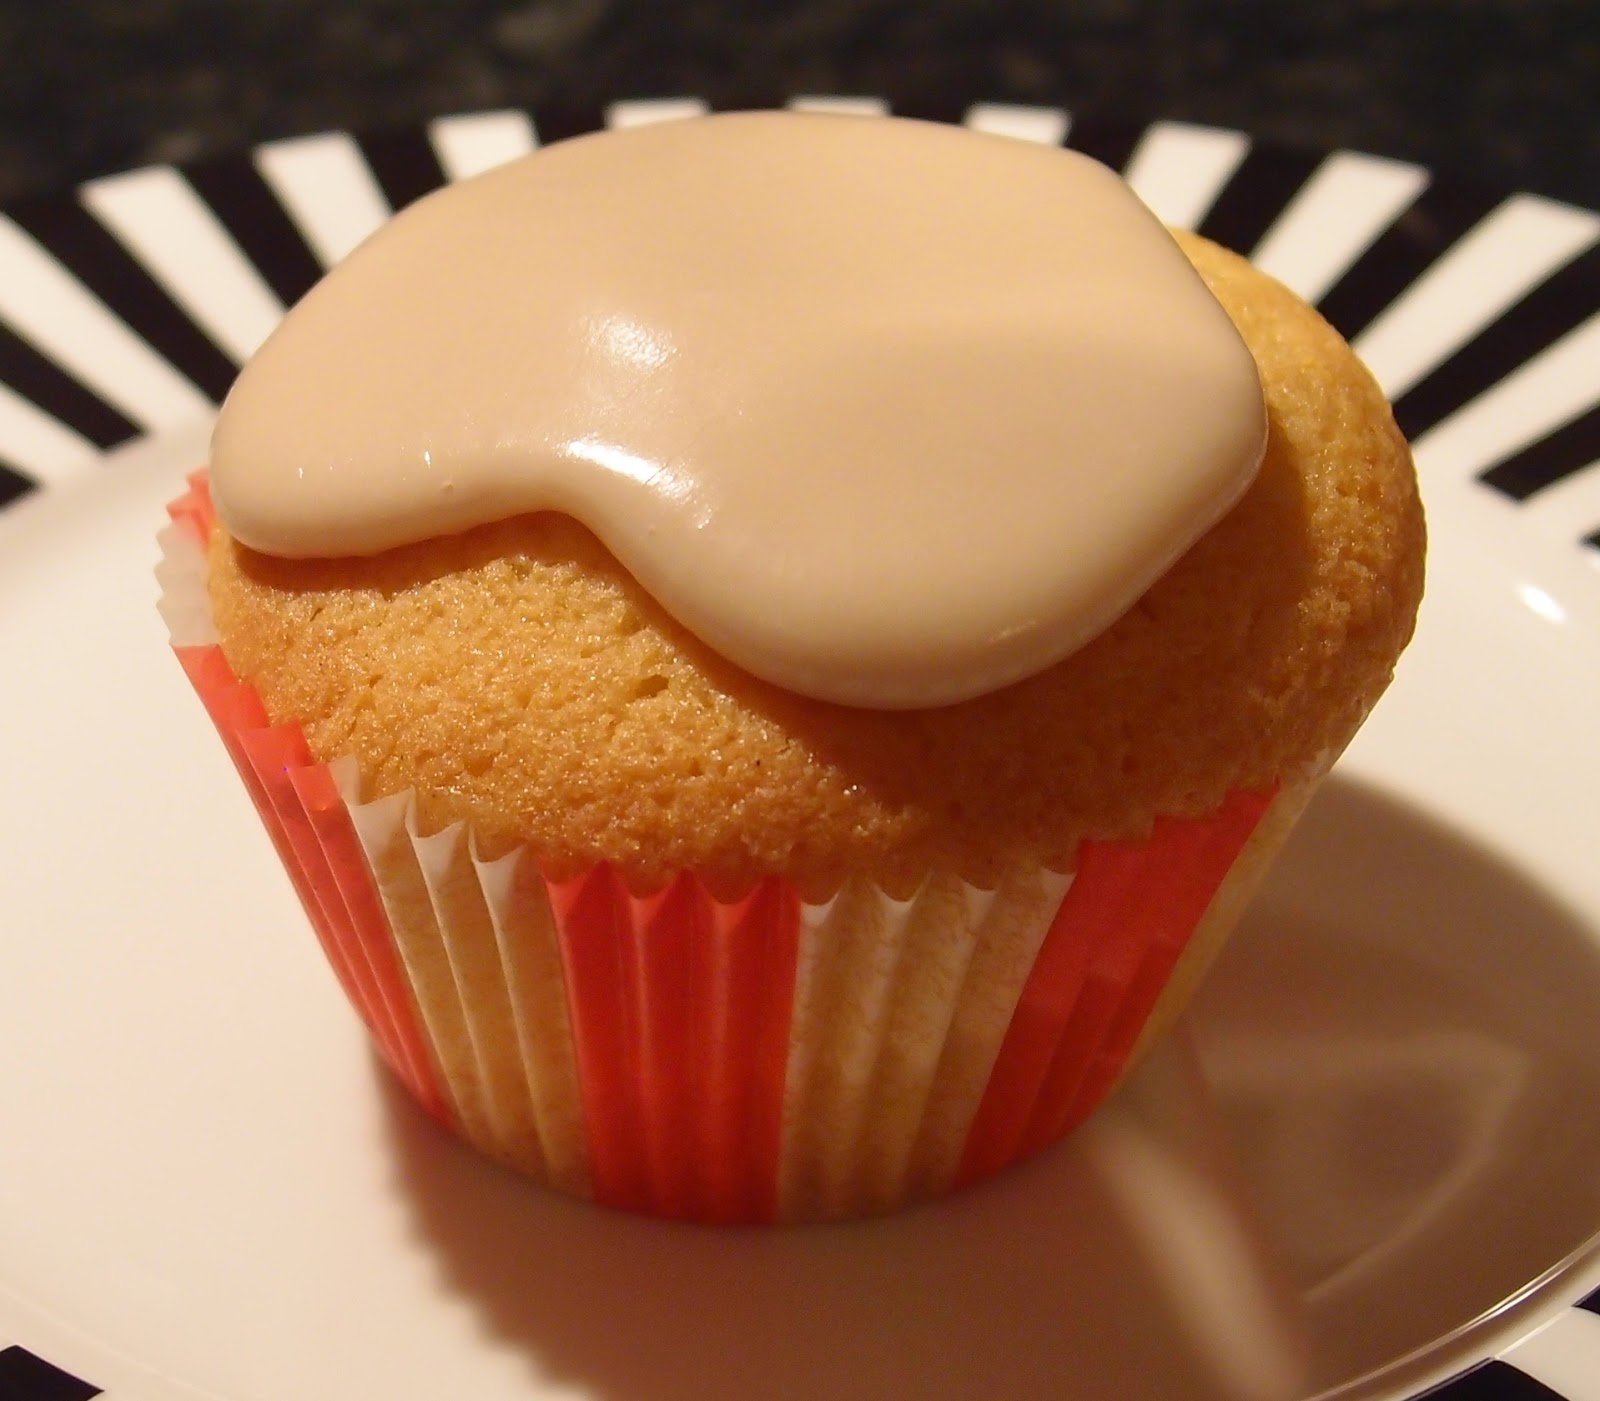
  They were meant to have a custard buttercream I’d successfully made before...but it was one of those days were everything felt against me.  Lots of anguish and an abandoned buttercream later I decided to top them with a simple glace icing.  I was so fed up at this point I didn’t even let it set properly before photographing the cakes.  It would be a fair assessment to say I was in a bit of a mood (ahem).  You can see how angry I was by the fact I didn’t even stick a wafer daisy on top to pretty them up!


Summary: yes, they look like they were made by a particularly un-artistic five year old but, in their defence, they taste amazing.  The sponge was so fluffy, the jam so sweet and sticky and the simple glaze was actually all they needed.  I still wasn’t going to post them, but Mr CC took them into work and they turned out to be one of most popular bakes for a long time.  I’m a little ashamed by how they look but I shall bow to my eaters on this one!


Ingredients
For the sponges:
175g unsalted butter at room temperature
175g caster sugar
2 teaspoons vanilla extract
3 eggs
175g  self raising flour
2 tablespoons milk
6 teaspoons jam – I used Duerr’s rhubarb and custard jam

For the icing:
200g icing sugar
2 teaspoons vanilla extract
Enough hot water to make a thick icing – add a teaspoon at a time – mine took 3 teaspoons


Method


Preheat the oven to 180C/ fan oven 160C/350F/Gas mark 4.

Line a cupcake pan with 12 paper cases.

Start by making the sponges: beat together the butter and sugar until pale and fluffy.  The mix should look almost whipped – don’t be tempted to skimp on this stage.

Beat in the vanilla and the eggs, one by one.

Fold in the flour.

Stir in enough milk to get a dropping consistency batter.

Spoon into the cupcake cases and bake for about 12-14 minutes or when a skewer inserted into the cakes comes out clean – better to be a little under than over, as they will continue to cook as they cool.  Don’t worry if they take longer (mine took nearer to 20 minutes) – they are big cupcakes.

Remove from the baking pan as soon as you can do so safely (the heat from the tin may cause them to overbake), and leave to cool completely on a wire rack.

Use a cupcake corer or knife to remove some of the sponge.

Spoon half a teaspoon of jam into each cupcake.

Now make the icing: beat together the ingredients until you have a really thick, glossy icing.

Spoon over the cupcakes.

Leave to cool and firm up.

Bask in the glory of the wonderful thing you have created.

Eat.

Sunday, 1 February 2015

Coconut jam sandwich biscuits


There are few biscuits, in my opinion, that can compete with a good coconut biscuit.  There is something about the crumbly texture and subtle sunshine flavour that pleases me beyond words.  Team that crumbly, coconut flakiness with sticky, fruity jam and I am in biscuit nirvana!


You could, in theory, not sandwich the biscuits at all and leave them as they are.  My question to you though would be this: how on earth are you going to get away with eating two biscuits at a time with that kind of shoddy preparation?

Ready for oven....


....and baked:


The only time in preparing these biscuits is rolling the dough into balls and then rolling the balls in coconut.  I rather enjoyed this process – it gets quite repetitious and zen.  Because I am hopeless in uniformity I made a ball that pleased me then weighed it to ensure that all subsequent balls were the same size.  This may sound a bit extreme but I can assure you that, if I didn’t do this, the balls towards the end of the process would be double the size of those at the start – I can’t help myself.  Don’t they look pretty?


The biscuits have the soft, crumbly texture of a Viennese biscuit and would be lovely left as singles; however, if you do this I recommend adding some flavour to the biscuit be it vanilla or coconut extract.


Ingredients

200g unsalted butter, at room temperature
50g cornflour
150g plain flour
50g icing sugar
100g desiccated coconut
Optional: a couple of drops of coconut extract

To sandwich: jam (or nutella) of your choice


Method

Preheat the oven to 180C/fan oven 160C/350F/gas mark 4.

Line two baking sheets with baking paper or non-stick foil – you may have to bake the biscuits in batches and reuse these trays.

Mix together the butter, cornflour, plain flour, icing sugar and coconut extract until it comes together as a dough.

Take heaped teaspoons of the mix and roll into balls – I found a 15g ball of dough was the right size (I got 31 individual biscuits i.e. 15 1/2 when sandwiched).

Roll each ball in the desiccated coconut.

Place on the prepared baking sheet and flatten using a fork – space the biscuits out as they will expand as they bake.

Sprinkle a little extra coconut over the top to replace that displaced by the fork.

Bake for approximately 15-20 minutes until golden.

Leave on the baking tray to firm up for 10 minutes before removing from the tray and leaving to cool completely on a wire rack.

Match the biscuits in pairs.

Spread one biscuit with jam then sandwich with the other biscuit.

Bask in the glory of the wonderful thing you have created.

Eat.