Sunday, 20 October 2013

German bee-sting cake


I begin with a confession: traditional German bee-sting cake (Bienenstich) is usually a yeasted batter, but regular readers will know my fear/horror/dislike of using yeast, so when I found this non-yeasted version I made a bee-line for it (pun intended).


Like many traditional cakes the origin has been lost.  One legend claims that a bee was attracted to the honey topping and stung the baker who made it (I don’t like dissing legends but that one is quite lame, as legends go).  Another legend claims that 15th century German bakers successfully fended off raiders by throwing bee-hives at them and celebrated their victory by inventing this cake (this is more like it – I choose to believe this one!).


This cake uses popular flavours – honey, almond and vanilla – but has a twist in its method that makes them seem fresh and new.  When you spoon the cake batter into the tin you add a thick layer of runny honey on top over which you scatter a lot of flaked almonds.  The weight of all this suppresses the rise of the sponge but what your reward for this is a sticky spongy topping with lovely toasted nuts. It’s not dissimilar to the lovely bit of sponge that’s absorbed all the syrup on a steam sponge pudding.


As if all that wasn’t enough, the cake is then sliced and filled with vanilla custard cream.  I almost wept with happiness when I read the recipe!  I began with a confession but I must also end with another one – I messed up.  Big time.  To create the filling you make the custard and let it set in the fridge, then whip some cream and fold them together.  Stupidly, I added the custard to my whipped cream and let the kitchenaid whip them together which made it far too runny to sandwich the cake with.


Even more stupidly, asI was adding the custard to the mixer I thought, ‘I’ve done this before and it didn’t go well’.  Doh!  So, I didn’t cut the cake into layers; I left it whole and served my custard cream on the side.  Just as delicious but tinged with shame!  Please don’t let my idiocy put you off because this is a gorgeous cake.


Ingredients

For the cake:
125g unsalted butter, at room temperature
150g caster sugar
1 teaspoon vanilla extract
2 eggs
225g self raising flour
6 tablespoons milk
125ml runny honey, warmed
150g flaked almonds

For the filling:
50g caster sugar
2 tablespoons cornflour
3 egg yolks
125ml milk
75ml double cream


Method

Preheat the oven to 180°C/fan oven  160°C/350°F/gas mark 4.

Line a 20cm round springform tin with baking paper.

Beat together the butter and sugar until light and fluffy.  It won’t go pale and creamy because of the proportions, but you will notice it become lighter.

Beat in the vanilla.

Beat in the eggs, one at a time.

Beat in 1/3 of the flour followed by 2 tablespoons of milk.

Repeat until the flour and milk are fully incorporated.

Spoon into the prepared cake tin and level the surface.  Make a good attempt at levelling it so that the honey doesn’t pool into one side when you pour it on.

Pour the honey over the unbaked sponge and use the back of a spoon to gently guide it over the cake.

Sprinkle the almonds over the cake ensuring the cake and honey is completely covered.  It will look like a lot of almond.

Bake for approximately 45-50 minutes or until a skewer inserted into the cake comes out clean.

Leave to cool in the tin before turning out.

The cake can be made a day in advance and stored in an airtight container if you so wish.

Now make the filling: whisk together the sugar, cornflour and egg yolks until smooth.

Gradually whisk in the milk.

Pour into a saucepan and cook over a low heat, stirring all the time.

When the mixture is thick enough to coat the back of the spoon remove from the heat and pour into a bowl.

Press clingfilm onto the surface of the mixture to stop a skin forming. 

Refrigerate.

Whip the cream until firm peaks form before folding in the chilled egg yolk mixture.  Do this by hand – don’t be tempted to let the mixer do it – it will make it runny!

To serve, slice the cake in half horizontally and place one half on a plate.

Spread the custard cream over the cake and place the nut-topped layer of cake on top.

Dust with icing sugar if you desire.

Bask in the glory of the wonderful thing you have created.

Eat.


Sunday, 13 October 2013

Coconut carrot traybake


I’m always drawn to recipes that are familiar but with a new twist to them – this is a perfect example; it’s a carrot traybake but unlike most carrot cake recipes it’s a butter cake rather than an oil based recipe.  It also has a crunchy coconut topping rather than cream cheese frosting.  Both were really good ‘tweaks’.


This is such a light cake, amazingly so.  I thought the whole point of using oil in carrot cakes was to achieve lightness of sponge but this recipe produced the softest, fluffiest carrot cake I’ve ever eaten.  Without a doubt it will be my ‘go to’ carrot cake recipe from now on.


I added sultanas because, frankly, everything’s better with sultanas but you could replace them with nuts or simply omit them if they’re not your thing.  Sultanas add such a sweet, juicy little pop of joy to everything and it works very well against this cake’s crunchy topping.


The topping turns crunchy and toasted in the oven and adds a new texture to carrot cake.  I didn’t even miss the cream cheese frosting...and that’s saying something!  It definitely gave the whole cake a lighter feel.


Grating carrot has to be one of my least favourite tasks in baking.  I see people grate things on TV and it looks so easy, but my carrot was spraying everywhere and I couldn’t get a proper grip on it.  Of course, my food processor has grating discs, and I even have a plug in kitchen grater.  But did I use them?  No.  I used my metal grater so I could moan about it!


Ingredients

For the cake:
250g unsalted butter
300g light muscovado sugar
1 teaspoon vanilla extract
3 eggs
200g self raising flour
50g desiccated coconut
200g grated carrot (about 3 medium carrots)
2 teaspoons mixed spice
Optional: 150g sultanas

For the topping:
50g unsalted butter, melted
85g desiccated coconut
25g light muscovado sugar


Method

Preheat the oven to 180°C/fan oven  160°C/350°F/gas mark 4.

Grease a 30cm x 20cm traybake pan or roasting tin.

Start by making the cake: melt the butter gently in a large pan (it needs to be big enough to take all the cake ingredients); take your time with this as you do not want the butter to brown.

Leave to cool for five minutes.

Beat in the sugar, vanilla and eggs.  Make sure the mix is smooth and the eggs are well incorporated.

Stir in the flour, coconut, carrot, spice and sultanas (if using).

Pour into the prepared tin and bake for 30 minutes (or until virtually baked).

Meanwhile, make the topping: melt the butter and stir the coconut and sugar into it.

If it dries out while you’re waiting for the cake to cook, a dash of milk will moisten it up – but only a tiny amount; less than a teaspoon.

Take the cake from the oven and gently spread the topping over it.  I found the best way to do this was the back of a wooden spoon and my fingers.

Bake for a further ten minutes until the topping is golden.

Leave in the tin to cool before cutting into squares.

Bask in the glory of the wonderful thing you have created.


Eat.

Sunday, 6 October 2013

Black forest gateau


 I have a theory (actually I have a few, but we’ll save those for other times) that thin chocolate always tastes better than thick chocolate.  I’m sure this is why we all pay large amounts of money for small amounts of chocolate come Easter time – thin chocolate tastes too good to resist!  It is why I have always been a fan of buttons – they are like portable versions of Easter eggs.  When one of my favourite chocolate companies, Lily O’Brien started making buttons, I obviously got excited!


My discovery of Lily O’Brien buttons coincided most fortuitously with Mr CC noting that I never made gateaux.  He is a big fan of gateaux and can put creamy cakes away in a far greater capacity than a non-creamy cake.  I think it might have been The Hairy Bikers we saw making a black forest gateau and we both got nostalgic for the time when, being children of the 1970s, a Sara Lee defrosted black forest gateau was a Sunday highlight.


I decided to use the dark chocolate buttons melted and added to the cake batter, and milk chocolate buttons for decoration.  Normally I find dark chocolate too bitter to eat on its own but these buttons had the dark richness without a bitter edge.  Solves the problem of what to do with the kilo bags.....! (Don’t you just love it when the only option is to buy a kilo bag!)


For an impressive dessert this is actually pretty simple – the only baking requirement is the sponge and that is a very straightforward recipe.  I piped the cream for decoration around the edge,  in an attempt to look neat, but if you are handy with a palette knife it would look just as good.


I know the black forest gateau is derided as naff but I cannot fathom why when it tastes sooooo good.  The chocolate sponge moistened with kirsch, the cherries, cream and more chocolate...if that’s naff then bring me my metallic shell suit cos I don’t want to be cool!


Ingredients:

For the sponge:
175g unsalted butter, softened
175g golden caster sugar
3 eggs
100ml milk (whole or semi skimmed)
200g self raising flour
1 teaspoon baking powder
200g dark chocolate (I used Lily O’Briens buttons)
1 teaspoon vanilla extract

To assemble:
900ml double cream
1 jar of cherries in kirsch – mine were Opies, and I found them in Waitrose
Chocolate buttons or curls (I used Lily O’Briens milk chocolate buttons
)


Method:

Preheat the oven to 180°C/fan oven 160°C/350°F/Gas mark 4.

Line a 20cm round springform tin with baking paper.

Cream the butter and sugar together until they are pale and fluffy. Don’t skimp on this stage – give the mixture a good beating.

Add the eggs, flour, baking powder and milk to the bowl and beat until thoroughly combined. The mix will look deliciously creamy.

Melt the dark chocolate either in the microwave (it will require approximately a 1 minute 30 seconds, in 30 second bursts) or in a bowl above a pan of simmering water on the hob.

Stir the melted chocolate into the batter.


Pour into the prepared tin and bake for approximately 40-50 minutes or until a skewer comes out clean. Mine took roughly 50 minutes.
Allow to cool in the tin for 20 minutes before removing and leaving to cool totally on a wire rack. Once cool, the cake can be stored in an airtight container for a day or so before assembling the cake.

When you wish to assemble the gateau cut the sponge into three even layers.  It’s important the layers are flat, so you might need to sacrifice any dome on the top of the sponge. (NB. ‘sacrifice’ means cut off and eat!)

Whip the cream until it is almost at stiff peak stage, but not quite.
Take a disc of cake and place on a plate.   Brush over some of the kirsch from the cherry jar – how much depends on you and how boozy you want it to taste.

Pipe a scant ¼ of the cream over the disc and dot with some cherries.

Place the second disc of sponge on top and repeat the kirsch, cream and cherries.

Place the final disc of sponge on the top.

Pipe the remaining cream over the top and sides of the gateau.

Decorate with chocolate around the sides and some more cherries on the top.

Refrigerate so the cream firms up and you will be able to cut nice slices.  Take out of the fridge about 10 minutes before serving.

Bask in glory at the wonderful thing you have made.

Eat.

Sunday, 29 September 2013

Turkish Tahini cake


Jacqui Small Publishing really is becoming one to watch for any (slightly obsessed) book buying baker (i.e. me!).  I’d had Roger Pizey’s “Worlds Best Cakes” on my radar for a little while, waiting for it to be released and – joy of joys – I was offered a copy to review!  Please also see the offer for all readers at the end of this post.


Like many bakers I read my books when they arrive and tab the pages that interest me.  As you can see there were quite a lot of tabs in this lovely book leaving Mr CC to suggest that it might be easier if I tabbed the pages of things I didn’t want to make!


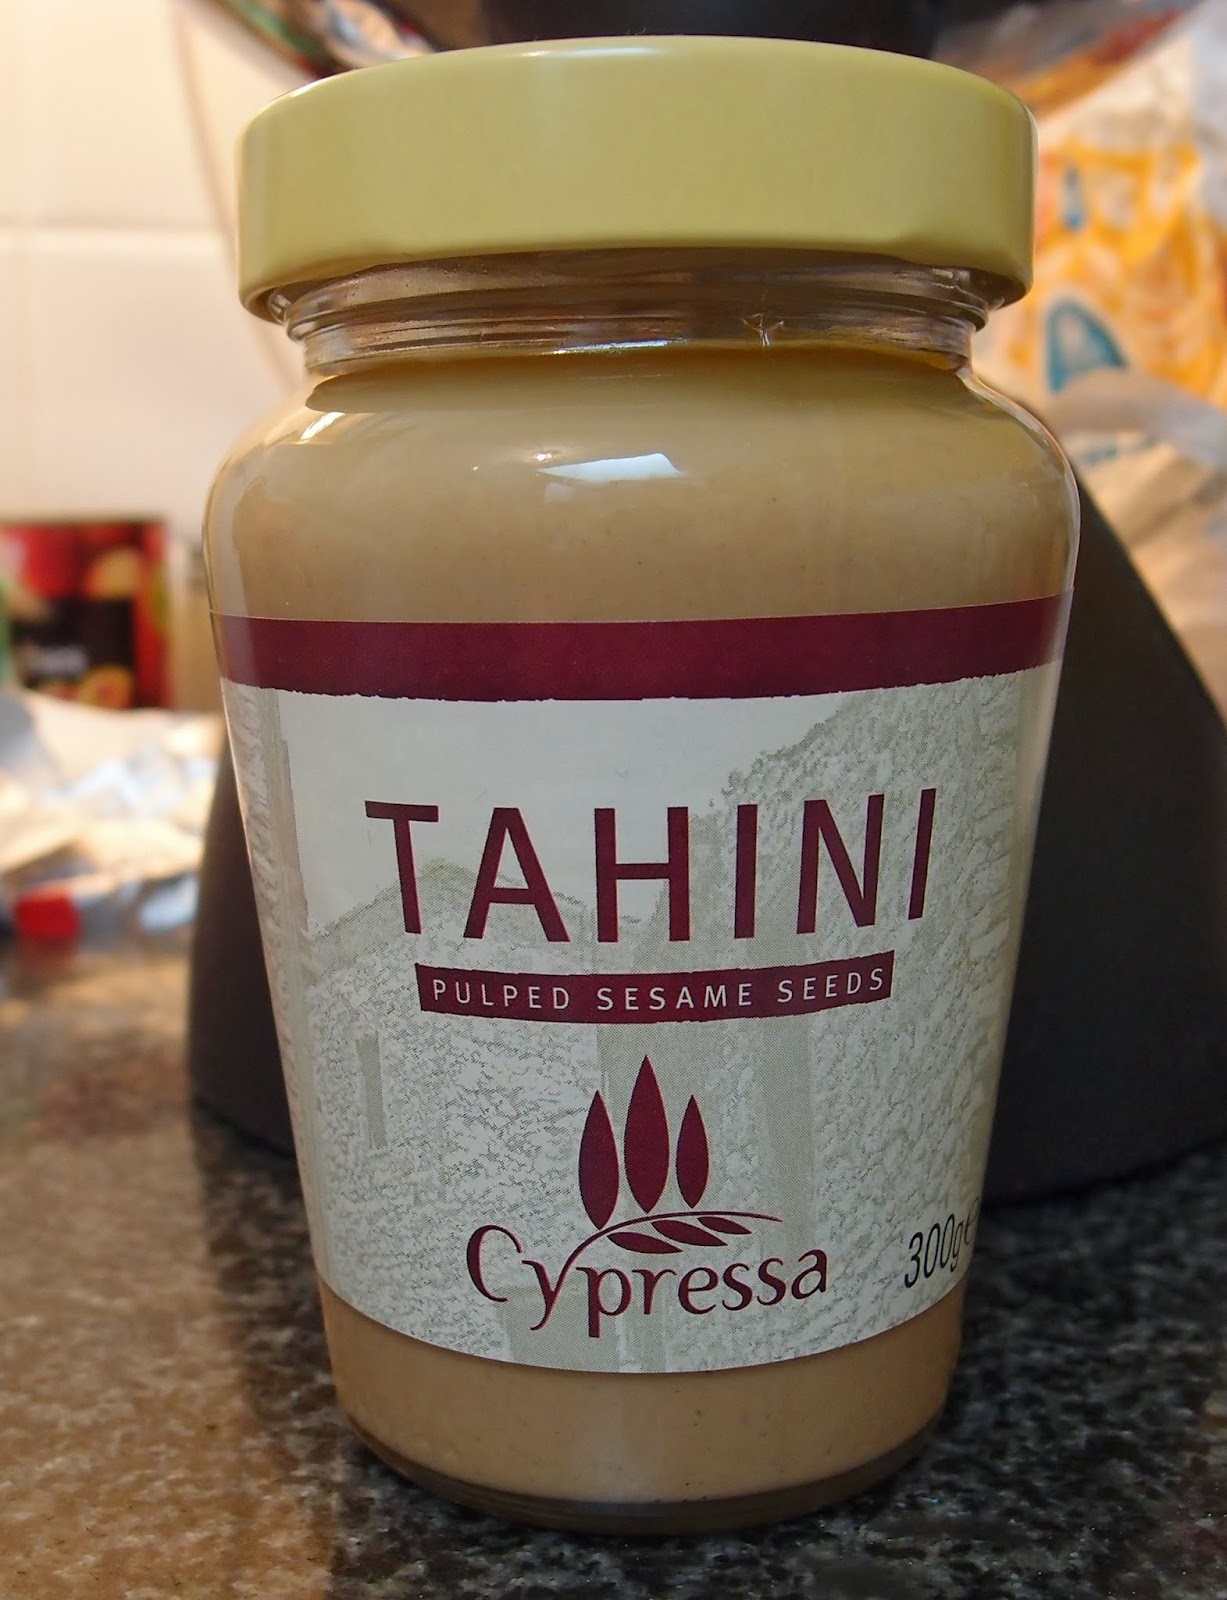
I will be making so many recipes from this encyclopaedic book and what I particularly loved was the variety: easy to difficult, simple flavours to complex, everyday to exotic.  It truly covers the globe and my eyes (OK, my stomach!) were drawn to this Turkish tahini cake for several reasons – I love tahini but have never considered it a baking ingredient; also, the recipe doesn’t contain any butter or eggs, which instantly sets it apart from virtually all my other bakes.  I have never seen a cake like this and the novelty of it excited me.  Make sure you buy a tahini that is pure sesame seed; some were called ‘tahini sauce’ and had lots of other ingredients.


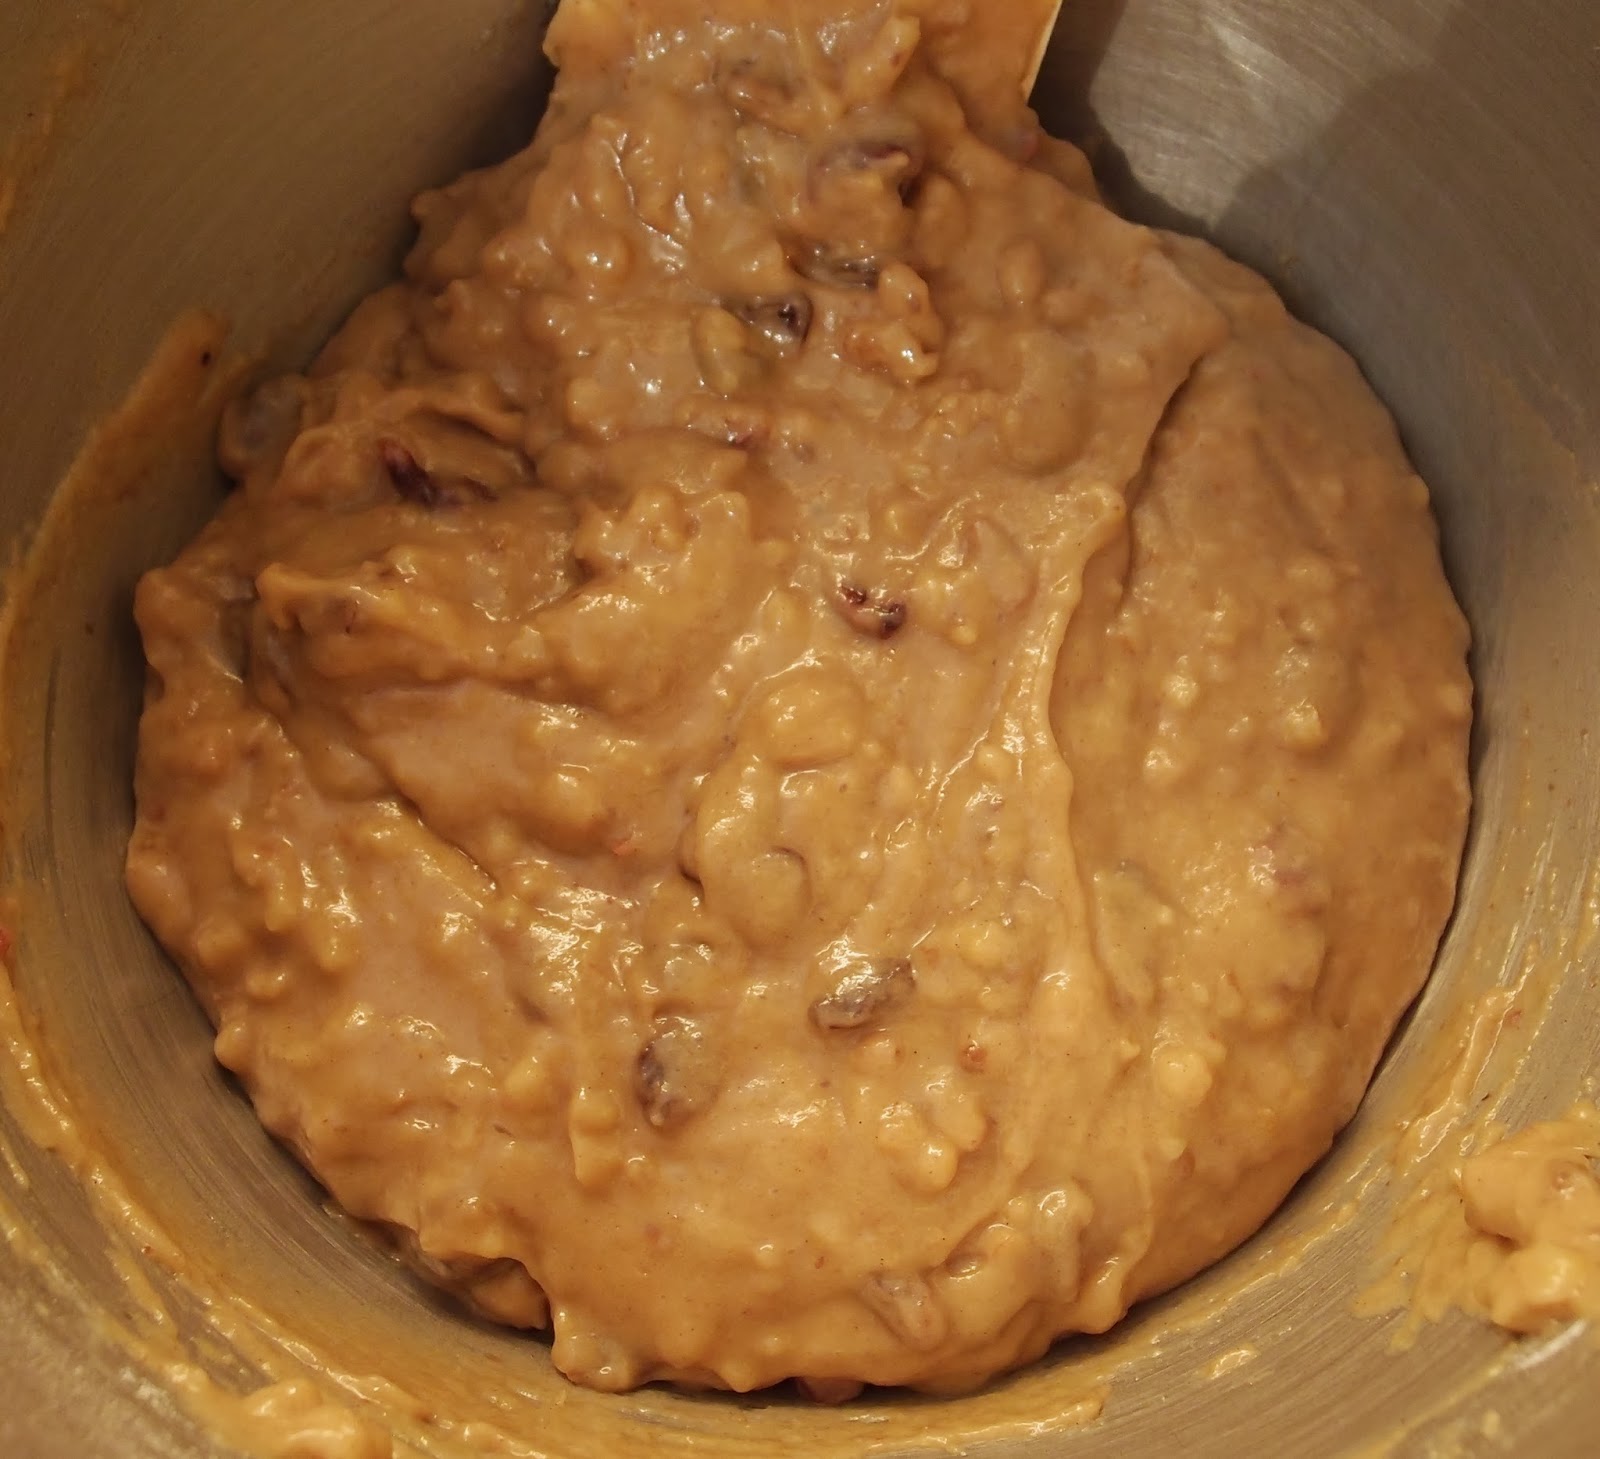
When you think about it, tahini is a perfectly sensible cake ingredient – it’s pretty similar to peanut butter really and we’re all used to seeing that.  It added a gentler, more subtle flavour than peanut butter; I sometimes find peanut butter can overpower everything else, but the tahini sat alongside all the other flavours.  The batter had that lovely almost Christmas cake richness to it:


This was a moist cake with a squidgy fruitiness – I loved it.  It is a heavier cake (intentionally so) so don’t make it expecting a light, airy sponge.  It was a perfect cake for an Autumnal afternoon.


To order World's Best Cakes at the discounted price of £24.00 including p&p* (RRP: £30.00), telephone 01903 828503 or email mailorders@lbsltd.co.uk and quote the offer code APG20.
Alternatively, send a cheque made payable to: 
Littlehampton Book Services Mail Order Department,
Littlehampton Book Services,
PO Box 4264,
Worthing,
West Sussex BN13 3RB. 

Please quote the offer code APG20 and include your name and address details. 
*UK ONLY - Please add £2.50 if ordering from overseas.


Ingredients

250g tahini (Make sure you buy one that is 100% sesame - I poured the oil off the top before using)
200g caster sugar
1 teaspoon bicarbonate of soda
2 tablespoons cognac – I used rum because I prefer it!
200g plain flour, plus extra if needed
2 teaspoons ground cinnamon
150g walnuts, chopped
75g glace fruit such as cherries or peel, chopped – I hate glace fruit so used dried morello cherries
75g sultanas
240ml orange juice
3-4 handfuls sesame seeds

Method

Preheat the oven to 170°C/fan oven 150°C/325°F/gas mark 3.  I upped the oven temperature as my cake was not taking on any colour – I would recommend baking at 190°C/fan oven 170°C/375°F/gas mark 5 – but you know your oven.  If things cook quickly stick with the original temperature.

Line a 20cm round springform tin with baking paper.

Beat the tahini until it is smooth and light.

Keep beating and add the sugar gradually.  Beat it as you would normally beat butter and sugar – it behaves similarly.

Mix together the cognac (or rum) and bicarb and beat in.

Weigh out the flour, cinnamon, walnuts and fruit.  Tip half into the tahini mix and beat in.

Beat in half the orange juice.

Beat in the remaining flour and fruits, followed by the orange juice.

The batter should be thicker than a normal cake batter – quite thick and heavy.  If it isn’t add some more flour.  Mine was at dropping consistency so I added three further tablespoons of flour and this made the mix noticeably heavier.

Spoon into the prepared tin and level the surface.

Sprinkle over the sesame seeds.

Bake for approximately 50 minutes or until the cake is dark and a skewer inserted into it comes out clean.

Leave to cool for 20 minutes before removing from the tin and leaving to cool completely on a wire rack.

The cake keeps beautifully and – if anything – the flavours improve over time.

Bask in the glory of the wonderful thing you have created.


Eat.