Sunday, 22 September 2013

Pineapple and coconut cake


When Lindt contacted me regarding their new Hello Summer fruity chocolate range I zeroed straight in on the luscious looking white chocolate, pineapple and coconut bar. 


It didn’t disappoint and is a great chocolate bar to soften the blow of Autumn and Winter arriving so suddenly this year.  The berry, lime and strawberry versions are a bit of alright too, and Mr CC made very appreciative sounds over the coffee version.  (My toughest challenge on this one was holding him back long enough to photograph all the chocolate!)


As luck would have it, I had bookmarked the recipe for this cake from Laws of the Kitchen, one of my favourite bloggers. You should visit her site anyway, but especially if you want to find this recipe in cups.


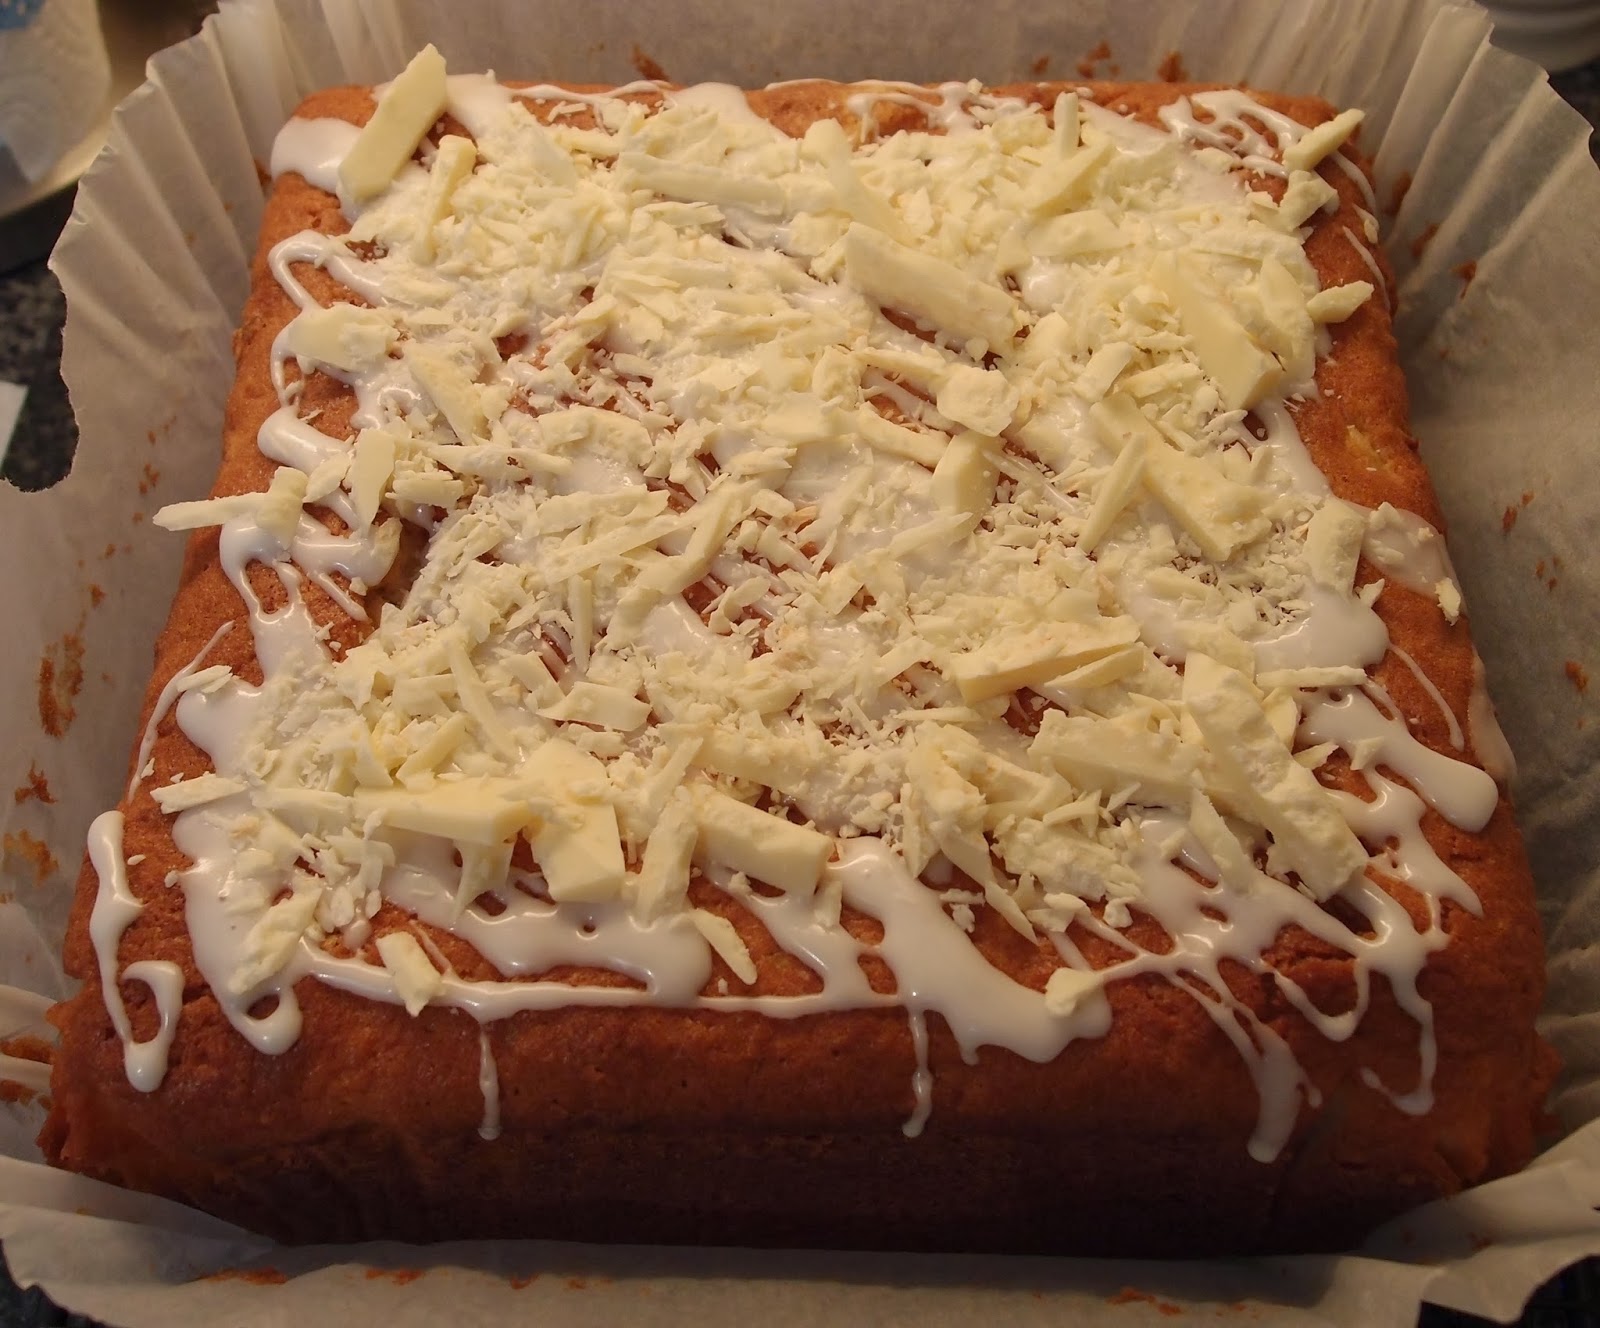
I decided to add a pineapple glaze to the cake and scatter finely chopped Lindt chocolate over the top.  It worked well as the filling was firm enough to hold its shape when I cut it into fine shards.  The bar is shaped nicely – I always think long thin bars taste better than squarer ones!


The one mistake I made was forgetting to buy buttermilk.  My local shop doesn’t stock it and I couldn’t face a trip to the supermarket just for one ingredient.  So I did what I always do in a crisis...I turned to the internet!  I never realised how easy it is to make buttermilk – simply milk and lemon juice.  I liked that I could make the quantity I needed; normally when I buy a pot of buttermilk for a recipe I end up wasting some of it.  It wasn’t quite as thick as the shop bought version but did the same job.  In this photo you can see the curdling start to take place:


Thank you Lindt for the lovely samples...any time you need someone to taste your chocolate I will make the time to assist!!!


Ingredients

For the cake:
250g unsalted butter, at room temperature
300g caster sugar
5 eggs
375g plain flour
1 tablespoon baking powder
180ml coconut milk
120ml buttermilk (or make your own with 120ml milk and 1 tablespoon lemon juice)
100g desiccated coconut
230g crushed pineapple – save the juice for the icing (I could only get pineapple chunks so mashed them up a bit with a fork)

For the icing:
100g icing sugar
1 tablespoon pineapple juice (from the can!)

To decorate: Lindt coconut and pineapple chocolate


Method

Preheat the oven to 180°C/fan oven 160°C/350°F/gas mark 4.

If you are making your own buttermilk mix together the milk and lemon juice and leave to stand for at least 10 minutes.  It will start to curdle but won’t become quite as thick as the shop bought version.

Line a 20cm square cake pan with baking paper.

Beat together the butter and sugar until light and fluffy.

Beat in the eggs one at a time – if the mixture starts to curdle add some of the flour.  Having said that, I didn’t find the mixture curdled – beat the butter and sugar for a long time and you should be ok.

Stir together the coconut milk and buttermilk.

Stir in 1/3 of the flour followed by half the buttermilk and coconut milk.

Repeat with a further 1/3 of flour and the remaining buttermilk and coconut milk.

Stir in the remaining flour and the baking powder.

Stir in the pineapple and coconut.

Spoon into the prepared cake tin and level the surface.

Bake for approximately 1hour – 1 hour 15 minutes or until a skewer inserted into the cake comes out clean.

Leave to cool for 30 minutes in the tin before de-tinning and leaving to cool completely on a wire rack.

Now make the icing – beat together the ingredients until thick and glossy.

Drizzle over the cake.

Sprinkle over shards of lovely Lindt chocolate.

Bask in the glory of the wonderful thing you have created.


Eat.

Sunday, 15 September 2013

Birthday cheesecake and cake pops


It’s my nephew, the Boy Wonder’s, 16th birthday this weekend (16????  Where does the time go?) and, knowing he’s a cheese cake fiend, I wracked my brains to come up with an original twist on his favourite dessert. (Sorry about the photos being dark – it was one of those gloomy days where nothing seemed to work!)


I’d bought these Wilton cake pop pans in John Lewis and thought their shape made them great candidates for coring and filling:


If you don’t have them I suspect a mini cupcake pan would work just as well.  For this cheesecake I made chocolate sponges...


...cored them...


... and filled them with chocolate cheesecake mix:


Cook’s perks...always the tastiest bit of cooking!


Half of my pops were submerged in the cheesecake (along with the leftover chocolate cheesecake mix), the other half put on sticks as a decoration...well, they sure beat sparklers for something I’d like to see ‘prettying up’ a cake!


The cake balls looked mighty fine once I’d dipped them in ganache.  I was proud of them.  Until the CCD (Caked Crusader’s Da) referred to them as ‘chew balls’ which made them sound like something you should give to a dog!


I scaled up my normal cheesecake quantities to go up a tin size for this one – I wanted plenty of slices so everyone could indulge on the day and also take slices home to enjoy at a later date.  There’s only one thing better than birthday cheesecake, and that’s post-birthday cheesecake...the gift that keeps on giving!


This might be another example of a ‘just me then?’ moment, but when I am tipping the entire contents of the Philly cream cheese out the tub I see it as a mark of failure to use a spoon or knife.  Instead, I invert the pot and gently squeeze it tempting the cheese to slide out whole.  I view myself as some sort of cheese whisperer and take it personally when the cheese doesn’t act on my encouragement.

Ingredients
For the cheesecake:
375g chocolate digestive biscuits
150g unsalted butter
1 vanilla pod
900g cream cheese – I used Philadelphia
150g icing sugar
450ml double cream

For the chocolate sponge(this made 24 pops):
125g unsalted butter, at room temperature
125g caster sugar
2 eggs
100g self raising flour
3 tablespoons cocoa powder
2 tablespoons milk
Optional: 50g chocolate chips

Chocolate cheesecake filling:
300g chocolate cream cheese – I used Philadelphia
50g icing sugar
150ml double cream

For the ganache glaze:
140ml whipping cream
2 tablespoon caster sugar
130g dark chocolate

To decorate: sprinkles


Method
Place the ring from a 23cm round springform tin on the plate you’ll server the cheesecake from. Wrap the ring in either clingfilm or greaseproof paper to ensure that you can free the cheesecake easily.
Break the biscuits into crumbs – either in a food processor or with the bag and rolling pin method (i.e. place biscuits in a bag. Secure end. Bash with rolling pin)
If using the food processor method add the butter to the crumbs and pulse it until the butter is distributed. If using the bag method, melt the butter and stir in.
Use the crumbs to line the base of the cheesecake. Press them down onto the plate but not so hard that you create biscuity concrete!
Refrigerate.
Now make the sponges: Preheat the oven to 190°C/fan oven 170°C/375°F/Gas mark 5.
Spray your pan with cake release or grease using your preferred ingredient i.e. butter.
Beat together the butter and sugar until light and fluffy.
Beat in the eggs, flour, cocoa and milk.
When the mixture is smooth and well combined, stir in the chocolate chips, if using.
Spoon the batter into the prepared tin.
Bake for approximately 10 minutes or until a skewer inserted into the cupcakes comes out clean.
Remove from the tin as soon as possible and leave to cool on a wire rack – removing from the tin is important, as the heat of the tin will mean that the tiny sponges continue to (over)cook.
When cool use a cupcake corer (or apple corer) to remove some of the sponge.
Using the same method for the cheesecake topping below (basically beat all the ingredients together until thick!), make the chocolate cheesecake and pipe into the hollowed out sponges. 
Pipe any leftover chocolate cheesecake mix onto the biscuit base.

Refrigerate for an hour.
Stand half of the chocolate sponges on the cheesecake base, leave the other half to make into cake pops.
Now make the main body of the cheesecake: Slice the vanilla pod in half and remove the seeds.
Place seeds in a bowl along with the cream cheese and icing sugar and beat until smooth and well combined.
Pour in the cream and beat until the mixture is completely combined.
Spoon over the biscuit base and level.  Make sure you press the cheesecake into the crevices between the chocolate sponges.
Leave to set overnight in the refrigerator.
Now make the ganache: Place the cream and sugar in a saucepan and bring to almost boiling point.

Remove from the heat and add the chocolate.

Leave it to stand for a minute before stirring and bringing the chocolate and cream together.  At first it will look runny but keep stirring and it will become thick and glossy.

Leave to cool for ten minutes or more, or the glaze might be too runny to hold on the cakes.

Dip the top of the cakes into the glaze, add sprinkle of choice, and then put them back on the cooling tray to set.  The glaze will cover the top of the cake but the sides should remain clean so you can see the sponge....of course, the odd drip or spill is not going to offend anyone!

Remove the cheese cake from the fridge and pour the remaining ganache over the top.

Return to the refrigerator.

Remove the cheesecake from the fridge about 30 minutes (depending on your weather conditions!) before you wish to serve and remove the ring from the edge.

Place your mini cakes on sticks and insert into the cheesecake.

Bask in the glory of the wonderful thing you have created.

Eat.

Sunday, 8 September 2013

Spiced honey loaf


This cake marks my 6th anniversary of blogging and, amazingly, my ‘to bake’ list is perhaps longer today than it’s ever been.  Baking really is a never-ending hobby of loveliness!


Tempted though I was to pick something extravagant and fancy, I was very short of time this weekend and decided to pick something truer to what I consider my baking ethos.  I have always been drawn to the homely, simple and rustic cakes (not that I don’t love a bit of fancy patisserie as well – I am all-embracing where cake is concerned!) and this is a perfect example.


This loaf has a close, dense texture and is perfect to have with a cup of tea.  Being honest, if you were having it sans tea I would be tempted to butter it as it is on the dryer side of cake. The first flavour to hit is the cinnamon before the warm honey cuts in – it leave a lovely taste and makes you want the second bite!


The glaze adds a little texture to the top of the cake.  Putting honey in the glaze enhances the flavour and while the cake is perhaps a plain Jane in terms of looks, it definitely isn’t in terms of taste.


When I think back to my early days of blogging I started with no thought for the future – it wouldn’t have surprised me if I’d quit by Christmas as something shinier caught my attention.  But here I am still, six years on – and there aren’t many weeks I’ve missed a post.  I’d be lying if I said my baking mojo didn’t dip occasionally – I’m going through a bit of a lull at the moment.  My blog is a labour of love but whenever I get a lovely email from a reader telling me about a recipe they made from the site, or asking about how they could adapt a recipe to make their daughter’s wedding cake I get little goosebumps and enjoy a renewed love for the power of baking and sharing recipes – after all, that’s what it’s all about.  I hope you’ve enjoyed my first six years!


Ingredients

For the cake:
225g unsalted butter, at room temperature
115g light muscovado sugar
6 tablespoons runny clear honey
4 eggs
450g plain flour
1 ½ teaspoons baking powder
1 teaspoon ground cinnamon

For the glaze:
115g icing sugar
1 tablespoon runny clear honey
1-2 tablespoons hot water


Method

Preheat the oven to 180°C/fan oven 160°C/350°F/gas mark 4.

Line a 900g (2lb) loaf tin with baking paper.

Beat together the butter and sugar until light and fluffy – don’t skimp on this stage.

Beat in the honey.  My honey was very runny so I beat it straight in, if yours is firmer set warm it slightly first.

Beat in the eggs one at a time, adding a little of the flour if it looks like it might curdle.

Stir in the flour, baking powder and cinnamon.

Spoon into the prepared tin and level the surface.

Bake for 40 minutes before checking that the top is not browning too much.  If it isn’t bake for a further 15-20 minutes or until a skewer comes out the cake clean.  If the cake is browning too much after 40 minutes reduce the oven to 160°C/fan oven 140°C/325°F/gas mark 3 and cover the brown crust with foil before continuing to bake.

Leave to cool in the tin for 15 minutes before turning out onto a wire rack and leaving to cool completely.

Now make the glaze: place the icing sugar, honey and 1 tablespoon of water into a bowl and beat together.  Add a further tablespoon of water if necessary – you’re aiming for a thick, runny – but not watery – glaze.

Spoon over the cake and let run down the sides.  Any of the glaze that runs down the cake and pools around it can be spooned back over the cake (like basting a piece of meat!).

Let the icing set.

Cut into thick slices – butter if you wish – and enjoy with a big mug of tea.

Bask in the glory of the wonderful thing you have created.


Eat.

Sunday, 1 September 2013

Peach and spiced ricotta tart


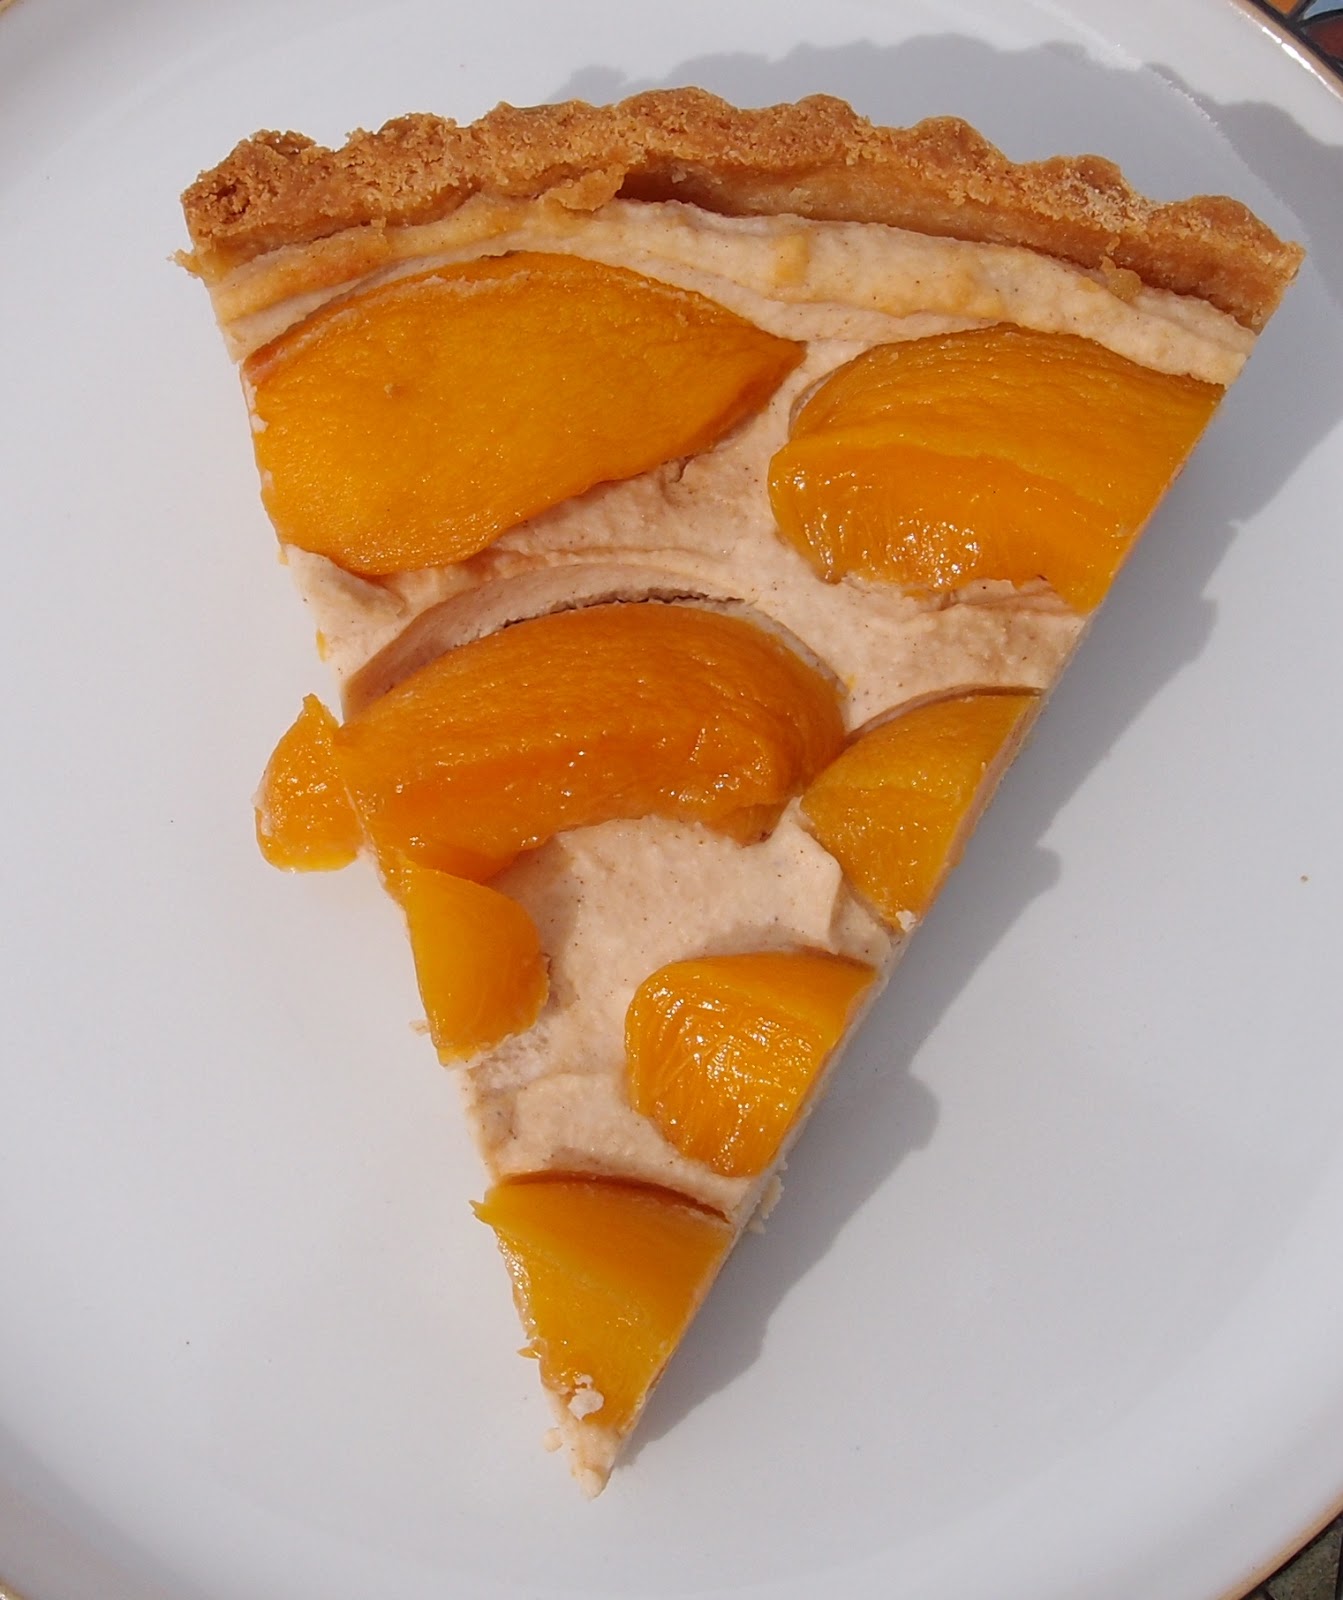
I think this tart looks a lot more complicated, and a lot more work than it actually is.  The roasted, lightly caramelised peaches sitting on a pillow of gently spiced ricotta work so well with the sweet, buttery vanilla pastry.  But honestly – if you can line a pastry case, the rest is plain sailing.


You’re probably meant to use fresh peaches or nectarines for this recipe but if you’ve followed my blog for any length of time you will know just how much I love tinned peaches.  How tinning a peach makes it better (both flavour and texture) I do not know...but it does.  So I used tinned peaches.  Using tinned peaches at the height of soft fruit season...I must be a contrarian baker!


When I trimmed the pastry I, of course, tasted the off cuts and was surprised how sweet it was.  It made sense when I tasted the ricotta filling which is not that sweet at all.  It’s all about balance.


I’m not sure roasting the tinned peaches was strictly necessary but I did it anyway and they did look and feel softer afterwards but they didn’t caramelise as much as I’d hoped.


This is the sort of tart you’d see in a lovely deli shop window; it’s not fine or delicate patisserie but it looks inviting and wholesome.  I was particularly proud of this one.  And I really need to reiterate – it’s easy to make!


Ingredients

For the pastry:
115g unsalted butter, at room temperature
75g caster sugar
1 egg yolk
1 teaspoon vanilla extract
Pinch of salt
185g plain flour

For the peaches:
3-4 peaches or nectarines, peeled and cut into half – stone removed.  I used tinned peaches...because I love them!  My peaches were small so I used 4
1 tablespoon brown sugar
20ml water

For the ricotta filling:
450g ricotta
40g caster sugar
½ teaspoon ground cinnamon
½ teaspoon ground ginger
1 egg
1 tablespoon brown sugar, for sprinkling on top


Method

Make the pastry – this is an unusual method but results in a rich, buttery pastry easier to work with than you might imagine: beat together the butter and sugar until pale and fluffy.

Add the egg yolk, vanilla and salt and beat until combined.

Add the flour and mix until the pastry just starts to clump.

Tip out onto a sheet of clingfilm and bring together into a ball.

Flatten into a fat disc and wrap in clingfilm.

Refrigerate for one hour.

Roll the pastry out between two sheets of clingfilm until it is 3-5mm thick.

Line a 23cm loose bottomed flan tin with the pastry.

Refrigerate for a further 30 minutes.

Preheat the oven to 180°C/fan oven 160°C/350°F/gas mark 4.

Cover the pastry with a sheet of baking paper or non stick foil and hold in place with baking beans.

Bake for 15 minutes, before removing the paper and beans and baking for a further 5 minutes until golden.

Leave to cool before trimming any overhanging pastry away.

Now roast the peaches: place the halves in a roasting tin.

Sprinkle the sugar over the peaches and pour the water into the bottom of the tin.

Roast for approximately 12 minutes or until they are soft and golden.

Leave to cool before cutting into wedges.

Now make the ricotta filling: beat together all the ingredients until well combined.

Spoon into the pastry case and arrange the peaches on top.

Sprinkle over the brown sugar.

Bake for 20-25 minutes or until the ricotta is golden and firm to the touch.  Mine took longer – nearer 40 minutes.

Remove from the oven and leave to cool for five minutes before removing from the tin.

Serve either warm, from the oven, or leave to cool completely.

Bask in the glory of the wonderful thing you have created.


Eat.