Showing posts with label sandwich. Show all posts

Sunday, 24 January 2016

Sultana sandwich cake


I wasn’t actually planning on baking this weekend – the old baking mojo is waning a bit of late – but then I really really wanted some cake and I discovered that greed is just about the only thing that can overpower my laziness!


This cake plays around with a classic Victoria sponge recipe; I added sultanas (love them!) and also decided to try out the little pot of custard extract I bought from Lakeland a while back but have never used.  My thinking was to try and create a dessert, like a spotted dick and custard, but in cake form.


I made a very light buttercream and used the custard extract in that too.  It achieved the aim of a pudding in cake form and was the perfect comforting cake to have with a cup of tea on a grey Sunday afternoon.


The custard extract was different to plain vanilla extract but wasn’t quite as powerful as I’d have liked.  I used it according to the instructions on the bottle – next time I might bam it up a notch.


Ingredients

For the sponge:
265g unsalted butter, at room temperature
265g golden caster sugar
4 eggs
12 drops custard extract – or 1 teaspoon vanilla extract if you prefer
265g self raising flour
150g sultanas
Dash of milk, if required

For the buttercream:
100g unsalted butter, at room temperature
200g icing sugar
6 drops custard extract – or a dash of vanilla extract
2 tablespoons milk


Method

Preheat the oven to 180C/fan oven 160C/350F/gas mark 4.

Line two 20cm round loose bottomed sandwich tins with baking paper.

Start by making the sponge: beat together the butter and sugar until light and well combined – it won’t turn pale and whippy because of the ratios.

Beat in the eggs, one at a time.

Beat in the custard extract.

Fold in the flour and sultanas.

Add a little milk if the sponge is too stiff - you want a consistency that will drop from the spoon with only a little encouragement.

Spoon into the prepared tins and level the surface.

Bake for approximately 45 minutes (but start checking after 30 minutes) or until a skewer inserted into the cake comes out clean.

Leave to cook in the tins for 15 minutes, before de-tinning and leaving to cool completely.

Now make the buttercream: beat the butter on its own until it is light and whippy.

Beat in the icing sugar and custard extract until you have a light, non-gritty buttercream.

Place one of the sponges on the serving plate.

Spread the buttercream over the top.

Place the other sponge on top and gently press down to ‘fix’ the cake.

Serve in generous slices with a mug of tea.

Bask in the glory of the wonderful thing you have created.


Eat.

Sunday, 6 December 2015

Ginger and parsnip cake


If I were to say to Mr CC I was making a carrot cake his response would be favourable.  However, when I made courgette cakes he prejudged them negatively even though he ended up eating them and liking them.  The Brussel sprout cake was admittedly ‘interesting’ (interesting in this context = bleughhhhhh! Don’t say I didn’t warn you!) but I made that before I met him so, other than hearing scare stories from survivors, he escaped it unscathed. 


Parsnips are basically carrots that have used higher SPF sunscreen (this view might not stand up to biological scrutiny) so I was torn whether to ‘fess up to their inclusion in this cake prior to serving it.  I decided not to and instead turned it into a game of ‘this cake has an unusual ingredient – can you guess what it is?’  He didn’t.


Parsnips, like carrots, have a natural sweetness but, unlike carrots, have an earthiness that added to the depth of flavour in the cake.  I’m not sure my palate would’ve detected that it wasn’t carrot but, once you know, the taste is subtly different.  The sponge was light and soft with tiny flecks of creamy coloured parsnip visible.  It was a lovely combination with the ginger. 


I attended the BBC Good Food show at the NEC last week and bought a bottle of ginger juice.  I used some in the buttercream; ending up with 2 tablespoons of ginger juice and 2 of syrup from the jar of stem ginger.  It added an extra bit of zing and heat – I do like my ginger to leave a lasting impression on my tongue!


I have never said, thought and written the word ‘parsnip’ as much as I have whilst baking this cake.  When you think about it, it’s a pretty odd word...and gets sillier the more you say it.  Parsnip.  Paaaaarsniiiipppp.  It’s a funny word – and I like it!

 
Ingredients 

For the sponges:
250g self raising flour
1 teaspoon bicarbonate of soda
1 teaspoon baking powder
½ teaspoon salt
2 teaspoons ground ginger
250g golden caster sugar
3 balls of stem ginger, very finely chopped
3 eggs
200g grated parsnip – this equates to two average sized parsnips
1 teaspoon vanilla extract
125g unsalted butter – melted but not hot (leave to cool for about 5-10 minutes)
Splash of milk, if needed
 

For the icing:
400g icing sugar
200g unsalted butter, at room temperature
4 tablespoons stem ginger syrup from the jar
 

Method
 

Pat the oven to 180C/fan oven 160C/350F/gas mark 4.

Line two 20cm loose bottomed sandwich tins with baking paper.

Place the flour, bicarb, baking powder, salt, ground ginger and sugar in a bowl and stir together.

Add the stem ginger and stir so that it is coated with dry ingredients and not clumping together.

In a separate bowl – a large jug is easier if you have one - beat together the eggs, grated parsnip, vanilla and melted butter.

Pour the wet ingredients into the flour mix and fold together, taking care not to over mix.

If the mixture is not firm, and doesn’t drop from the spoon easily, add a splash of milk.

Spoon into the prepared tins and level the surface.

Bake for approximate 25 minutes or until a skewer inserted into the cakes comes out clean.  Mine took a bit longer – nearer 40 minutes, but it’s worth checking after 25 minutes as ovens vary.

Leave to cool in the tins for at least 20 minutes before turning out and leaving to cool completely on a wire rack.

Now make the buttercream: Beat together all the ingredients until smooth and whippy.

Place one sponge on the serving plate and use a stingy 1/3 of the buttercream to spread over the top.

Place the other sponge on top.

Use the remaining buttercream to cover the top and sides of the cake.

Place your decorated gingerbread on the cake.

Bask in the glory of the wonderful thing you have created.

Eat.


Sunday, 1 November 2015

Chocolate orange carrot cake


I’ve never baked (or indeed seen, or eaten) a chocolate carrot cake before.  It seemed the perfect cake given the increasingly autumnal feel in the air – soft sponge with chocolate and spice; it would be a good Bonfire Night cake too.  Funny how we associate flavours with seasons/events.


Being a carrot cake this is a very light sponge.  The brown sugar adds a caramel sweetness which always works well with spice.  The cocoa adds a chocolately depth.  The sultanas are entirely optional but, in my world, always make everything better so I added some!  I ‘ummed and aaaaahed’ over whether to make this as a single sponge or to make as a sandwich style cake.  In truth, I think it would work as either, but I was in the mood for a little cream cheese frosting so whipped up an orange one to compliment the zest in the cake.


I like it when bakes evolve like this, with a series of little decisions being made along the way to create the finished item.  This was a very popular cake and something a little bit different which, 8 years into my blog, feels increasingly difficult to achieve!


The flavours of this cake work well together but all remain identifiable because they hit your palate at different times.  The initial hit is the chocolate sweetness; this is cleaned away by the sharp cream cheese frosting and you are left with a fruit orange spice flavour.  It comes in three distinct waves.  Once I spotted this I took my time over each mouthful (unlike me) and ticked the stages of flavour off each time...this is how I entertain myself!


Mr CC was very sceptical about this cake initially.  When I said to him I was making a chocolate orange carrot cake he gave me a look which I can only describe as a ‘what you talking bout Willis?’ look (a reference that you will need to be a certain age to get!) but, when he tasted it, he really liked it!


Ingredients

For the sponge:
280g soft light brown sugar
200g self raising flour
80g cocoa powder
½ teaspoon bicarbonate of soda
1 teaspoon mixed spice
1 teaspoon ground cinnamon
Optional: 50g sultanas
zest of 1 orange (save the rest of the orange for the buttercream)
4 eggs
200ml sunflower oil – or any flavourless oil, I used light olive oil suitable for baking
100ml milk
200g carrots, grated – this equates to approx 3 medium carrots

For the buttercream:
350g cream cheese – I used Philadelphia
50g unsalted butter, at room temperature
160g icing sugar
1 -2 tablespoons orange juice

To decorate: chocolate sprinkles


Method

Preheat the oven to 180C/fan oven 160C/350F/gas mark 4.

Line two 20cm loose bottomed round sandwich tins with baking paper.

Place all the dry ingredients in a bowl and mix together e.g. light brown sugar, self raising flour, cocoa, bicarb, mixed spice, cinnamon and – if using - sultanas.

Place all the wet ingredients in a large jug e.g. orange zest, eggs, oil, milk and carrots and beat together.

Pour the wet ingredients into the dry and mix together.

Divide equally between the cake pans.

Bake for approximately 40 minutes (start checking after 30 minutes) or until a skewer inserted into the cake comes out clean.

Leave to cool in the tins, on a wire rack, for about 30 minutes before turning out and leaving to cool completely.

Now make the filling: Beat the cream cheese and butter until soft, light and whippy.

Add the icing sugar and beat well.

Add the orange juice – start with just one tablespoon – and beat until you have a light, spreadable buttercream.  Add more orange juice if required.

Place one sponge on the serving plate and spread about 1/3 of the buttercream over the top.

Place the remaining sponge on top.

Cover the top and sides with the frosting.

Cover the top with chocolate sprinkles.

Refrigerate until about 20 minutes before serving.

Serve in generous slices with a cup of tea.

Bask in the glory of the wonderful thing you have created.


Eat.

Sunday, 18 January 2015

Brown butter spice cake


Christmas may be over but winter is definitely here, which is why I was drawn to a spicy cake this week.  This cake had so many lovely facets that appealed to me: tea, spice, treacle, brown butter and even a bit of citrus.  All the flavours were offset by a very simple classic buttercream.


It’s worth taking your time over making the brown butter.  Your nose will tell you without any doubt that there is a huge difference between brown butter and burnt butter!  Gently heat the butter and it will become foamy; let this stage pass and the butter will turn clear and a wonderful dark amber colour…and it smells divine.  It’s also a bit like caramel in that you’re better to take it off the hob just before it’s at the stage you want, as it carries on darkening and you risk taking it too far.


This is such a comforting, homely looking cake but it packs in so much flavour – the best of all worlds.  The tea and citrus lifts what would otherwise be a lovely but ordinary dense gingerbread; I expected the cake to be more sponge-like but it isn’t – it’s definitely in the gingerbread camp.    Not sure what I did but my cakes came out huge!  I had to shave a bit off each one just to get it to a size that would fit in any of my storage tins!  Still, it gave me the opportunity to photograph a whole layer:


This cake is a keeper, by which I mean you’re best off making it a day or two in advance – it gets stickier and more flavoursome.  Bring on the snow – I’m ready for it!


Ingredients

For the cake:
250g unsalted butter
250g caster sugar
2 eggs
100g treacle
250ml tea, made using 2 teabags
Grated zest of 1 orange
600g self raising flour
1 teaspoon ground cinnamon
½ teaspoon ground ginger
½ teaspoon mixed spice

For the buttercream:
100g unsalted butter, at room temperature
1 teaspoon vanilla extract
200g icing sugar
1 tablespoon milk


Method


Preheat the oven to 180C/fan160C/350F/ gas 4. 
Line two loose bottomed 20cm round sandwich tins with baking paper.
Now make the cakes: melt the butter in a pan until it turns brown (but not burned).  Do this over a gentle heat – at first it will foam, but will brown shortly after.
Strain the butter through a coffee filter or several sheets of kitchen paper into a bowl and leave to cool.
Beat the cooled brown butter into the sugar, eggs and treacle.
Stir in the cooled tea and orange zest (I put the zest in the tea so that it infused the flavour into the tea).
In a separate bowl mix together the flour, spices and baking powder.
Beat the butter mixture into the flour mixture.
Divide evenly between the prepared tins and level the surfaces.
Bake for 20-25 minutes or until a skewer comes out clean.   Mine actually took a fair bit longer – nearer to 40 minutes.
Cool, in their tins, for 20 minutes before de-tinning and leaving to cool completely on a wire rack.
Now make the buttercream: beat the butter until it is soft and whippy.
Beat in the vanilla and icing sugar.
Beat in the water.
Place one of the cakes on the serving plate and spread the buttercream over it.
Place the other sponge on top.
Bask in the glory of the wonderful thing you have created.
Eat.


Wednesday, 24 December 2014

Chocolate mint cake


Our new house has emerged from the “total chaos” stage of unpacking to the far more acceptable “annoyingly disordered”.  I think this is progress and it felt a good time to get back to some baking, particularly with Christmas fast approaching.  I’d been cooking dinners every night so felt confident that I understood my new oven enough to tackle a new recipe, totally ignoring Mr CC’s recommendation of baking something I knew inside out like a Victoria sponge.  I could see his logic but I fancied something that reflected the festive season, and what could be more festive than After Eight mints?


Now don’t get me wrong; I like After Eight mints, I truly do.  But would I like them half as much if they didn’t each come snugly filed away in their own little paper sleeve like chocolate records? (Translation for anyone under 40: Records were the iTunes of their day but took up actual rather than virtual storage space and only held about 12 tracks at most).  And is there another chocolate with greater rules of etiquette?  Only a complete bounder takes the chocolate out and leaves the paper sleeve in the box, leaving some poor unfortunate sap to ‘draw a blank’.  This ganache uses a whole box of chocolates:


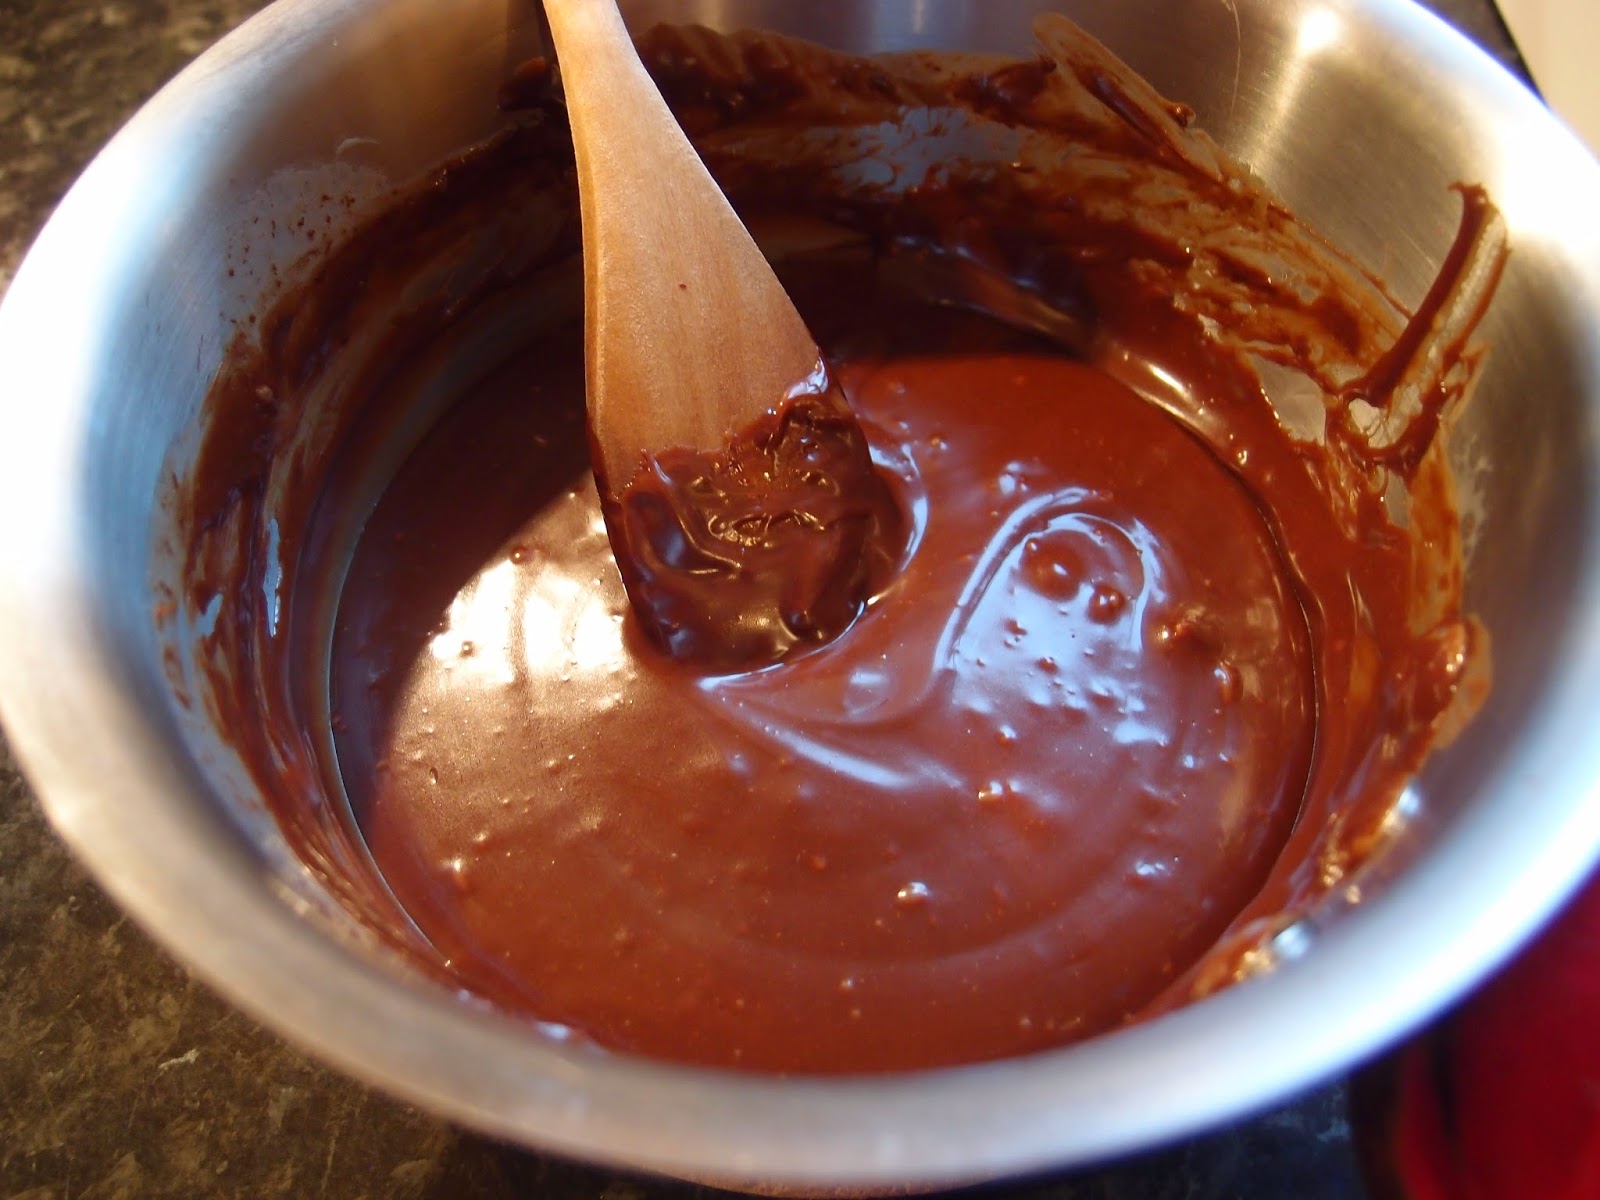
And here they are melted:


This is a rich, decadent cake and would work as either a cake or a dessert.  If I was serving it as a dessert I might have some extra whipped cream to serve alongside because everyone knows that it cuts through richness….right?  Work with me here, it is Christmas after all…the time of year when all bets are off and it’s perfectly acceptable to drink alcohol before 9am and eat tons of chocolate straight after the biggest meal of the year whilst complaining how full you feel (or at least it is if you’re doing right).


Thanks for everyone who’s stopped by my site this year, and extra thanks to those of you who have left such lovely comments.  Hope you all get the Christmas you wish for and a wonderful 2015!


Ingredients

For the sponges:
170g unsalted butter
100g dark chocolate
240g plain flour
280g golden caster sugar
6 tablespoons cocoa powder
1 teaspoon bicarbonate of soda
2 eggs
284ml buttermilk
200ml boiling water

For the icing:
300g After Eight mints, plus extra for decoration if you wish
50ml double cream


Method

Preheat the oven to 180C/ fan oven 160C/ 350F/ gas mark 4.

Line two 20cm round loose bottomed sandwich tins with baking paper.

Place the butter and chocolate in a saucepan and melt over a gentle heat.  Put to one side to cool a little.

Place the flour, sugar, cocoa powder and bicarbonate of soda in a large mixing bowl and stir together.

To the dry mix, add the melted chocolate and butter, the eggs, buttermilk and boiling water.

Beat until the mixture is smooth – you don’t want any lumps left in the batter!

Spoon into the two prepared tins and level the surface.

Bake for approximately 30 minutes or until a skewer inserted into the cake comes out clean.  Mine took a little longer so don’t worry if yours does too.

Leave to cool in the tins for 30 minutes before de-tinning and leaving to cool completely on a wire rack.

The sponges can be made a day in advance and stored in airtight containers.

Now make the icing: place the After Eights and cream in a saucepan and melt together over a gentle heat.

Leave to cool until you have a nice spreadable consistency – depending on the weather (or your heating!) you might need to pop it in the fridge for a bit.

Place one sponge on the serving plate.

Spread just over half the icing over it and place the second sponge on top.

Spread the remaining icing over the top and decorate as you choose.


Bask in the glory of the wonderful thing you have created.

Eat.

Sunday, 12 October 2014

Honey and poppy seed cake with honey buttercream


I am a terror for a gift shop, be it at a museum, gallery, stately home, or anywhere really.  They have always been utterly irresistible to me and I will always come out clutching a bag of ‘treasure’ which you can be pretty sure will contain, amongst other things, a fridge magnet or several fridge magnets should I have found the choice too difficult to make.  Luckily, Mr CC is supportive of the purchase of tat (sometimes through gritted teeth, but mostly with a good heart).  However, during our visit to the stunning Audley End House last weekend, Mr CC had his sensible hat on and suggested that – given our impending move – we limit ourselves to ‘edible items only’.


All this explains why I chose to bake a honey cake this week; we bought a jar of beautiful honey made by industrious Essex bees living and working in Saffron Walden.  I am funny with honey (rhyme not intended).  I love it baked into cakes or biscuits but do not like it at all on bread or toast.  I matched the honey sponge with a honey buttercream to allow the honey to be the star of the show; it is often teamed with other flavours and gets a bit lost.  Poppy seeds always add lovely texture – little bursts of crunch, and look so pretty when you cut a slice of cake.


This was a very popular cake indeed; the soft sponge and silky sweet buttercream had a vintage feel to them – the sort of cake that you’d see on an old fashioned tea-time table.  I kept the decoration simple with some wafer flowers; my logic being that bees like flowers.  I added a layer of honey lime curd in the centre of the cake, but it was only to justify the purchase of the pot of curd at my local town fair this weekend; the cake was planned without this addition.


Footnote: Limiting my purchases to edible items resulted in the purchase of: honey (good – edible!), two bags of duck food (edible…if you’re a duck), a book (eating paper won’t do you much harm, I suspect), a fridge magnet (not so edible), and a horseshoe (have a dentist on standby if you try and bite into that).


Ingredients

For the sponge:
260g unsalted butter, at room temperature
150g golden caster sugar
130g clear, runny honey
4 eggs
210g self raising flour
35g cornflour
3 tablespoons poppy seeds
1 tablespoon milk
For the buttercream:
115g unsalted butter, at room temperature
225g icing sugar
2 tablespoons clear, runny honey
1 tablespoon milk – if needed

Optional: honey curd or any fruit curd of your choice


Method

Preheat the oven to 180°C/fan oven 160°C/350°F/gas mark 4.

Line two 20cm loose bottomed round sandwich tins with baking paper.

Start with making the sponge: beat together the butter and sugar until pale and well combined.

Add the honey and beat until fluffy and whipped looking – don’t skimp on this stage.

Beat in the eggs, one at a time, adding some flour if it looks like it might curdle.

Fold in the flour, cornflour. poppy seeds and milk.

Spoon into the prepared tins and level the surface.

Bake for approximately 25 minutes or until a skewer inserted into the sponges comes out clean.  Mine took a bit longer - nearer 40 minutes.  Cover the cake loosely with foil if it's browning too quickly.

Leave to cool in the tins for about 15 minutes, before de-tinning and leaving to cool completely on a wire rack.

The sponges can be made a day in advance of assembling the cake – simply store in airtight containers.

Now make the buttercream: beat the butter until it is smooth and whippy.

Beat in the icing sugar until the ingredients are well combined.

Add the honey and beat, at a high speed, to lighten the buttercream and get lots of air into it.

If needed, add the milk to loosen the buttercream and give a nice spreadable consistency.

Now you can assemble the cake: place one sponge on the serving plate.

Spread over some curd – if using.

Spread just over half the buttercream over the sponge, placing the other sponge on top.

Spread the remaining buttercream on top.

Decorate as you wish – I used wafer flowers.

Bask in the glory of the wonderful thing you have created.

Eat.


Sunday, 7 September 2014

Chocolate and ginger sandwich cake


I am extremely suggestible with my baking.  Like most bakers I have a ‘to bake’ list, but then I’ll come across a recipe in a magazine or online and think, ‘that’s what I’m baking next’ and the list goes out the window.  That’s what happened here – I saw this recipe in a Sunday supplement magazine and all I could think about was how lovely chocolate and ginger sponge sounded.  When I leave for work in the morning I have noticed the aromas of Autumn starting to appear and obviously Autumn means spice so this cake had to be!


This is going to sound a stupid question (possibly because it is) but why is stem ginger only ever in ball shapes?  Why not just irregular chunks – it would do the same thing but waste less ginger.  Who decided that the only appropriate shape for stem ginger was a sphere?  And why are they always roughly the same size, to the extent that recipes will say ‘use one ball of stem ginger’ like it’s an actual recognised weight?  Answers on a postcard to….


The ginger and chocolate are very well balanced in this recipe – you get a nice hit of chocolate followed by a gentle spicy warmth.  The sponge is particularly light with a lovely soft crumb.  Perfect to enjoy with a cup of tea. 


This post marks the 7th anniversary of The Caked Crusader.  Seven years! Where has the time gone?  I’m now pretty close to a recipe for each day of the year...now that sounds like a good year!


Ingredients

For the sponge:
50g cocoa powder
6 tablespoons boiling water
4 tablespoons milk
200g unsalted butter, at room temperature
250g caster sugar
3 eggs
1 teaspoon ground ginger
2 balls of stem ginger, very finely chopped -I used my mini food processor to blitz it small enough; if you don’t have one then consider grating it
175g self raising flour
1 teaspoon baking powder

For the buttercream:
115g unsalted butter, at room temperature
225g icing sugar
2 tablespoons stem ginger syrup
1 tablespoon milk

To decorate: 1 ball of stem ginger, very finely chopped


Method

Preheat the oven to 180°C/fan oven 160°C/350°F/gas mark 4.

Line two 20cm loose bottomed sandwich tins with baking paper.

Start by making the cocoa paste: Stir the cocoa powder and boiling water together ensuring that there are no lumps.

Stir in the milk and take care to eliminate any powdery lumps.

Put the paste to one side.

In a large mixing bowl beat the butter and sugar together until smooth, whippy and creamy looking.  Do not skimp on this stage.

Beat in the eggs one at a time.

Beat in the ground ginger and the finely chopped stem ginger.

Stir in the cocoa paste.

Fold in the flour and the baking powder taking care that the ingredients are well incorporated.

Spoon into the prepared tins and level the surface.

Bake for approximately 30 minutes or until a skewer inserted into the cakes comes out clean.

Leave to cool in the tin for 20 minutes before de-tinning and leaving to cool completely on a wire rack.

Now make the buttercream: beat the butter until it is pale and whippy.  I find that beating the butter first makes it lighter and easier to incorporate the icing sugar.

Add the icing sugar and beat until smooth and well combined.

Add the ginger syrup and milk and continue to beat until you have a lovely smooth  buttercream – the best test is to take a tiny amount on your tongue and press it against the roof of your mouth.  If it feels grainy you need to continue beating it to dissolve the sugar.
Place one sponge on the serving plate and spread half the buttercream over it.

Place the second sponge on top and spread the remaining buttercream over it.

Decorate with finely chopped stem ginger.

Bask in the glory of the wonderful thing you have created.

Eat.


Sunday, 1 June 2014

Blueberry sandwich cake


It seemed like too long since I’d made a good old fashioned sandwich cake.  Likewise anything with blueberries.  Likewise anything with curd.  Therefore I decided to incorporate all three and make a blueberry sponge cake sandwiched with blueberry curd and buttercream. 


Most of the components of this cake are adapted from other recipes I’ve featured on my site before – the new element is the addition of the natural yoghurt in the buttercream.  It adds a nice tang and helps to cut through the sweetness of the buttercream.  I was very pleased also with the blueberry curd; I’ve yet to meet a fruit curd I didn’t like (other than lemon, obviously!)


Adding some of the curd to the buttercream made it a wonderful colour whilst keeping it natural.  Regular readers will know that I’m not mad on adding colour for the sake of it (I will occasionally do so but it has to be natural), but here the curd adds flavour too; it was a particularly fruity buttercream!


I state in the recipe to have some extra blueberries for decoration.  I put some aside but then, barely ten minutes later, ate them having completely forgotten what they were saved for.  Luckily I had some wafer daisies in the cupboard!


Ingredients

For the blueberry curd:
225g blueberries
2 tablespoons water
140g caster sugar
2 eggs, beaten
35g unsalted butter

For the blueberry sponge:
200g unsalted butter, at room temperature
200g caster sugar
4 eggs
200g self raising flour
1 teaspoon baking powder
2 tablespoons milk
150g blueberries

For the buttercream:
200g unsalted butter, at room temperature
400g icing sugar
3 tablespoons natural yoghurt
2 tablespoons blueberry curd

To spread on the cake: virtually all of the blueberry curd
To decorate the cake: handful of blueberries (I forgot why I’d saved some and ate them, hence no blueberries on my cake)

Method

Start by making the blueberry curd: place the blueberries in a saucepan with the water, bring to the boil, then reduce the heat and simmer for 10 minutes or until the fruit has collapsed to a mush.

Pass through a sieve using a spoon (or sieving mushroom) to push through as much puree as possible.

Discard the pulp and put the puree either in a bain marie saucepan or in a heatproof bowl over a saucepan of simmering water (the bowl mustn’t touch the water or you’ll get scrambled eggs).

Add the caster sugar, eggs and butter and stir until all the ingredients are melted and combined.

Continue to stir until the curd thickens – this can take a while so don’t panic and think it’s gone wrong; I usually find it takes about 15 minutes.

Once you can leave a trail on the surface of the curd it is ready.  It will firm up more as it cools.

Remove from the heat.

Spoon into a bowl or jar – I sieve it at this point just to make sure there are no lumps - and leave to cool completely before refrigerating.

Now make the sponge: preheat the oven to 190°C/fan oven 170°C/375°F/gas mark 5.

Line two loose bottomed 20cm round sandwich pans with baking paper.

Beat together the butter and sugar until light and fluffy – do not skimp on this stage.

Beat in the eggs one at a time, adding some of the flour if the mixture looks like it is curdling.

Fold in the flour and baking powder.

Stir in the milk.

Spoon the batter into the two pans and level the surface.

Scatter the blueberries over the top of both batters and press down gently.

Bake for approximately 20-25 minutes or until a skewer inserted into the sponge comes out cleanly.

Cool in the tins for 10 minutes before turning out the sponges and leaving to cool completely on a wire rack.

Store in an airtight container until you are ready to ‘build’ the cake.

Now make the buttercream: beat the butter until it is soft and whippy.

Add the icing sugar, yoghurt and blueberry curd and beat until well combined and smooth.

You are now ready to ‘build’ the cake: place one of the sponges on the serving plate.

Spread the blueberry curd onto the sponge and top with some buttercream.

Place the other sponge on top.

Cover the cake with the remaining buttercream.

Refrigerate until 45 minutes before serving.

Bask in the glory of the wonderful thing you have created.

Eat.