Showing posts with label brownies. Show all posts

Sunday, 19 June 2016

Coconut brownies


I had virtually no time to bake this weekend but, nonetheless, wanted some home baking.  This is the perfect recipe to have up your sleeve – the work of minutes to get in the oven, very few ingredients, and utterly delicious. 


If I had to pick my favourite things to pair with chocolate coconut would be right at the top of the list, perhaps having to slug it out with pear for who actually had the top spot.  There is just something about coconut that brings out the best in chocolate and vice versa.  I love the damp grainy texture of baked desiccated coconut and that you can find bits of it in your teeth for a while after eating – it’s the ingredient that keeps on giving!


One thing I think it’s important to point out – this recipe didn’t behave like a normal brownie recipe; usually, when you’ve done the melting of the chocolate and butter you end up with quite a liquid mixture right until you add the flour, and even then it’s a runny mix.  This was thicker and only started to loosen when I added the eggs – here’s what it looked like after the initial melting stage (just so you don’t panic that it’s gone wrong if yours looks similar!):


Possibly the only difficult thing about baking brownies is judging when to remove them from the oven.  I work on the assumption that things firm up/set/dry out a little on cooling so try and take them out before they look ‘done’.  This goes against my prudent nature and I feel a bit of a risk-taking daredevil in removing something from the oven before it looks ready, but I force myself, and the momentary stress is worth it!  In my opinion a brownie is better a little underdone, than a little over.


Ingredients

100g cocoa powder
250g unsalted butter
500g golden caster sugar
4 eggs
100g self raising flour
100g desiccated coconut, plus 2 tablespoons extra to sprinkle on top


Method

Preheat the oven to 180C/fan oven 160C/350F/gas mark 4.

Line a 20cm square tin with baking paper or non stick foil.

Place the cocoa powder, butter and sugar into a large pan (large enough to accommodate all the additional ingredients) and melt over a gentle heat, stirring all the time so nothing catches on the bottom of the pan.

When everything has combined remove from the heat and leave to cool for about 10 minutes.

Beat in the eggs, one at a time.

Fold in the flour and coconut.

Pour into the prepared tin and sprinkle the extra coconut over the top.

Bake for approximately 45 minutes or until the brownie is set but not firm.  Best to start checking after about 30 minutes as ovens vary.  If the top is getting too dark and crusty, cover loosely with foil and continue to bake.

Leave to cool in the tin and, when cool, cut into chunky sized squares.

Serve with a cup of tea, or warm and serve with ice cream for dessert.

Bask in the glory of the wonderful thing you have created.


Eat.

Sunday, 25 January 2015

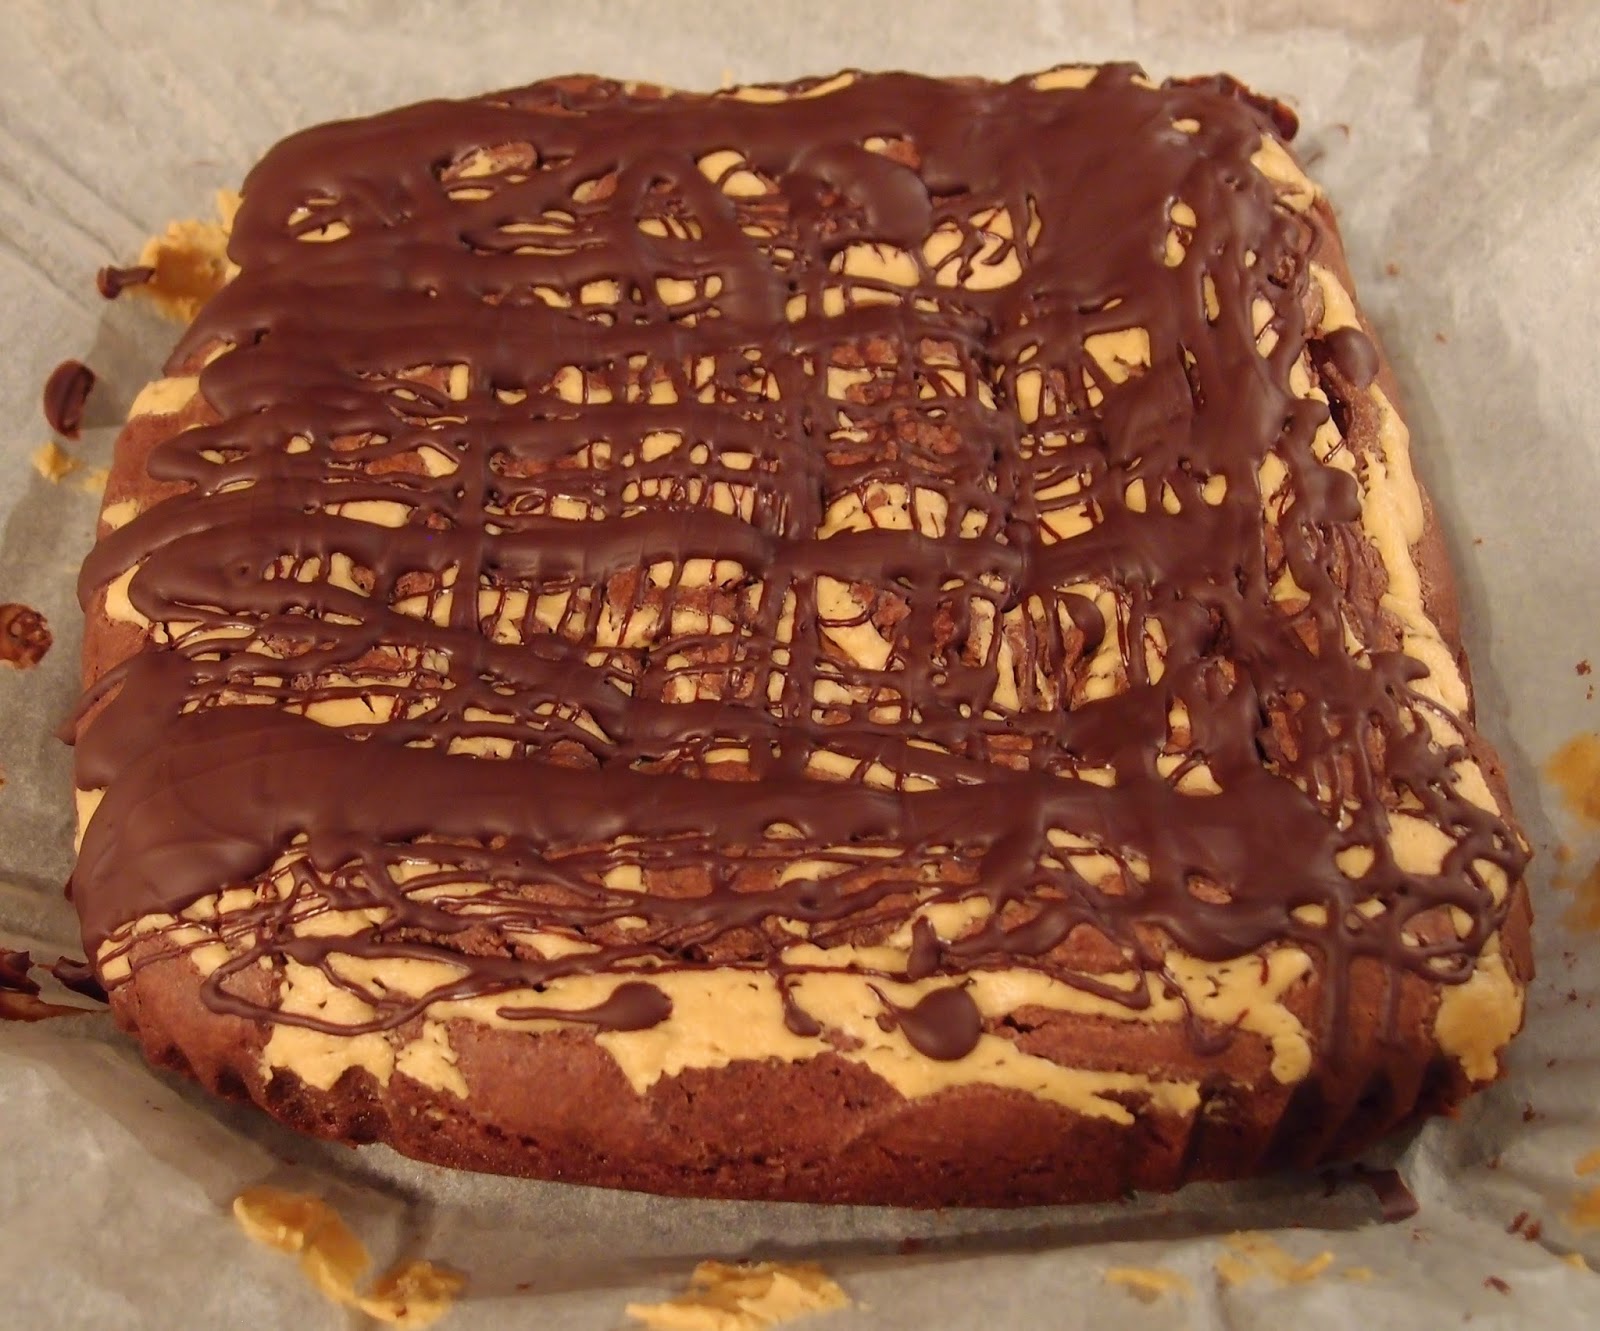
Peanut butter brownies


I don’t make a lot of brownies (last brownies made: November 2013, a shocking statistic), mostly because Mr CC claims not to like them.  Note the use of the word ‘claims’.  The pattern is as follows:
Me – I’m making brownies this week.
Mr CC – I don’t like brownies.
A day or so later….
Mr CC – I took the brownies in to work and had one.  It was actually pretty nice.
Repeat cycle every time I say I will make brownies.


Chocolate and peanut butter is such a satisfying flavour combination.  I love the sweet saltiness that peanut butter adds to baking and, teamed with good dark chocolate, the flavour is rich and mouth-watering.  Often when a recipe calls for dark chocolate I substitute it for half milk, half dark; I didn’t do that here as you need the dark flavour to balance the sweetness.  If you used milk chocolate I think it could be a sugar overkill and end up a little cloying.


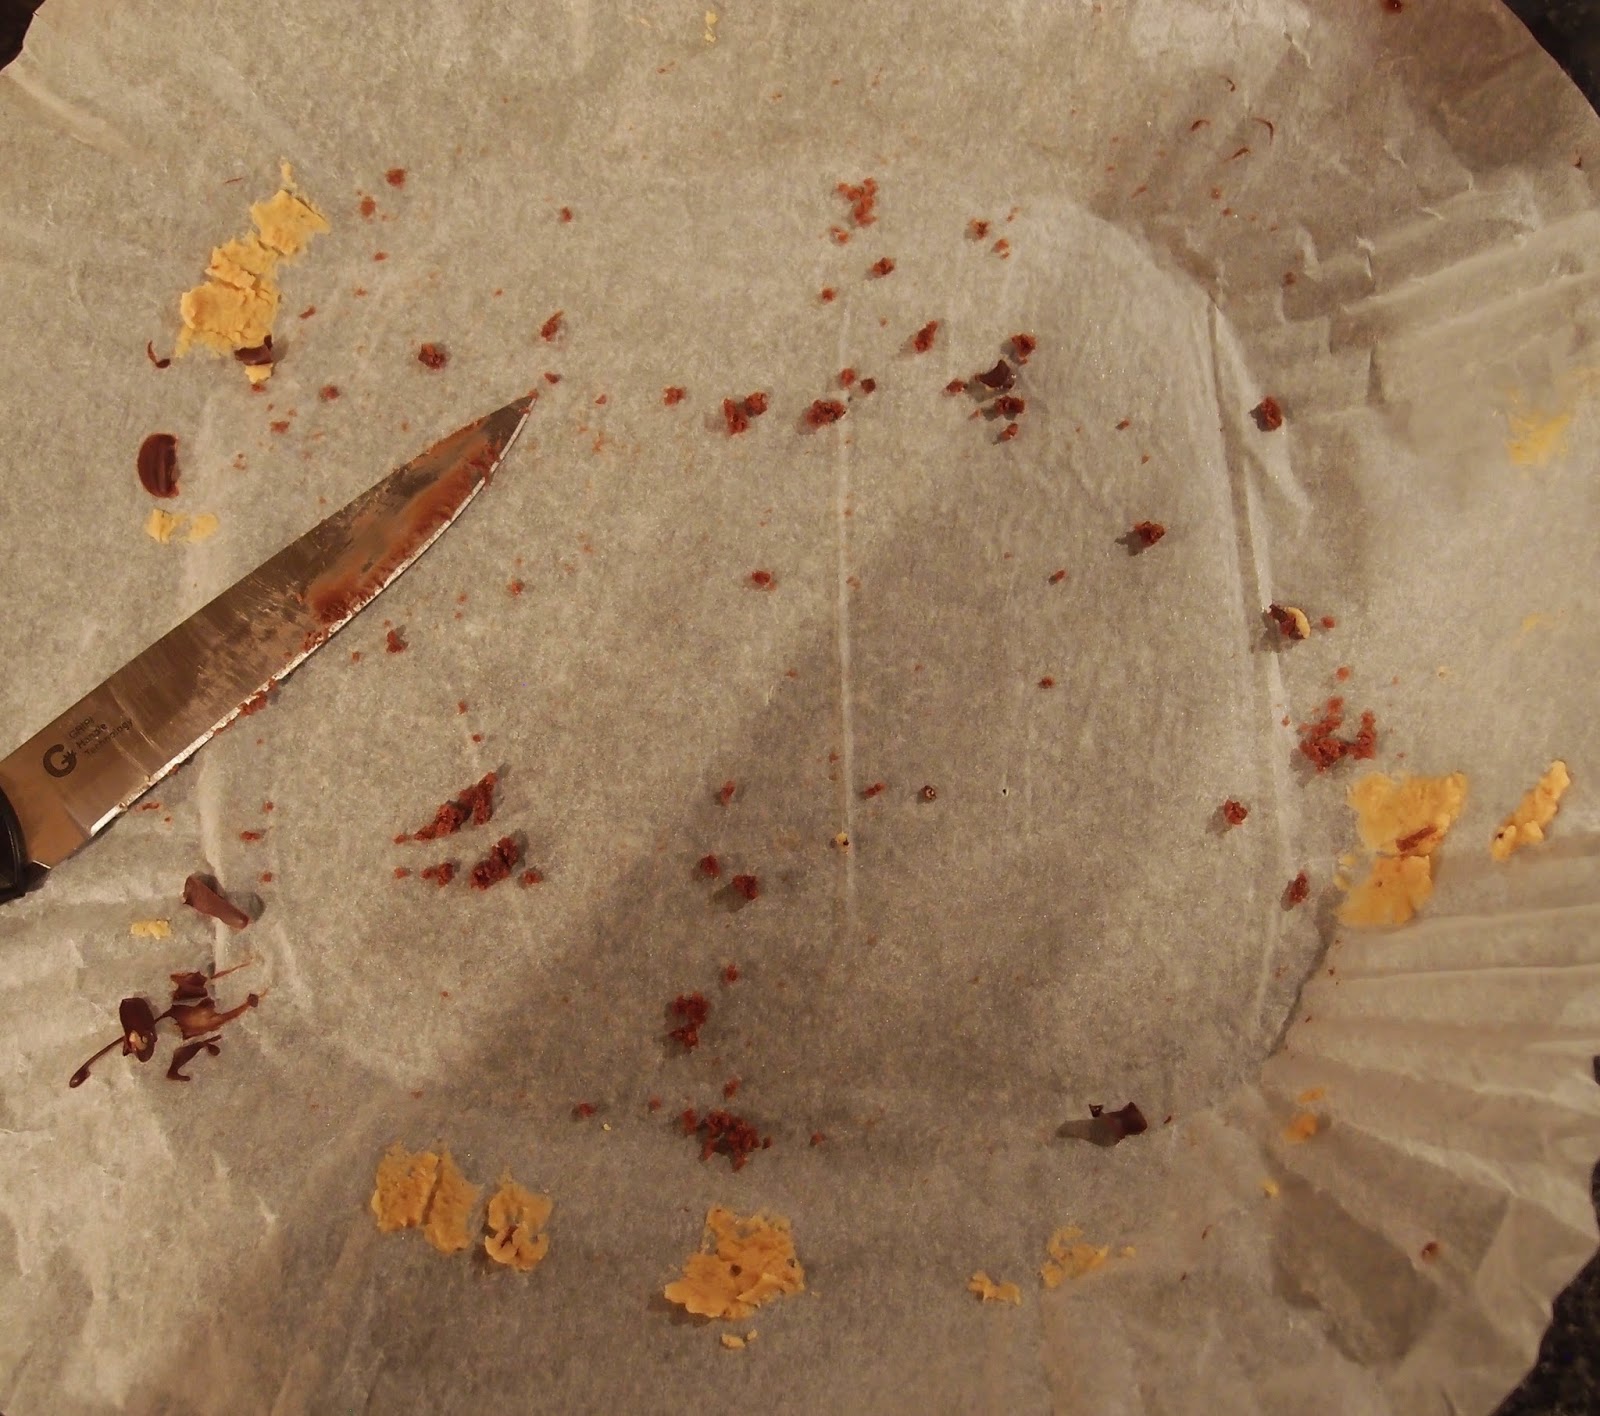
These brownies have that squidgy, dense texture that good brownies should have and are divine served warm with ice cream for dessert, or at room temperature with a cup of tea.  They keep well too, although believe me when I say that really won’t be an issue!  The following photo is all a latecomer should ever see of a good brownie:


Ingredients

For the brownies:
225g smooth peanut butter
150g dark chocolate, broken into squares
200g light brown soft sugar
3 eggs
100g self raising flour

For decoration:
50g dark chocolate, melted


Method

Preheat the oven to 180C/ fan oven 160C/ 350F/ gas mark 4.

Line a 20cm square cake in with baking paper or non stick foil.

Put 50g of peanut butter to one side.

Place the remaining 175g of peanut butter in a bowl with the chocolate and sugar and melt together in a saucepan over a gentle heat.  Stir occasionally. 

Leave to cool for about ten minutes.

Beat the eggs, one at a time, into the chocolate mix.

Fold in the flour.

Pour into the prepared tin and put to one side.

Melt the 50g of peanut butter you put to one side at the start.  You can do this in brief bursts in the microwave or on the hob.  Only heat it until it is thin enough to drizzle.

Drizzle the melted peanut butter over the unbaked brownie.

Bake for approximately 25 minutes, but it’s best to check after 20 minutes as ovens vary widely – you’re aiming for a squidgy middle but with a crust.  It will carry on baking/firming up as it cools.

Melt the remaining chocolate and drizzle over the top of the baked brownie.

Leave to cool completely in the tin, on a wire rack, before de-tinning and cutting into squares.

Bask in the glory of the wonderful thing you have created.


Eat.

Sunday, 17 November 2013

Nutella pecan brownies


Nutella pecan brownies...there’s not a word to dislike in that!  I loved these!  The nutella adds a richness and roundness of flavour to the brownie that compliments the chopped pecans.  I think they are up there as the most flavoursome brownie I’ve tasted....and I liked how the nutella added to the squidginess too.


I used dark chocolate for the brownies, where usually I’d be tempted to use milk or half milk/half dark.  The nutella is milky and sweet and I didn’t want to overdo the sweetness as I like a brownie with a strong hit of cocoa goodness!


Brownies are one of the few things that Mr CC and I disagree on (also on that list are Michael Buble, how interesting science is, coffee and capers).
  He can’t get past the texture, which for me is the whole point of a brownie!


Footnote: this could actually be the footnote for any brownies I have ever made....Mr CC took the leftover ones into work for his colleagues...he tried one...and he liked it.  But he doesn’t like brownies.  Except for all those brownies in the recent past he has tried and liked.  Men are funny!


Ingredients

150g unsalted butter
100g nutella
100g dark or milk chocolate, broken into squares (I used dark)
3 eggs
150g caster sugar
80 self raising flour
50g pecan nuts, chopped finely plus a further 12 pecan halves for the top


Method

Preheat the oven to 200°C/fan oven 180°C/400°F/gas mark 6.

Line an 18cm (20cm will work too) square pan with baking paper.

Place the butter and nutella into a small saucepan and place over a gentle heat.  Stir occasionally.

When the mixture is melted and smooth turn the heat to the lowest setting and add the chopped chocolate.

As soon as the chocolate starts to melt, turn the heat off and leave the chocolate to melt into the butter mix.  Stir occasionally until the chocolate has completely melted.

In a large mixing bowl whisk together the eggs and sugar until it is light and whippy.

Pour in the chocolate mix and beat together.

Fold in the flour and chopped nuts.

Pour into the prepared tin and gently sit the pecan halves on top – space them out evenly as this will help you to cut the brownies later.

Bake for 30 minutes or until the brownies are almost baked.  There’s no right or wrong here – it depends how squidgy you like your brownies.  Make sure you take them out just before they are how you like them as they will continue to cook and firm up as they cool.

Leave the brownies to cool for 20 minutes in the tin before lifting out and cutting into 12 brownies.

Bask in the glory of the wonderful thing you have created.


Eat.

Sunday, 21 July 2013

Chocolate mousse cake and a trip to York


For me, this cake is a wish-list of all the best things baking with chocolate can provide.  Chocolate biscuit base? Yep.  Layer of rich brownie? Yeah, it’s got one of those. Chocolate mousse? Of course! Whippy cream to set it all off? Mai oui...and even some chocolate pigs frolicking on the top!  Somebody pinch me; I must be dreaming.


Now this looks pretty fancy and you do need to organise yourself to get the stages done (with waiting time between them) but there is nothing complicated here at all.  If you can whisk and fold then you can make what is a very sophisticated looking dessert.  Also, in this heatwave, it doesn’t require a lot of oven time.


I kept the brownie all dark chocolate but used a mix of dark and milk chocolate for the mousse, simply because I prefer a less bitter mousse.  But you can tinker and tailor it to your tastebuds!


Often with recipes that use a 23cm tin, I’ll ignore the instruction and use my 20cm tin as I prefer a taller cake.  Don’t try that with this recipe as it is a huge cake even when made in the 23cm tin.  This could happily feed a large gathering for dessert and perhaps even leave you some for the next day...I must admit it is rather rich, even though I feel feeble for saying so.


Mr CC and I had a lovely long weekend in York.  We went there for a daytrip last year and realised that the City needed more than that to discover all the gems it has to offer.  It is a truly historic town with wonderful architecture wherever you look.  Here’s the Minster (I wasn’t drunk, I went for an arty angle to omit the scaffolding around the top of the left hand tower!)


Right that’s the travel guide over with – now to the important stuff!  To visit York is to fall in love with Bettys the famous tea rooms; I use the plural because in York you have big Bettys:


And little Bettys (it hurts me not to use an apostrophe but that’s how it is!)


Being keen to immerse myself in local culture I had to try both.  I had a quick cup of tea and a fat rascal in little Bettys while Mr CC was off looking at trains in the National Railway Museum (I think I got the better of that particular deal!).  I have read much about the legendary fat rascal – a cross between a scone and a rock bun, and the window display only got me more excited:


What I didn’t know is that they are served warm and eaten with butter (it just gets better!)


We visited big Bettys for the formal afternoon tea.  Even the menu was beautiful and in-keeping with the art deco style of the tea room:


The afternoon tea was classic and elegant – no putting savoury herbs in sweet tarts here; rather a lovely selection of tried and tested combinations such as lemon meringue, chocolate and caramel...I wish other afternoon tea venues would take note.


It wasn’t all about Bettys though; we found a lovely little cafe – Bennett’s - right by York Minster (on High Petergate) and thoroughly enjoyed their Yorkshire classics of gingerbread and curd tart.


To prove we didn’t live off cake for the weekend here’s a plate of wholesome goodness from Wackers (on Gillygate), York’s biggest and best loved fish and chip restaurant.  The fish and chips is fried in beef dripping....mmm, beef dripping!


Ingredients

For the base:
300g oreo biscuits – I used one packet normal filling, one packet chocolate filling
150g chocolate digestives – use milk or dark, whichever you prefer (I used milk)
125g unsalted butter, at room temperature

For the cake:
200g dark chocolate – 70% cocoa solids
50ml dark rum
100g unsalted butter
¼ teaspoon fine salt
150g golden caster sugar
3 eggs
2 teaspoons vanilla extract
50g golden syrup
30g plain flour (this is not a typo – it is only 30g)

For the mousse:
250ml double cream
250g chocolate – I used a mix of dark and milk
4 eggs, separated
30g icing sugar

For decoration:
300ml double cream
50g icing sugar
Chocolate decorations of your choice – I used tiny chocolate pigs!


Method

Line the sides of 23cm round springform tin with baking paper of re-usable silicon liner.

Place the biscuits and butter into the food processor and blitz until you have claggy crumbs.  If you use a processor there is no need to melt the butter.  Alternatively, you can melt the butter and beat the biscuits to crumbs in a plastic bag then mix together.  As the biscuits are chocolate and filled with cream I think the processor is the way to go, if you can.

Press the base into the prepared tin and refrigerate for 30 mins.

Meanwhile, preheat the oven to 160°C/fan oven 140°C/325°F/gas mark 3.

Put the base in the oven (straight from the fridge) and cook for 10 minutes.

Remove from the oven and leave to cool.

Increase the oven to 180°C/fan oven 160°C/350°F/gas mark 4.

Now make the cake layer: place the chocolate, rum, butter and salt into a saucepan and melt over a very gentle heat, stirring often.

When the chocolate has all melted add the sugar and stir rapidly.  At first the mix will look and feel gritty but then you will feel the sugar crystals dissolve even though the mix will still look granular.

Remove the pan from the heat and whisk in the eggs one at a time.

Whisk in the golden syrup.

Whisk in the flour.

Your batter will be very thick and runny – like a brownie batter.

Pour the batter over the biscuit base and cook for 30-35 minutes or until the cake looks baked but still has a little squidge in the centre.

Leave to cool completely – in the tin – on a wire rack.

Now make the mousse layer: heat the cream in a saucepan until it is at scalding point i.e. almost but not quite boiling.

Remove from the heat and place the chocolate, broken into squares, into the cream.  Leave for a couple of minutes before stirring.

Leave to cool for 5 minutes or so before whisking in the egg yolks.  If the mix is too hot the eggs might start to cook and the mix will look ugly.

In a separate bowl whisk the egg whites with the icing sugar until they are stiff.

Take a spoon of the whites and whisk into the chocolate mix – this will slacken the chocolate and make it easier to fold in the remaining whites.

Fold together the chocolate and egg whites making sure you stop as soon as they are combined – over folding will knock air out of the mousse.

Spoon over the cake and chill for a minimum of 2 hours but ideally overnight.

On the day of serving whip the cream and icing sugar and spoon into a messy blob on top of the mousse.

Decorate as desired with chocolate.

Bask in the glory of the wonderful thing you have created.


Eat. 

Sunday, 6 January 2013

Vanilla cheesecake chocolate brownies


If the New Year sets the tone for how we intend to approach the coming months, then I think these decadent brownies -which somehow manage to incorporate a whole cheesecake sans base - are a rather good choice!


I probably needn’t tell you how well the tangy cheesecake works with the rich, dark chocolate brownie.  It plays with your taste buds because first off you feel like you’re eating cheesecake with brownie, then as you get to the base the brownie texture takes over yet there’s an unmistakable cheesecakeyness to it all.  Or to put it more simply: yum.


You will see from the ingredients that this recipe makes a lot of brownie mix so please heed the advice to use a deep tin; it would be too sad to lose any mix over the edge...much as your oven might enjoy it!  I used a mini roasting pan as it was deeper than my traybake pan.


I forgot to hold back some of the brownie mix, so my marbled swirl wasn’t as defined as it could be.  You know how it is: sometimes you get so lost in thinking about how nice what you’re making looks that you forget to pay attention to the finer detail of the recipe.


I made them the day before eating and it was a good idea – they firm up and get squidgy overnight.  For lovers of that gooey brownie texture these are a winner because the cheesecake adds to it.


These brownies are great with afternoon tea but would also work well as a dessert.  A scoop of ice cream or just some thick cream poured over would soften the hardest heart!


Ingredients

For the brownie:
200g dark chocolate
200g unsalted butter
250g caster sugar
3 eggs
125g plain flour

For the cheesecake:
400g cream cheese – I used Philadelphia
1 teaspoon vanilla extract
125g caster sugar
2 eggs


Method

Preheat the oven to 180°C/fan oven 160°C/350°F/gas mark 4.

Line a 30cm x 20cm deep tin with baking paper or non-stick foil.

Start by melting together the dark chocolate and butter – you can do this either with a bowl over a pan of simmering water (ensuring that bowl and water don’t touch) or in the microwave.  I used the microwave and found that four 30 second bursts did the job perfectly.

Put the chocolate/butter mix to one side to cool.

Now make the cheesecake mix: place all the ingredients in a bowl and beat until thick and well combined.  You’re aiming for the gloopy consistency of mayonnaise.  Put the bowl to one side.
In a clean bowl, make the brownie mix: beat together the caster sugar and eggs until combined
.
Beat in the chocolate/butter mix.

Stir in the flour.

Pour 3/4s of the brownie mix into the pan and level the surface.

Spoon over the cream cheese mix in dollops and the remaining chocolate mix and give the tin a sharp tap on the worktop to level the surface.

Use a knife to swirl the mixes together creating a marbled effect.

Bake for 35-45 minutes or until the brownies are just set in the middle.  Mine took 45 minutes.

Leave to cool in the tin – on a wire rack so the air can circulate around the tin – and then cut into squares.

Bask in the glory of the wonderful thing you have created.

Eat.

Sunday, 20 May 2012

Chocolate fudge birthday cake


It is Mr CC’s birthday and time for one of his ‘challenges’ that only serve to prove what a hopeless cake decorator I am!  This year he wanted a chocolate cake (hurrah!  I can do that!) in the shape of Domo (shi....I mean sugar!).  Now Domo is quite a straightforward looking chap...but it’s always the simple characters that are the hardest to get right as there’s nowhere to hide.

Carving is not my forte:


Domo is an international phenomenon with a range of merchandise to rival Hello Kitty.  He is the mascot for a Japanese television station.  If you haven’t come across him, this is what he looks like:

I chose a rich chocolate sponge and this recipe in particular interested me because of the sheer amount of chocolate and cocoa it contains.  It is quite dense almost like a sponge/brownie hybrid – a heavy, but very flavoursome cake.  The addition of sour cream works well and adds a tang to the flavour and stops the whole texture being too cloying.


The chocolate fudge icing couldn’t be simpler – only three ingredients!  Not that you can see much of it, because Mr CC hinted that chocolate sprinkles might replicate Domo’s fur...hence the whole tube of chocolate sprinkles covering the cake!  The icing is a little unconventional and I need to point out how ugly it is when cooled.  Here it is just made and needing to cool (nice):


Here it is cooled and rather icky looking:


Here it is lovely and beaten and ready to spread on the cake.  What I’m trying to convey is don’t lose heart and think you’ve done anything wrong when it’s cooled:


This cake is rich – I’d recommend serving it with some cream to lighten it.  It is also more chocolatey than chocolate; a boast I don’t make lightly (I’d hate you to take me at my word and then be disappointed).  Serve in small slices...this is one to savour!


As it was a cake for Mr CC’s birthday, I didn’t want him to see it before it was finished.  I therefore had to delegate the final inspection to Domo Nerd:


If you don’t want a Domo cake (why wouldn’t you?????) then simply make this cake in a traybake tin and serve that way.  If you are making it like that then maybe halve the icing amounts, as I needed extra to cover the sides of Domo!
Happy birthday Mr CC


Ingredients
For the cake:
300g dark chocolate, broken into pieces
300g unsalted butter
300g light muscovado sugar
150ml hot water i.e. not just boiled but still hot
150ml soured cream
3 eggs, beaten
300g self raising flour
110g cocoa powder

For the icing (this is what I used; if you’re making a traybake consider halving it):
200g dark chocolate
340g condensed milk
200g unsalted butter

To decorate: chocolate sprinkles, fondant icing and maltesers (for the eyes)
To serve: cream

Method
Preheat the oven to 160°C/fan oven 140°C/320°F/Gas mark 3.
Grease a 30cm x 20cm traybake tin.  I actually used a 27cm square disposable foil tin as, once I cut a strip of cake off to make the arms, it left me with a better Domo shape!
Put the chocolate, butter, sugar and hot water into a large saucepan and gently melt together, stirring frequently.
Once melted and combined remove from the heat and leave to cool for 5-10 minutes.
Stir in the soured cream and the eggs.
Transfer the mix to a stand mixer, or a bowl suitable to use an electric whisk in, and add the flour and cocoa.
Beat just until the ingredients are combined.  (NB.  I tried to incorporate the flour and cocoa in the pan using a balloon whisk but it was just too heavy and clumpy for my feeble arms to manage – hence the stand mixer)
Pour into the prepared tin – it will be runny – and bake for approximately an hour or until a skewer inserted into the cake comes out almost clean.  I’d check the cake after 50 minutes as all ovens are different.
Leave to cool on a wire rack.
When the cake is cool you can make the icing: Place all the ingredients in a bowl and place over a saucepan of simmering water.
Leave the ingredients to melt, stirring occasionally.
Remove from the saucepan and leave to cool; you may need to chill it to get it to a spreadable consistency.
If your icing looks a bit gloopy and unspreadable, put it in your stand mixer and beat it for a couple of minutes – this gets the texture just right for spreading.
Either spread the icing over the top of your traybake, or use to completely cover your Domo!
Decorate as required.
Bask in the glory of the wonderful thing you have created.
Eat.