Showing posts with label golden syrup. Show all posts

Sunday, 10 April 2016

Pecan cupcakes with cream cheese frosting


I haven’t yet baked a single cupcake during 2016 so thought it was about time I rectified this most heinous situation.  The pecan sponge is an adaptation of a recipe where it was intended as a 20cm cake served as dessert with toffee sauce.  Most sponges can be converted into cupcakes pretty simply by a reduction in baking time.


The original recipe used maple syrup instead of the golden syrup I used; I made this switch because Mr CC actively dislikes the smoky flavour of maple syrup.  He’s not known for being picky about food, there are probably less than a handful of no-go ingredients for him, so it would seem rude not to accommodate him.  I prefer golden syrup too!


Take time to blitz the pecans to a fine crumb but, at the same time, don’t blitz them for too long so they start to release their oils.  Once you hit the look of ground almonds, stop!  I kept mine perhaps a bit coarser than ground almonds:


Pecans have a robust flavour so I chose a cream cheese frosting as I thought it would hold its own against the nuts.  The tang of the cream cheese works well and I kept it simple with a dash of vanilla.


There are three distinct flavours to these cupcakes – cream cheese, syrup and pecans.  They all hit together but the pecan is the one you’re left with at the end.  They are sweet – as you’d expect with sugar, syrup and pecans (which I always think of as a sweet nut) - but it’s a flavoursome sweet rather than a sugary sweet; you aren’t left with itchy teeth!


Ingredients

For the sponge:
200g unsalted butter, at room temperature
150g muscovado sugar
350g pecans – blitzed to fine crumbs in a food processor
3 eggs
100g golden syrup
150g self raising flour

For the frosting:
200g unsalted butter, at room temperature
300g icing sugar
180g cream cheese – I used Philadelphia
1 teaspoon vanilla extract

To decorate: pecan halves


Method

Preheat the oven to 170C/ fan 150C/340F/gas mark 3 ½.

Line two cupcake pans with paper cases – I got 20 generous sized sponges.

Beat together the butter and sugar until light and well combined – it will never go quite as fluffy with brown sugar as it would with caster.

Beat in the ground pecans.

Beat in the eggs, one at a time.

Beat in the golden syrup.

Fold in the flour.

Spoon into the paper cases and bake for approximately 20-25 minutes or until a skewer inserted into the cakes comes out clean.  Mine took 20 minutes.

De-tin and leave to cool on a wire rack lined with either kitchen or baking paper – the reason for this is that the nuts release oils during cooking and by standing it on something absorbent you will end up with nice dry paper cases by the time they’ve cooled.  (NB. Removing them from the tin ASAP stops them continuing to cook when out of the oven -this is what can cause the paper cases to gap and look ugly).

Now make the frosting: beat together the butter and icing sugar until well combined and smooth.

Beat in the cream cheese and vanilla.

If the frosting is very soft don’t be afraid to refrigerate it for 30 mins or so before using.

Pipe over the cupcakes, or spread with a knife if you prefer.

Decorate with pecan halves.

Bask in the glory of the wonderful thing you have created.


Eat.

Sunday, 27 September 2015

Lincoln ginger biscuits and Grantham gingerbread


Mr CC and I had a lovely long weekend in Lincoln recently (Lincoln is in Lincolnshire – England’s second largest county); it’s very hard to find much wrong with a county that has two fabulous ginger biscuit recipes. I was going to split the recipes into separate posts but spent so long wondering which one to post first that I decided it would be easier to do a double post!

Grantham gingerbread:


Lincoln ginger biscuits:


The biscuits are quite different; their only shared feature is ginger. Lincoln ginger biscuits are a crisp ginger biscuit with a buttery/syrup background that adds depth of flavour.  They are a crisper, more buttery version of the ginger biscuits you will typically find in any supermarket.  Grantham gingerbread is more unusual – it is a pale gingery, buttery rusk of a biscuit with a hollow, almost honeycomb style centre; not like any other gingerbread.  Utterly addictive, we worked our way through the majority of the box we brought back in one sitting.  It was only because we closed the box and moved it out of arm’s length that any survived to the next day!


Like many great recipes, Grantham gingerbread came about by a mistake.  In the 1740s William Egglestone ran a coaching house in Grantham where people would stop for some rest and sustenance.  He made a mistake, mixing up ingredients, for his Grantham Whetstones (a hard flat biscuit which was sold at the time) and created these puffy little delights, which were so popular he continued making them.  Sadly, so many local bakeries have closed that it’s actually hard to find Grantham gingerbread for sale anymore.  I hunted all over Lincoln and found them in one shop – this biscuit is too good to be allowed to die!


I made the biscuits per the recipes in the Lincolnshire cookbooks I picked up whilst on hols; I would make a couple of tweaks next time and note these in the ingredients listings below; mostly the tweaks are upping the amount of ginger - I like my ginger fiery!


If the biscuits alone aren’t enough to convince you to visit Lincoln then look at this – it’s the stunning cathedral, lit so beautifully at night that it glows with golden beauty!


Lincoln ginger biscuits

Ingredients

350g self raising flour
225g caster sugar
2 teaspoons bicarbonate of soda
2 teaspoons ground ginger – next time I would use 4 teaspoons
115g unsalted butter
10g golden syrup – next time I would use 30g to get a better spread whilst baking
1 egg, beaten


Method

Preheat the oven to 180C/ fan oven 160C/ 350F/ gas mark 4.

Line two baking sheets with non stick foil.

Place the self raising flour, caster sugar, bicarb and ginger in a bowl and mix together.

Heat the butter and syrup together in a pan until melted and combined.

Pour over the dry ingredients whilst mixing.

Add the egg, again, whilst mixing.

Bring the dough together into a firm, stiff ball.

Take walnut sized pieces of dough and roll into balls.

Place on the baking sheet – well spaced – and flatten.  Place 12 per tray (I got 28 in total)

Bake for 15-20 minutes or until golden brown and firm to the touch.

Leave to cool on the baking sheets before moving to a wire rack to cool completely.

Bask in to glory of the wonderful thing you have created.

Eat.


Grantham gingerbread

Ingredients

340g caster sugar
115g unsalted butter, at room temperature
1 egg
250g plain flour
½ teaspoon bicarbonate of soda
1½ teaspoons ground ginger – next time I would use 3 teaspoons


Method

Preheat the oven to 150C/ fan oven 140C/ 300F/ gas mark 2.

Line two baking sheets with non stick foil.

Beat together the sugar and butter until light and whippy.

Beat in the egg.

Fold in the flour, bicarb and ginger.

Take small balls of the dough and roll into balls

Place on the baking sheet, spaced apart to allow for spreading, No need to flatten.  Place 12 per tray; I chanced my arm with 15 and the touched. (I got 30 in total)

Bake for 20 minutes, then turn the trays and bake for a further 20 mins (about 40 mins in total) or until golden and puffy.

Leave to cool and firm up on the baking sheet before moving to a wire rack to cool completely.

Bask in the glory of the wonderful thing you have created.


Eat.

Sunday, 19 July 2015

Banana and golden syrup cake


I had some bananas sitting around in the kitchen feeling generally unloved.  Mr CC won’t touch a banana once it’s past that green, starchy stage that makes your teeth squeak, so they were headed for the compostables bin until I found this recipe.  It’s from the BBC Goodfood site but I’ve made a tweak and substituted golden syrup for the maple syrup listed in the original recipe.  We’ve tried to love maple syrup but just cannot – it’s that background smoky taste that we struggle with; probably because like any good child of the 1970s/80s we were raised on steamed golden syrup sponges and that has fixed our expectation as to what syrup should taste like!


This is an upside down cake and the bananas bake at the bottom of the tin in golden syrup.  When you turn the cake out you add some more syrup and can then either serve it warm with custard for dessert, or as a tea time treat at room temperature.  It definitely has a stronger banana taste when warm, so that’s the way to go if you ‘need’ a good strong hit of banana!


This recipe makes a handsome size cake – perfect when you have many guests to feed.  My one tip with upside cakes is that it’s always best to turn them out the tin when they’re hot/warm – not only because it’s easier to peel the paper off the fruit at the bottom, but also because if your cake has domed while cooking it settles down nicely when still warm to give a stable, flat base.  If you turn it out when cold the shape is fixed and it will look like a spinning top (or a Beyblade, if you can picture one...maybe that’s too obscure a reference!)


The cake keeps fine but just be aware that over time the bananas lose their colour and look a bit grey.  No impact on the taste but not quite so appealing to the eye!


Ingredients

8 tablespoons golden syrup
3 ripe bananas, and 1 very ripe banana
100g unsalted butter, at room temperature
200g light muscovado sugar
4 eggs
2 teaspoon vanilla extract
200g self raising flour
100g ground almonds
1 teaspoon bicarbonate of soda
200g natural/Greek yoghurt


Method

Preheat the oven to 160C/fan oven 140C/325F/gas mark 3.

Line a 20cm square cake tin with baking paper.

Drizzle four tablespoons of golden syrup over the bottom of the tin.

Slice the three ripe bananas (either in rings, or in length) and place evenly in the tin.

Mash the very ripe banana and beat it together with the butter, sugar, eggs and vanilla until well combined.

Fold in the flour, ground almonds and bicarbonate of soda.

Fold in the yoghurt.

Spoon into the tin – take care not to move the sliced bananas around in the bottom of the tin.

Bake for 45 mins – 1 hour or until a skewer inserted into the cake comes out clean.

Let the cake settle for 10 minutes before turning it out onto a wire rack and inverting it (i.e. the bananas are now on the top).

Using a skewer, poke some holes into the cake between the bananas.

Drizzle over the remaining four tablespoons of golden syrup.

Serve either warm for dessert with custard, or on its own at room temperature with a cup of tea.

Bask in the glory of the wonderful thing you have created.

Eat.


Sunday, 17 August 2014

Anzac biscuits


This is a recipe that has been on my ‘to bake’ list for far too long.  Before baking them I had never eaten an Anzac biscuit but I knew I would love them as they contain three of my all-time favourite ingredients: oats, coconut and golden syrup.


Anzac biscuits originated in war-time and were, so the story goes, a popular biscuit sent by Australian and New Zealander wives to their soldier husbands serving overseas.  The biscuits are egg-free (like so many war-time recipes), keep well and are robust enough to withstand transportation.  There are stories on-line that the military-issued Anzac biscuits were quite different to these lovely home-baked treats; made from hard tack – a long life bread substitute made from flour, water and salt – the soldiers referred to them as ‘dog biscuits’, ‘tooth dullers’, ‘sheet iron’, ‘molar breakers’ and I suspect several other names that I wouldn’t be able to include on my nice, family friendly blog!


I made two batches of biscuits; the classic version and a chocolate chip version.  The latter is identical to the former but for the addition of some chocolate chips, which melted due to the hot butter.  Both were lovely!  The biscuits were crisp and chewy with a lovely buttery taste.  These aren’t tiny, thin little biscuits that you eat without knowing; these are substantial hearty biscuits – perfect with a big mug of tea.


This recipe came from the BBC Good Food site (I love that site!); some of the commenters said the mix was too dry and they had to add milk.  To combat this, in my chocolate batch, I added 2 tablespoons of golden syrup which is why they spread much more than my plain batch (which used 1 tablespoon).  You don’t need any extra liquid and I think I twigged why people may have had a problem.  The key to shaping these biscuits is to do it while the butter is still warm; as soon as it starts to cool the mix becomes crumbly.  Work quickly and it’s fine.


Ingredients

100g unsalted butter
1 tablespoon golden syrup
1 teaspoon bicarbonate of soda
2 tablespoons boiling water
85g porridge oats
85g desiccated coconut
100g plain flour
100g caster sugar

Optional: 100g milk chocolate chips


Method


Preheat the oven to 180°C/fan oven 160°C/350°F/gas mark 4.

Line two baking sheets with baking paper or non-stick foil.

Melt the butter in a small saucepan making sure it doesn’t burn.

Remove from the heat and mix in the golden syrup.

In a bowl (use a larger size than you’d think based on the quantities as it will froth up!) mix together the bicarbonate of soda and boiling water.

Add the bicarb liquid into the butter syrup mix and stir together.

In a large bowl, stir together the oats, coconut, flour and sugar.

Make a well in the centre and pour in the butter mixture.

Stir to incorporate all the ingredients.

If using, stir in the chocolate chips.

If the mixture is very dry and won’t hold together when you squeeze it, add the milk – only use if necessary.

Take scant tablespoons of the mixture, roll into balls, flatten and place onto the baking sheet – leave them 3-4cm room to expand on baking.

Bake for 8-10 minutes or until golden.  I like to rotate the baking sheets halfway through cooking time to ensure a nice even bake.

When I checked on them after 8 minutes they had puffed up a bit so I poked them to let the air out.  Brutal, but it works!

They will be soft straight from the oven so leave them for 10 minutes to firm up before transferring them to a wire rack to cool completely.

The biscuits will store in an airtight tin for several days…given the chance!

Bask in the glory of the wonderful thing you have created.


Eat.

Sunday, 9 March 2014

No-bake chocolate tart


Seriously – this recipe only requires the hob, no oven at all!  I know it’s hard to believe.  This is an incredibly rich and indulgent dessert and is so simple to make I predict it will become a much loved and trusted recipe to fall back on when you need to rustle up something special at speed.


The chocolate filling is basically a thick ganache that has been allowed to set in the fridge.  It is so creamy and rich that even I couldn’t manage a huge slice...trust me, I tried!


The biscuit base is similar to the traditional cheesecake biscuit base but with a twist – the addition of golden syrup; this adds a sweet note and works well with the unsweetened ganache.


This is one of my rare recipes where everyone in the family had a second slice – it seemed to suit all tastes, preferences, age groups!


Ingredients

For the biscuit base:
200g biscuits – hobnobs, digestives or shortbreads will all work
100g unsalted butter
1 tablespoon golden syrup or honey

For the ganache:
200ml whipping cream, plus a further 200ml for whipping and piping on top
1 teaspoon vanilla extract
100g dark chocolate
100g milk chocolate
To decorate: raspberries or chocolates – I used Twirl pieces


Method

Place the biscuits, butter and golden syrup in a food processor and blitz until you have moist crumbs.  If you don’t have a food processor, place the biscuits in a bag and beat to crumbs with a rolling pin.  Then put in a bowl and add the butter (melted) and golden syrup.

Press the crumbs into a 36cm x 12cm rectangular loose bottomed tart tin.  Alternatively, you could use a 23cm round loose bottomed tart tin.

Refrigerate for at least an hour.

Now make the filling: Place the cream in a saucepan and add the vanilla.

Bring the cream to up to boiling point, without actually letting it boil, and then remove from the heat.

Break up the chocolate and add to the cream.

Let it stand for a couple of minutes before going in with your whisk and ensuring that the cream and chocolate are fully combined.

Leave to cool for 15-20 minutes.  Whisk occasionally to thicken up the ganache.

Remove the tart base from the fridge and pour the ganache into it.

Return to the fridge and leave to firm up – once it is firm, wrap it in clingfilm (if you try and do this straightaway you will get a mess and the clingfilm won’t pull away easily).

Remove from the fridge 30 minutes before you wish to serve and decorate with whipped cream and either raspberries or chocolates.

Serve in slices.

Bask in the glory of the wonderful thing you have created.


Eat.

Sunday, 1 December 2013

Ginger beer cake and the Movember Nordicware winner


Now this cake really couldn’t be simpler.  You put all the ingredients in a bowl, beat and then bake.  It took about five minutes to get it ready for the oven!


It’s such a versatile cake in that you can serve it warm with custard or ice cream for dessert (perfect for wintry evenings!) or at room temperature with a cuppa.  Like many ginger cakes it improves with age so I’d recommend making a couple if you’re entertaining over Christmas.


I decided I wanted to make a cake to celebrate the end of Movember
 (thanks to everyone who donated, by the way – winner of the Nordicware bundt tin is announced below!) and then I saw this ginger beer with its moustache theme and the decision of what cake to make was made for me!  I had to include the bottle cap in the picture - look at its little 'tache!


You could, if you prefer, use non-alcoholic ginger beer.  I think it’s the fizz and the flavour that’s important, rather than the alcohol.  It does bake for over an hour in the oven so there probably isn’t much alcohol left, but I know it’s important to some people.


We had the cake on the day it was made for pudding with custard, and then on subsequent days as a slice of cake.  It’s lovely both ways.  If you’re heating it I recommend only heating the slices you want hot – don’t warm the whole cake.  I put the slices in a piece of foil as I find this stops it from drying out during re-heating.


The cake has a close, dense texture but isn’t heavy.  We preferred it warm with custard than at room temperature but that was personal preference; it has a lovely flavour either way.


And now....drum roll please...the Movember donor who was drawn out of a hat (literally) by Mr CC and is the winner of the Nordicaware heritage bundt pan: Jo Hill!  Congratulations Jo – please email me your address (you can email me via the button on the right hand side of my website) and I’ll pop your prize in the post.  Thanks to everyone who donated and helped Mr CC raise so much money.


Ingredients

260g plain flour
170g caster sugar
2 teaspoons ground ginger
½ teaspoon ground  cinnamon
170ml ginger beer
80ml vegetable oil – I used olive oil suitable for baking
260ml golden syrup
3 eggs
1 teaspoon baking powder


Method

Preheat the oven to 180°C/fan oven 160°C/350°F/gas mark 4.

Line a 20cm round springform tin with baking paper- if you have one of those paper cases that looks like a giant cupcake case, use that, as the batter is very liquid.

Place all the ingredients in a bowl.

Beat together until smooth and well combined.

Pour into the prepared tin and bake for approximately 1 hour 1o minutes, but check it after 45 minutes just in case your oven is quicker than mine.

When a skewer inserted into the cake comes out clean the cake is done.  Remove from the oven and place the tin on a wire rack, leaving to cool.

You can serve the cake warm with custard for dessert, or have it at room temperature with a cup of tea.

Bask in the glory of the wonderful thing you have created.


Eat.

Sunday, 20 January 2013

Golden syrup cake


The latest baking publication to hit the newsagent’s shelves is called “30 Best Loved Recipes” and will build into a collection of books each focussing on a branded product.  We’re already up to part 5 and seeing that parts 1 & 2 were Cadbury’s Dairy Milk and Lyle’s Golden Syrup they were always going to end up in my greedy little hands!


I know I go on about my love of golden syrup but I really do love it!  I’ve read some comments on some other blogs and websites suggesting that the Lyle’s golden syrup book is unimaginative in that it contains recipes for flapjacks, biscuits and cakes...but in all honesty, these are the things I want to use syrup in.  I don’t want a book full of ways to use it in a curry or stews.


The recipe that stood out to me, because it seemed so decadent/grotesque (delete depending on your view of things), was the enormous sponge cake using a whole bottle of golden syrup.  A.  Whole.  Bottle.  Take new bottle from cupboard, empty into saucepan, throw away empty bottle.  Well, call me weird, but that was a clarion call if ever I heard one!


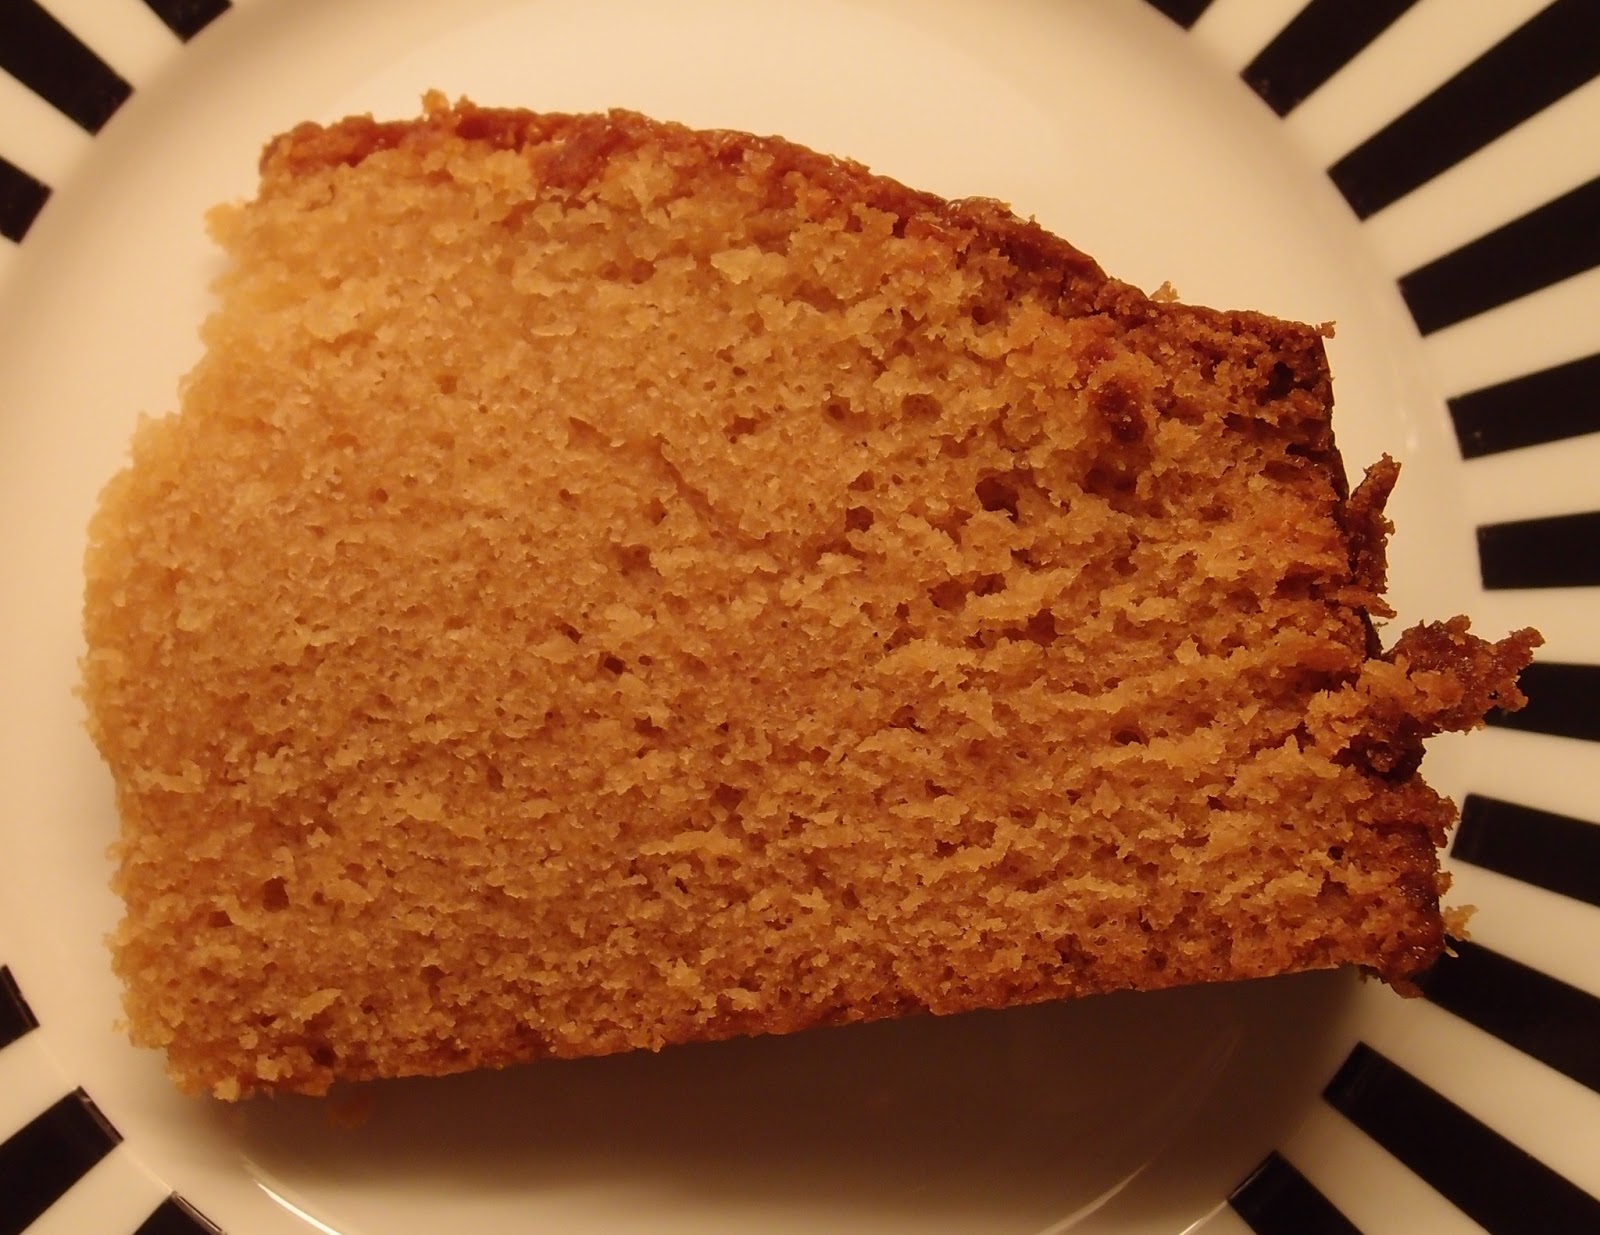
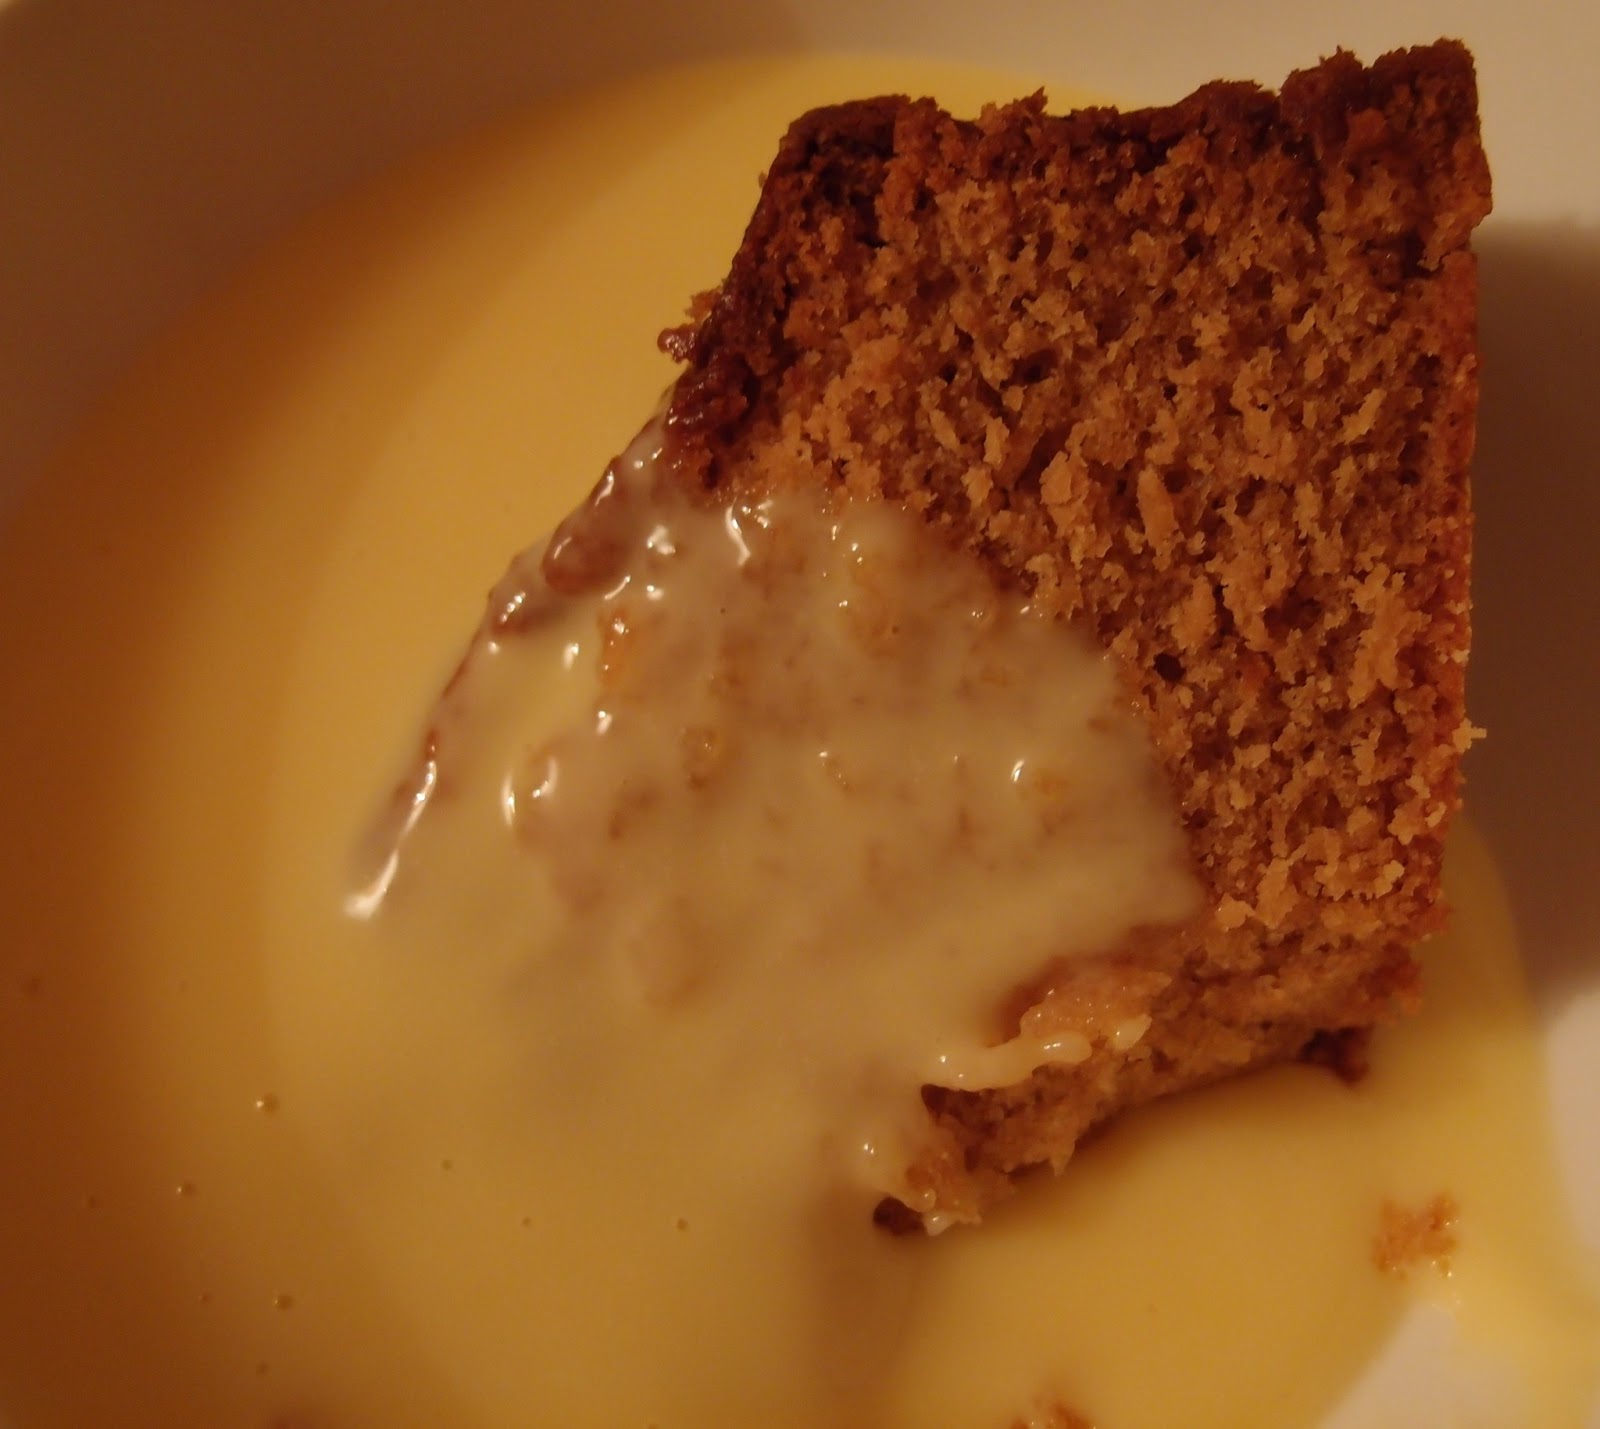
The strange thing is that this cake isn’t too sweet when you eat it.  It should be, but it isn’t.  The sponge is light and moist and the single dominant flavour is syrup.  We had it plain, with a cup of tea, and it was heavenly.  We warmed up thick slices and had it with custard for dessert and – shock – it was comfort in a bowl:


This makes a big cake.  Definitely one to bake when you have a lot of eaters on hand.  Big plus though, is that it keeps like gingerbread and just keeps getting better.


Ingredients

225g unsalted butter
225g light muscovado sugar
450g golden syrup, plus additional 4 tablespoons for pouring
450g self raising flour
2 eggs
300ml milk


Method

Preheat the oven to 160°C/fan oven 140°C/325°F/gas mark 3.

Line a 30cm springform round tin with baking paper.   The largest tin I had was 23cm so I used that – it meant I needed to bake it for longer but worked fine.

Place the butter, sugar and syrup in a saucepan and heat gently, stirring occasionally until all the ingredients are melted and combined.

Leave to cool for 10 minutes or so.

In a large bowl, beat together the flour, eggs and milk.  It will look pale, lumpy and desperately unappetising at this point!

Pour the syrup mix in and beat until lump free and smooth.

Pour the batter (it will be runny) into the prepared baking tin and bake for approximately 50 minutes.  As I used a smaller tin – making a deeper cake – I needed to bake for longer.  In total it took somewhere in the region of 1 hour 15 minutes.  It’s ready when a skewer inserted into the cake comes out clean.

Leave to cool on a wire rack – still in the tin – for 5 minutes, then drizzle the extra syrup over the top.

Leave to cool completely.

Serve on its own or with thick cream.  Also lovely warmed with custard for pudding.

Bask in the glory of the wonderful thing you have created.

Eat.

Sunday, 7 October 2012

Golden syrup ginger cake


There’s something about the onset of Autumn that just makes me want spice, syrup and sultanas...so this cake was the perfect choice for me! 


As soon as I made the batter I thought ‘this is far too runny to support the sultanas during baking’ and I was right.  The sultanas sank – even dusting them in flour couldn’t save them.  Personally, I didn’t care; my logic is that sunken sultanas are better than no sultanas but I think next time I might hold the sultanas back till the end and scatter them over the batter hoping that the sponge will start to firm before they can reach the bottom.


I served this as a cake with a cup of tea, but it would also be heaven warm with custard for dessert.  It’s a joyously sticky cake – best eaten with a fork!  At first it’s all about the golden syrup then the ginger burns through and you get that heavenly warming sensation in your mouth – I love ginger!


Chop the stem ginger as finely as you can – I used a mini processor because, as with peel, I find lumps of ginger an unpleasant texture to encounter in a cake.  Also, as with my note on the sultanas above, this is a runny batter and won’t support large inclusions.


I must end with a comment regarding the texture of this cake – it’s amazingly light.  It has the airy sponginess you only normally get from a steamed sponge pudding.  Of course, this means you can eat a much bigger slice.....


Ingredients

200g golden syrup
2 tablespoons ginger syrup from the stem ginger jar
110g unsalted butter
50g (approx 3 balls) stem ginger – chopped as finely as possible
130g sultanas
110g muscovado sugar – I used half light, half dark
250g self raising flour
3 teaspoons ground ginger – I like it hot, use 2 teaspoons if you don’t!
1 teaspoon bicarbonate of soda
2 eggs
250ml milk – I used full fat (normally I use semi-skimmed, but I had some full fat to use up)

Method

Preheat the oven to 180°C/fan oven 160°C/350°F/gas mark 4.

Line a 20cm round springform tin with a paper liner.  The batter is very runny so make sure you line the tin well.

Place the syrup, ginger syrup and butter in a sauce pan and melt over a very low heat; stir occasionally to ensure it combines.

Add the chopped ginger, sultanas and sugar and continue to heat until melted and combined.  Don’t let it boil at all.  Turn off the heat and put to one side.

In a large mixing bowl mix together the flour, ground ginger and bicarbonate of soda.

Stir the contents of the saucepan into the flour.

Gradually stir in the eggs and milk.

Don’t panic – the mix is runny.  But, make sure you bring the dry ingredients up from the bottom of the bowl as the batter is resistant to mixing!

Pour into the prepared cake tin and bake for approximately 30 minutes or until a skewer inserted into the centre of the cake comes out clean.  Mine took a bit longer – just over 40 minutes.

Leave to cool in the tin on a wire rack, remove when cool.

Store in an airtight container – the cake keeps well for days...actually it improves with age.

Bask in the glory of the wonderful thing you have created.

Eat.