Showing posts with label pineapple. Show all posts

Sunday, 28 February 2016

Pineapple and coconut sponge


It has felt so cold this week that I have been reminiscing about when I used to have to travel for work and got to dodge some of Winter’s bleakness with trips to glorious places such as the Bahamas and Cayman Islands.  I don’t miss the travel at all – in fact I love getting to sleep in my own bed every night – but a bit of sunshine wouldn’t go amiss. I had ice on the inside of my car windscreen this week – the inside!!!


My choice of bake was to capture the feeling of more tropical climates – for me, this is always pineapple and coconut; two flavours I adore.  The addition of sour cream to the sponge created a soft crumb texture.  This is a dangerous cake in that you could happily work your way through several slices in one sitting…..hypothetically, of course…..this didn’t actually happen….oh no….never…not my style….
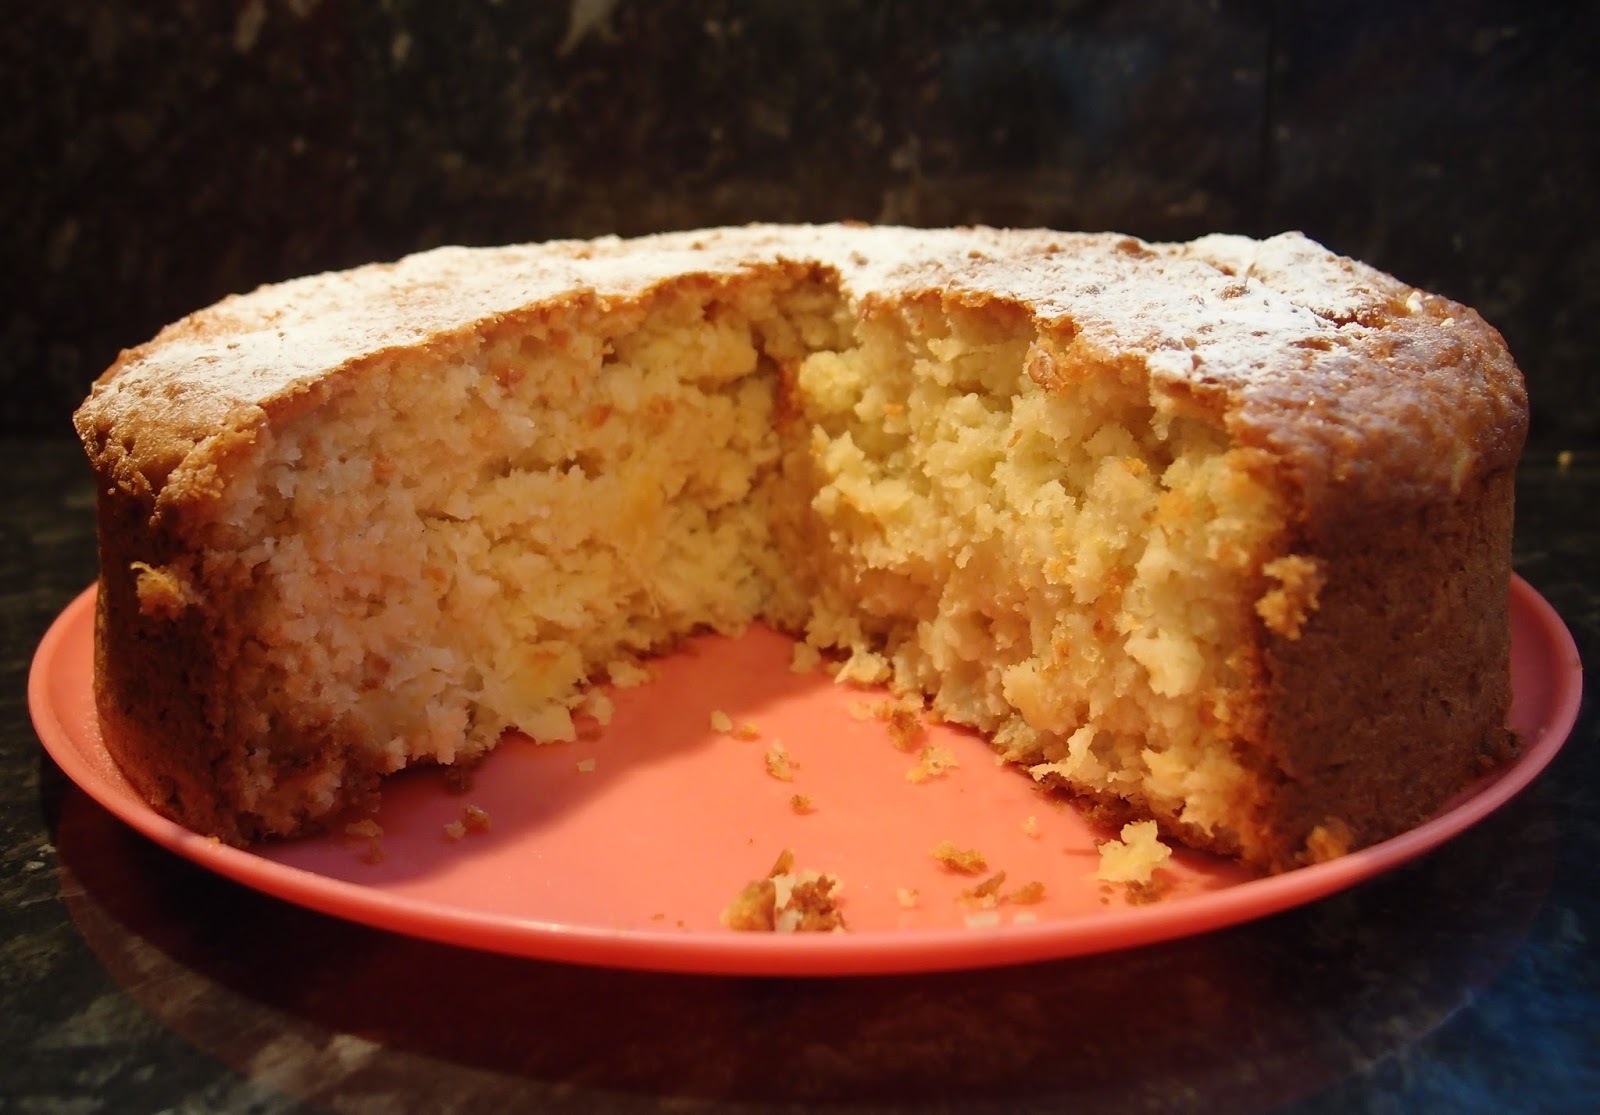


I decided to make this all about the sponge so didn’t bother with any icing or buttercream, opting for a light dusting of icing sugar – we call this ‘Fannying it’.  Fanny Cradock fans out there will understand what I mean by this; whenever she made anything and it didn’t look too pretty or seemed burned, she would always bury it under about 3 inches of icing sugar to hide the defects (usually claiming it was what they did in Paris!) – her lovely mincemeat omelette is a good example.  There was nothing to hide with this bake, but I ‘fannyed it’ anyway!


Ingredients

165g unsalted butter, at room temperature
165g caster sugar
3 eggs
375ml sour cream
300g self raising flour
1 teaspoon bicarbonate of soda
225g desiccated coconut
300g pineapple, crushed or in chunks – I used tinned, and drained the crushed pineapple in a sieve to stop it being too wet

To decorate: 2 tablespoons icing sugar


Method

Preheat oven to 180C/fan oven 160C/350F/Gas mark 4.

Line a 23cm springform round tin with baking paper – don’t be tempted to gamble and use a 20cm tin; it’s a big cake.

Beat together the butter and sugar until pale and fluffy.

Beat in the eggs, one at a time.

Fold in the sour cream.

Fold in the flour and bicarbonate of soda.

Stir in the coconut and pineapple.

Spoon into the prepared tin and level the surface.

Bake for approximately 45 minutes -1 hour or until a skewer inserted into the cake comes out clean.  Mine took an hour.

Leave to cool in the tin for about 20 minutes before de-tinning and leaving to cool completely on a wire rack.

Just before serving, dust the top of the cake with icing sugar.

Bask in the glory of the wonderful thing you have created.


Eat.

Sunday, 16 March 2014

Coconut and pineapple tart


This recipe is adapted from a lime and coconut tart in the current edition of Delicious magazine.  I adore coconut but find that lime can overpower it, so made a few switches and this incredibly tasty tart was born!


Mr CC came home from work with something rather wonderful this week; one of his colleagues keeps chickens and brought in a spare box of eggs.  I have never baked anything before where I have known the names of the hens who laid the (beautiful) eggs – well done ladies, keep up the good work!


When this tart is baking the smell is divine; pineapple and coconut is a combination where their aromas make it impossible to think of anything other than sunshine and warmth.  Luckily it was a sunny day....but perhaps a few degrees off a Caribbean climate!


It had such a wonderful colour when baked, although I can't help feeling my efforts are wasted.  Mr CC told me how much he liked the pastry (aka biscuit base) and, when asked what flavours he could detect, the CCD guessed 'egg and lemon'.  That well known combination.  How often have you heard someone say, 'ooh, I couldn't half fancy a slice of egg and lemon tart'?  Mr Kipling is probably rushing to his development kitchen as I type.


The recipe said to bake the tart in a loose bottomed flan tin.  I made the executive decision to use a disposable foil tin because I was worried how ‘watertight’ the biscuit tart shell would be.  If you use a loose bottomed tin I recommend wrapping the outside in foil, unless you fancy a few hours cleaning sticky tart filling from the bottom of your, albeit wonderfully tropical smelling, oven!


Ingredients

For the tart shell:
250g digestive biscuits
50g desiccated coconut
140g unsalted butter

For the filling:
160ml coconut milk
250ml coconut cream – I couldn’t find this so used more coconut milk, this may have been why mine took longer to cook
397g condensed milk
140ml pineapple juice
2 large eggs, and 5 yolks

For decoration:
300ml whipping cream
1 small tin pineapple chunks
Optional: coconut shavings


Method

Preheat the oven to 180°C/fan oven 160°C/350°F/gas mark 4.

Blitz the biscuits and coconut in a food processor.

Add the butter and blitz again until it’s the consistency of wet sand.

Tip into either a 23cm loose bottomed flan tin that is 5cm deep, or – as I used – a disposable foil 25cm deep pie dish.

Press the crumbs over the base and up the sides of the tin making sure there are no holes.

Refrigerate for about 15 minutes.

Bake for 10-15 minutes or until it is golden and smelling toasted.

Leave to cool completely.

Reduce the oven temperature to 130°C/fan oven 110°C/260°F/gas mark 3/4.  (This is what the recipe said, however I don’t think my tart would ever have set at this temperature so, after about 40 minutes I increased it to 180°C/fan oven 160°C/350°F/gas mark 4 and my tart set after a further 15 minutes.  Next time I would start it with this temperature and maybe check after 25-30 minutes.  I know all ovens are different, so I thought it best to share my experience.)

Now make the filling: Whisk together all the ingredients then pour, through a sieve, into the biscuit base.  Don’t be tempted to overfill it.  I did and spent the next 10 minutes wiping sticky filling from my kitchen counter, cupboard doors and floor.  It wasn’t fun.  Any leftover filling can be poured into an oven proof dish and baked alongside the tart.

Bake for approximately 50 minutes or until there’s just a hint of wobble in the centre of the tart – note my observations re oven temperature above.

Remove from the oven and leave to cool completely.

Refrigerate.

Just before serving, decorate the tart with whipped cream and pineapple chunks.  I piped my cream but it would look as nice spooned on.

Bask in the glory of the wonderful thing you have created.


Eat.

Sunday, 22 September 2013

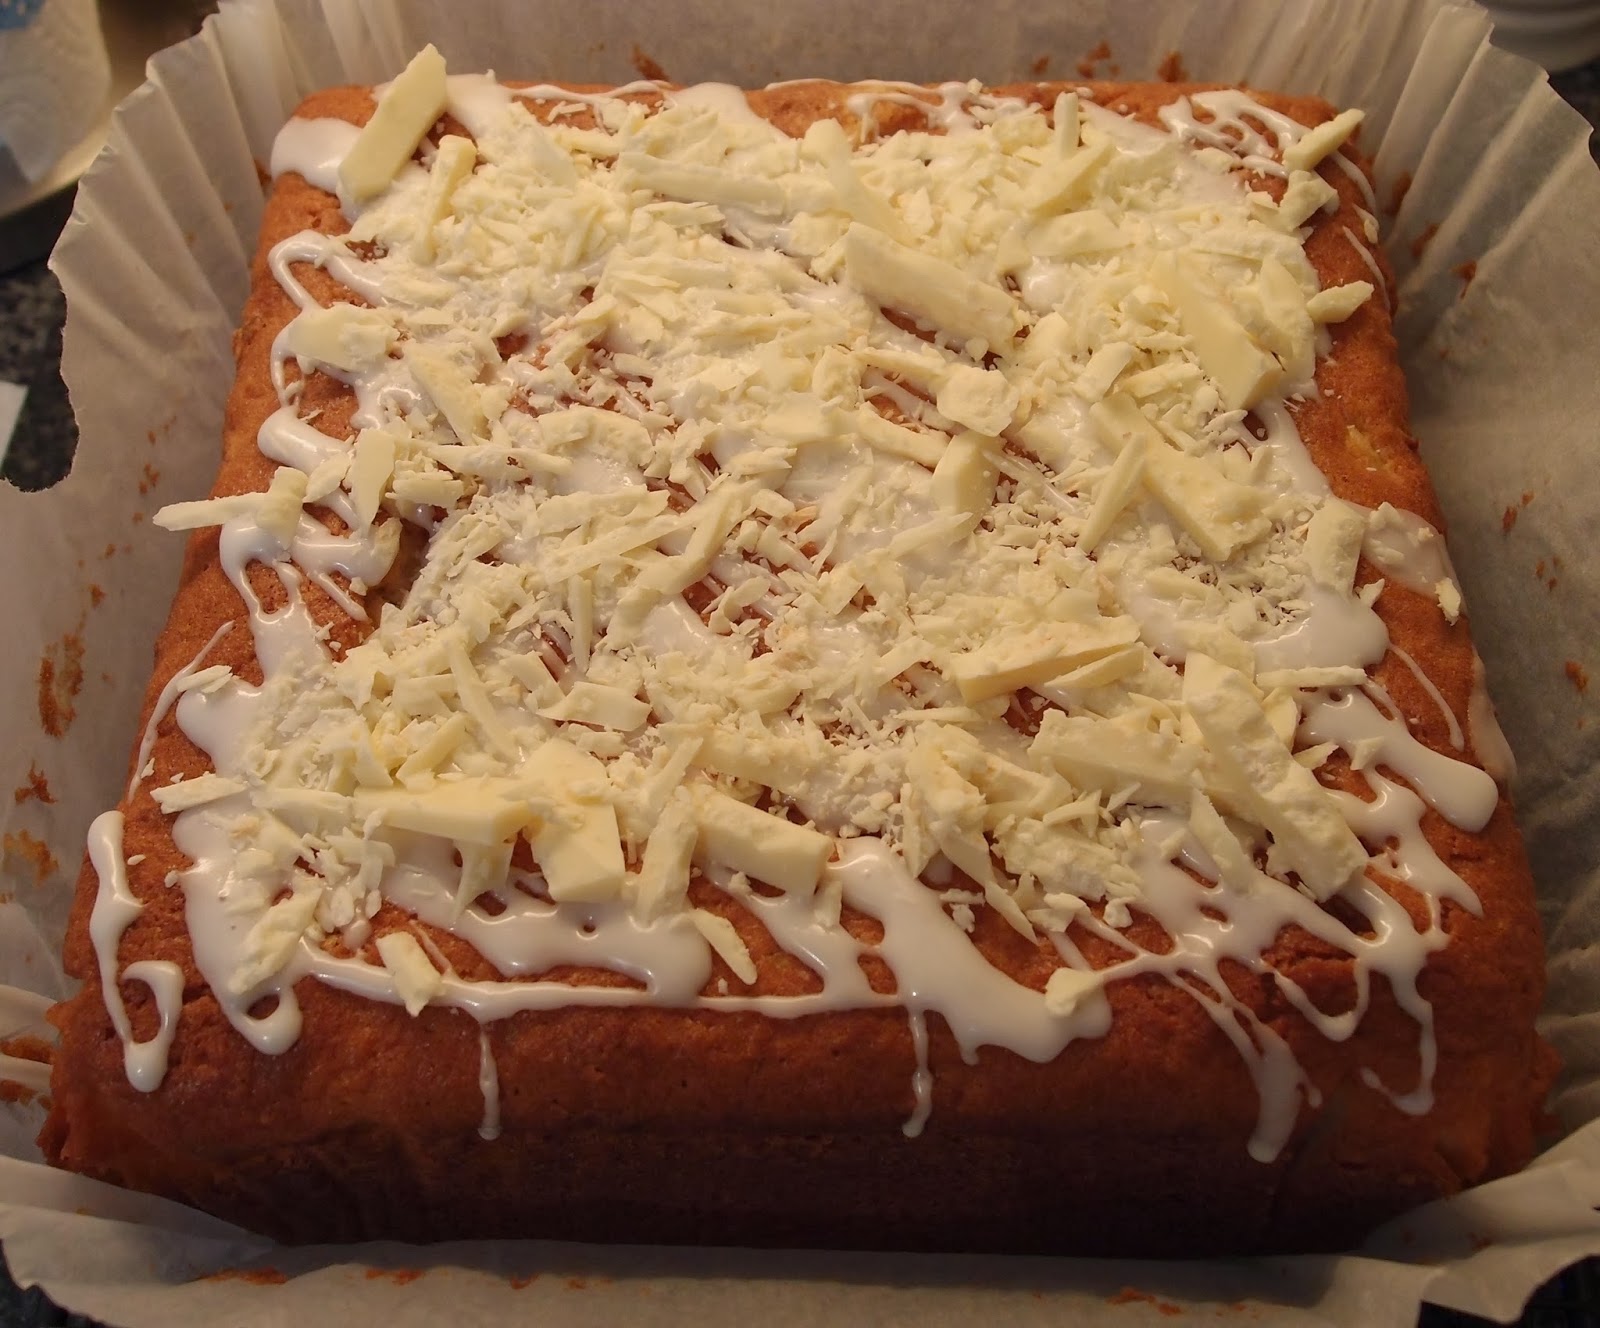
Pineapple and coconut cake


When Lindt contacted me regarding their new Hello Summer fruity chocolate range I zeroed straight in on the luscious looking white chocolate, pineapple and coconut bar. 


It didn’t disappoint and is a great chocolate bar to soften the blow of Autumn and Winter arriving so suddenly this year.  The berry, lime and strawberry versions are a bit of alright too, and Mr CC made very appreciative sounds over the coffee version.  (My toughest challenge on this one was holding him back long enough to photograph all the chocolate!)


As luck would have it, I had bookmarked the recipe for this cake from Laws of the Kitchen, one of my favourite bloggers. You should visit her site anyway, but especially if you want to find this recipe in cups.


I decided to add a pineapple glaze to the cake and scatter finely chopped Lindt chocolate over the top.  It worked well as the filling was firm enough to hold its shape when I cut it into fine shards.  The bar is shaped nicely – I always think long thin bars taste better than squarer ones!


The one mistake I made was forgetting to buy buttermilk.  My local shop doesn’t stock it and I couldn’t face a trip to the supermarket just for one ingredient.  So I did what I always do in a crisis...I turned to the internet!  I never realised how easy it is to make buttermilk – simply milk and lemon juice.  I liked that I could make the quantity I needed; normally when I buy a pot of buttermilk for a recipe I end up wasting some of it.  It wasn’t quite as thick as the shop bought version but did the same job.  In this photo you can see the curdling start to take place:


Thank you Lindt for the lovely samples...any time you need someone to taste your chocolate I will make the time to assist!!!


Ingredients

For the cake:
250g unsalted butter, at room temperature
300g caster sugar
5 eggs
375g plain flour
1 tablespoon baking powder
180ml coconut milk
120ml buttermilk (or make your own with 120ml milk and 1 tablespoon lemon juice)
100g desiccated coconut
230g crushed pineapple – save the juice for the icing (I could only get pineapple chunks so mashed them up a bit with a fork)

For the icing:
100g icing sugar
1 tablespoon pineapple juice (from the can!)

To decorate: Lindt coconut and pineapple chocolate


Method

Preheat the oven to 180°C/fan oven 160°C/350°F/gas mark 4.

If you are making your own buttermilk mix together the milk and lemon juice and leave to stand for at least 10 minutes.  It will start to curdle but won’t become quite as thick as the shop bought version.

Line a 20cm square cake pan with baking paper.

Beat together the butter and sugar until light and fluffy.

Beat in the eggs one at a time – if the mixture starts to curdle add some of the flour.  Having said that, I didn’t find the mixture curdled – beat the butter and sugar for a long time and you should be ok.

Stir together the coconut milk and buttermilk.

Stir in 1/3 of the flour followed by half the buttermilk and coconut milk.

Repeat with a further 1/3 of flour and the remaining buttermilk and coconut milk.

Stir in the remaining flour and the baking powder.

Stir in the pineapple and coconut.

Spoon into the prepared cake tin and level the surface.

Bake for approximately 1hour – 1 hour 15 minutes or until a skewer inserted into the cake comes out clean.

Leave to cool for 30 minutes in the tin before de-tinning and leaving to cool completely on a wire rack.

Now make the icing – beat together the ingredients until thick and glossy.

Drizzle over the cake.

Sprinkle over shards of lovely Lindt chocolate.

Bask in the glory of the wonderful thing you have created.


Eat.

Sunday, 17 February 2013

Caramalised pineapple and ginger cake


Way back in August 2008 I posted this recipe for a pear and ginger cake.  I will forgive you if you don’t remember it – I only had about 10 readers at the point and most of them were family or friends!  I fancied a simple sponge cake this week, as I didn’t have much time to bake, and decided this one needed revisiting...and tweaking a little.


I used tinned pineapple rings for the fruit  and cut them in half to achieve the same fan effect on the top as the pears.  I’m on a pineapple kick at the moment – can’t get enough of the stuff; I even snaffled the wedge of pineapple from my friend’s cocktail yesterday.  Before you have visions of me robbing her of it, I should point out that she doesn’t like pineapple and offered it freely!


The bonus – which I hadn’t foreseen – is that the sprinkling of dark sugar caramelised the pineapple into a sticky, dark, sweet delight.  Here’s a close up:


Pineapple and ginger is a lovely combination – it has that tropical spicy thing going on.  The sponge isn’t very spicy, it’s not a dark ginger cake, but just carries a kick that cuts through the sweetness of the fruit.


For the first time in months, the sun decided to shine as I took my photos.  I think it emphasises the sunny nature of the cake.  In the photo below you can just about make out the fleks of ginger in the sponge.


Ingredients:

For the cake:
175g unsalted butter, at room temperature
175g caster sugar
175g self raising flour
4 teaspoons ground ginger
3 eggs

For the topping:
567g tin of pineapple rings (drained weight 340g), drained and cut in half
1 tablespoon dark brown sugar


Method:

Preheat the oven to 180°C/fan oven 160°C/350°F/Gas mark 4.

Line a 20cm round springform cake tin.

Start by making the cake: cream together the butter and sugar until light and fluffy.

Add the flour, ginger and eggs and beat until well combined and you have a smooth, thick batter.

Spoon the mixture into the cake tin and put to one side.

Arrange the pineapple slices on top of the cake batter and then sprinkle with brown sugar.

Bake for 45 minutes or until a skewer comes out cleanly. Mine took a little longer at 55 minutes.

Serve either warm with ice cream or at room temperature with cream.

Bask in glory at the wonderful thing you have made.

Eat.

Sunday, 22 April 2012

Famous Faces’ Favourite Fancies – Pineapple and chilli upside down cake


I have to confess, in most things, to being a fogey before my time, but particularly with music.  My radio is set to Absolute 80s where it shall stay until they set up Absolute 40s.  I’m more Andrews Sisters than Destiny’s Child, more Bing than Bieber...I’m sure you get the idea.


So, when a modern singer comes along who I really like it’s exciting for me – I get to buy CDs (sorry, I haven’t caught up with this new-found downloading of music yet) on the day they’re released; it reminds me of being young again.  (For the record, I am in my thirties...I know, I know, I sound about 70!)


Paloma Faith is such a talented woman –songwriter, singer, actress, style icon (with a nod to the vintage fashions of days gone by) and also incredibly witty and likable when interviewed.  And she’s from Hackney, just like Mr CC.  OK, I admit it – I totally have a girl crush on her!


Her debut album “Do You Want the Truth or SomethingBeautiful”  has been in my car stereo for so many months now that I think I could sing it in my sleep.  I can’t wait for the new album “Fall to Grace” which is out in May.


I’m also very excited that Paloma picked one of my favourite cakes – a pineapple upside down cake.  Then I hit a problem; I’ve made a pineapple upside down cake before and most pineapple upside cakes are pretty similar.  How could I make a cake different from the norm and worthy of Paloma?


This recipe was the perfect answer to my prayers.  I’ve been a slow and suspicious adopter of chilli into baked goods but this recipe tickled my taste buds.  The syrup that bakes on the bottom of the cake (and becomes the top on turning out) is spiked with chilli and lime meaning that the cake is infused with a sweet spiciness that is also fresh and light.


 The sweetness of the syrup takes all the sting from the chilli just leaving a sweet chilli taste; I think next time I might be tempted to leave a few chilli seeds in there as I do like my spice.  Apart from that, it was classic pineapple upside down cake all the way...i.e. extremely pleasant!


Ingredients
250g golden syrup
1 fresh red chilli – deseeded and chopped as finely as you can
Grated zest of 1 lime
430g tin of pineapple rings in juice (not syrup) – this is the weight of the whole tin, not the drained weight; keep the juice as it is used in the cake
225g unsalted butter, at room temperature
225g caster sugar
4 eggs
225g self raising flour


Method
Preheat the oven to 180°C/fan oven 160°C/350°F/gas mark 4.

Take a 20cm round springform tin and line the inside with foil, then a paper liner – if you have an all in one paper liner it will save you the stress of the syrup oozing out whilst baking.  I went for the belt-and-braces approach of foil and a liner and that worked fine.

Start by making the syrup: place the golden syrup, chilli and lime zest in a saucepan and heat, only for about2-3 minutes, until the syrup has loosened up.

Pour just over half the syrup into the prepared tin and swirl the tin around so the syrup is evenly distributed.

Place as many pineapple rings as you can in the syrup without overlapping them too much.  I got 6 in.

Now make the sponge: beat together the butter and sugar until light and whippy.  Don’t skimp on this stage.

Beat in the eggs, one at a time.

Stir in the flour and enough pineapple juice from the can to make a nice smooth dropping consistency.

Chop the remaining pineapple from the can and stir into the sponge batter.

Carefully spoon the batter into the tin taking care not to disturb the pineapple rings and syrup.
Spread the batter to the edges of the tin to try and seal in the syrup and stop it from bubbling up over the edges whilst cooking.

Stand the cake tin on a baking tray with lipped sides – just in case any syrup sneaks out during cooking!

Bake for approximately 45-55 minutes or until a skewer inserted into the cake comes out clean.  Mine actually took a bit longer – just over an hour.

Leave the cake to cool, in the tin, for 20 minutes then turn out i.e. invert onto a serving plate.  Tempting though it is to wait for the cake to cool completely before turning out, you run the risk of the syrup being glued onto the baking paper!

When you come to serve the cake, remember that you have just under half the syrup left – if you warm this gently it is very nice poured over the cake.

Serve the cake warm with ice cream or at room temperature with cream.

Bask in the glory of the wonderful thing you have created.

Eat.


Sunday, 15 January 2012

Blue Hawaiian cupcakes


I am rather partial to a cocktail or two, but have never been able to bond with very creamy cocktails. There’s just something about their inherent gloopiness that turns me off. That said, I love the idea of the flavour combinations in creamy cocktails so decided to adapt a cocktail recipe into a cupcake.


The Blue Hawaiian cocktail (not to be confused with the Blue Hawaii, which is totally different) is a classic blend of white rum, coconut, pineapple juice and Blue Curacao. The latter ingredient turns the drink a rather shocking shade of blue and the whole mix of flavours is exotic– the taste of a being on a tropical beach somewhere lovely.


When you think about it (trust me, I have...) cocktails share several similarities with cupcakes – both are pretty, decorated, attention-seeking and designed to be quick hits of happiness. I remember once reading an old book of cocktail recipes and the barman explained that you should drink your cocktail quickly or, as he termed it, “while it is still winking at you”. Cupcakes are the same.


I had to use the Blue Curacao in the buttercream, as the chance to make shocking blue buttercream was too fabulous to resist...but as you will see, that didn’t happen and instead I got a delicate, fresh green. That left the coconut, rum and pineapple for the sponge; I used Malibu, which is a coconut rum, but ordinary rum would be just as nice. I opted for a coconut sponge filled with pineapple curd – this added extra texture and kept the flavours separate. Here they are loaded with curd...


...and this is how it looks in the finished cupcake:


The flavours worked really well in this cupcake and they looked ever so pretty without a lot of effort on my part. These are the perfect cupcakes for January – they’re little hits of happiness!


For those of you nervous about making Swiss meringue buttercream here’s my step by step guide.


Ingredients

For the pineapple curd:

2 egg yolks (keep the whites for the buttercream!)
200ml pineapple juice
50g caster sugar
25g cornflour

For the cupcake sponge (this will make 12 cupcakes):
125g unsalted butter, at room temperature
125g caster sugar
4 tablespoons desiccated coconut

2 tablespoon Malibu (coconut rum)
2 eggs
125g self raising flour
1 tablespoon milk

For the swiss meringue buttercream:
4 egg whites
250g caster sugar
250g unsalted butter, at room temperature
3-4 teaspoons Blue Curacao

To decorate: maraschino cherries


Method

Start by making the pineapple curd; this can be done several days in advance: place all the ingredients into a saucepan and stir, over a low heat, until the mixture thickens and starts to bubble. Don’t panic and think yours isn’t working – it can take 10 minutes or more before, in an instant, it thickens and turns into curd.

Remove from the heat and leave to cool, then refrigerate until needed. It will thicken further as it chills.

To make the cupcakes, increase the oven to 190°C/fan oven 170°C/375°F/Gas mark 5.

Line a cupcake pan with paper cases.

Beat together the butter and sugar until light and fluffy.

Mix together the coconut and Malibu so that the coconut absorbs some of the rum. Normally, I’d add this after the eggs but I wanted to ensure it was added early and well distributed in the batter.

Beat in the eggs, flour, and milk.

When the mixture is smooth and well combined, spoon into the paper cases.

Bake for 12-15 minutes or until a skewer inserted into the cupcakes comes out clean. Mine took 16 minutes.

Leave to cool on a wire rack and remove from the tin when cool enough to handle.

On the day of serving, use a corer or knife to remove the central core of the cupcake sponge out, taking care not to go right down to the bottom of the cupcake.

Now make the swiss meringue buttercream: Place the egg whites and sugar in a bowl over a pan of simmering water. Stir pretty much constantly to prevent the egg from cooking.

After 5-10 minutes, when the sugar has dissolved (when you cannot see any crystals on the back of the spoon), remove the bowl from the pan of simmering water and whisk until the meringue has puffed up and the mix is cool.

Add the butter to the meringue and whisk until the butter has been completely incorporated into the meringue. At first it will look a disaster – it will collapse and look curdled but don’t worry! Stop when the mixture is smooth, light and fluffy.

Now add the Blue Curacao gradually and beat until the colour of the buttercream is evenly blue.

Fill the whole with half a teaspoonful of pineapple curd.

Pipe the buttercream on top of the cupcake and top with a maraschino cherry.

Bask in the glory of the wonderful thing you have made.

Eat.

Sunday, 27 November 2011

Pineapple birthday cake

Sorry for the strange look of this post - blogger is having "a moment" with me and doesn't believe I want any of the formatting I've asked for. Before I combust in rage, I'll call it a day and revisit at a later date!


I always put so much thought and planning into my family’s birthday cakes, yet when my own birthday comes around I leave it all to the last minute and hope that some sort of inspiration will strike. It struck late this year, but I think it was worth the wait!


If it were just for me, my birthday cake would be coconut every year – no deviation. Sadly, some of my family don’t like coconut so it’s never the right cake to pick for a family get together. Everyone likes pineapple though so I came up with the idea of a pineapple sponge sandwich cake...and just kept adding detail. What if I cut each layer into two, making four layers? What if there was pineapple curd between the outer layers? What if I beat some of that curd into the Swiss meringue buttercream? What if I added juicy chunks of pineapple into the centre layer? What if I made some mini meringues for decoration and a nice bit of crunch? It all snowballed into this rather OTT creation:


There are quite a few processes to this cake but none are difficult and can, except for the buttercream, be made in advance. I made each element on a different day so it didn’t take that long. I made them in the order: curd, sponge, meringue, buttercream.


The mini meringues looked so cute on the baking sheet – take care to place them on the cake at the last minute as they go soft quickly when they hit the buttercream.


There is a nice mix of texture in every slice – crumbly sponge, crunchy meringue, creamy buttercream and juicy curd and fruit. Not bad for a last minute creation (I say last minute, but it was actually about 5 days before the event...which for me thinking about cake is total red alert panic stations!)


I’ve had several comments and emails that people find Swiss meringue buttercream an elusive technique to master, so I took photos and made a note of timings while I made it. Here’s the journey:


Start with the egg whites and sugar in a bowl over a simmering pan of water. The bowl must not touch the water. Stir the whole time until the sugar has dissolved – you can tell when this has happened as, if you run your finger over the back of the spoon, it will feel smooth. Mine took 6 minutes. It froths a little from the stirring and will look like this:


Next, transfer to a clean bowl for whisking. I used my kitchenaid. Whisk until the egg white is fluffy and stiff and – most importantly – until it is cool. If you add the butter to hot egg you will get a rather yucky mess. Mine took 9 minutes of whisking at a high speed:


Now beat in the diced, soft butter. This is the key stage for whisking. At first the mix will turn sloppy and won’t hold on to the beaters – it will look gloopy, sunken and almost curdled. If you lift the beater all the buttercream will slide off and resemble slop (from the emails I've had I'm guessing this is the point some of you panic and give up):


KEEP GOING! If you keep beating – at a high speed – you will suddenly notice the buttercream firm up and start to look like whipped cream. Mine took 10 minutes. Here it is thick and whipped up:


The next thing to do is beat in any flavouring/jam/curd that you’re using to flavour the buttercream. Don’t add too much as you don’t want to risk making it wet and sloppy. I added my pineapple curd while the beater was still running. I gave the mix a further 5 minutes of beating.

You should now have light, whipped, smooth mousselike cream – the most heavenly of buttercreams! Pipe over cupcakes or use to sandwich together a layer cake. Enjoy!

Ingredients

For the pineapple curd:

2 egg yolks (keep the whites for the buttercream!)
200ml pineapple juice
50g caster sugar
25g cornflour

For the cake:
250g unsalted butter, at room temperature
220g caster sugar
1 teaspoon vanilla extract
4 eggs
80ml milk
300g self raising flour
227g can of pineapple chunks – drained and chopped smaller

To decorate: Large can of pineapple rings or chunks

For the mini meringues:

2 egg whites
½ teaspoon cream of tartar
60g caster sugar

For the swiss meringue buttercream:
4 egg whites
250g caster sugar – I used vanilla infused caster sugar
250g unsalted butter, at room temperature
3-4 teaspoons of the pineapple curd (made earlier)

Method

Start by making the pineapple curd and keep, covered, in the fridge: place all the ingredients into a saucepan and stir, over a low heat, until the mixture thickens and starts to bubble.

Remove from the heat and leave to cool, then refrigerate until needed. It will thicken further as it chills.

Now make the cakes: Preheat the oven to 180°C/fan oven 160°C/350°F/Gas mark 4.

Line the bases of two 20cm loose bottomed sandwich tins with baking paper.

To make the cakes: Beat together the butter, sugar and vanilla until light and fluffy. Don’t skimp on this stage as this is when you get lots of lovely air into your sponge.

Beat in the eggs gradually, add some of the flour if it looks like it might curdle. (NB. If you have beaten the eggs and sugar for long enough the mix should not curdle).

Beat in the milk.

Stir in the flour until the mixture is smooth and well combined.

Gently stir in the pineapple chunks.

Spoon into the prepared tins and level the surface.

Bake for approximately 30 minutes or until a skewer inserted into the centre of the sponge comes out clean. Another good sign is if the sponge is just pulling away from the edge of the tin.

Leave to cool in the tins for about 20 minutes before turning out and leaving to cool completely on a wire rack.

You can make the sponges a couple of days in advance and store in an airtight tin.

Now make the mini meringues: Preheat the oven to 110°C/fan oven 90°C/230°F/Gas mark ¼ .

Line two baking sheets with non-stick baking parchment.

Place the egg whites in a bowl and whisk until you reach the stiff peak stage.

Keep whisking and add the sugar a spoonful at a time.

Whisk in the cream of tartar.

Spoon the thick meringue into a piping bag and pipe small rosettes no bigger than 2cm across. Leave a little gap between each one.

Bake for 1 hour and 15 minutes or until the meringues are crisp – you’re not really ‘baking’ them, more ‘drying them out’.

Leave to cool completely before storing in an airtight container. Do not place on the buttercream until you are ready to serve the cake otherwise the meringue will turn soft due to the moisture in the buttercream.

On the day of serving the cake make the swiss meringue buttercream: Place the egg whites and sugar in a bowl over a pan of simmering water. Stir pretty much constantly to prevent the egg from cooking.

After 5-10 minutes, when the sugar has dissolved (when you cannot see any crystals on the back of the spoon), remove the bowl from the pan of simmering water and whisk until the meringue has puffed up and the mix is cool.

Add the butter to the meringue and whisk until the butter has been completely incorporated into the meringue. At first it will look a disaster – it will collapse and look curdled but don’t worry! Stop when the mixture is smooth, light and fluffy.

Beat in 3-4 teaspoons of the pineapple curd.

Cut both the sponges through so that you have 4 layers of sponge.

Take one of the sponge layers and cover with some pineapple curd.

Place the second layer on top and spread with some buttercream.

Lay the pineapple chunks or rings over the buttercream and cover with some more buttercream.

Place the third sponge layer on top and gently press to ensure it has “stuck”. Cover this layer with some pineapple curd.

Place the final sponge layer on top and gently press to ensure it has stuck.

Spread or pipe the remaining buttercream over the top and outside of the cake.

Decorate as you choose – I used the mini meringues (place these on the cake at the last minute or they will go soggy)

Bask in the glory of the wonderful thing you have made.

Eat.