Wednesday 24 December 2014

Chocolate mint cake


Our new house has emerged from the “total chaos” stage of unpacking to the far more acceptable “annoyingly disordered”.  I think this is progress and it felt a good time to get back to some baking, particularly with Christmas fast approaching.  I’d been cooking dinners every night so felt confident that I understood my new oven enough to tackle a new recipe, totally ignoring Mr CC’s recommendation of baking something I knew inside out like a Victoria sponge.  I could see his logic but I fancied something that reflected the festive season, and what could be more festive than After Eight mints?


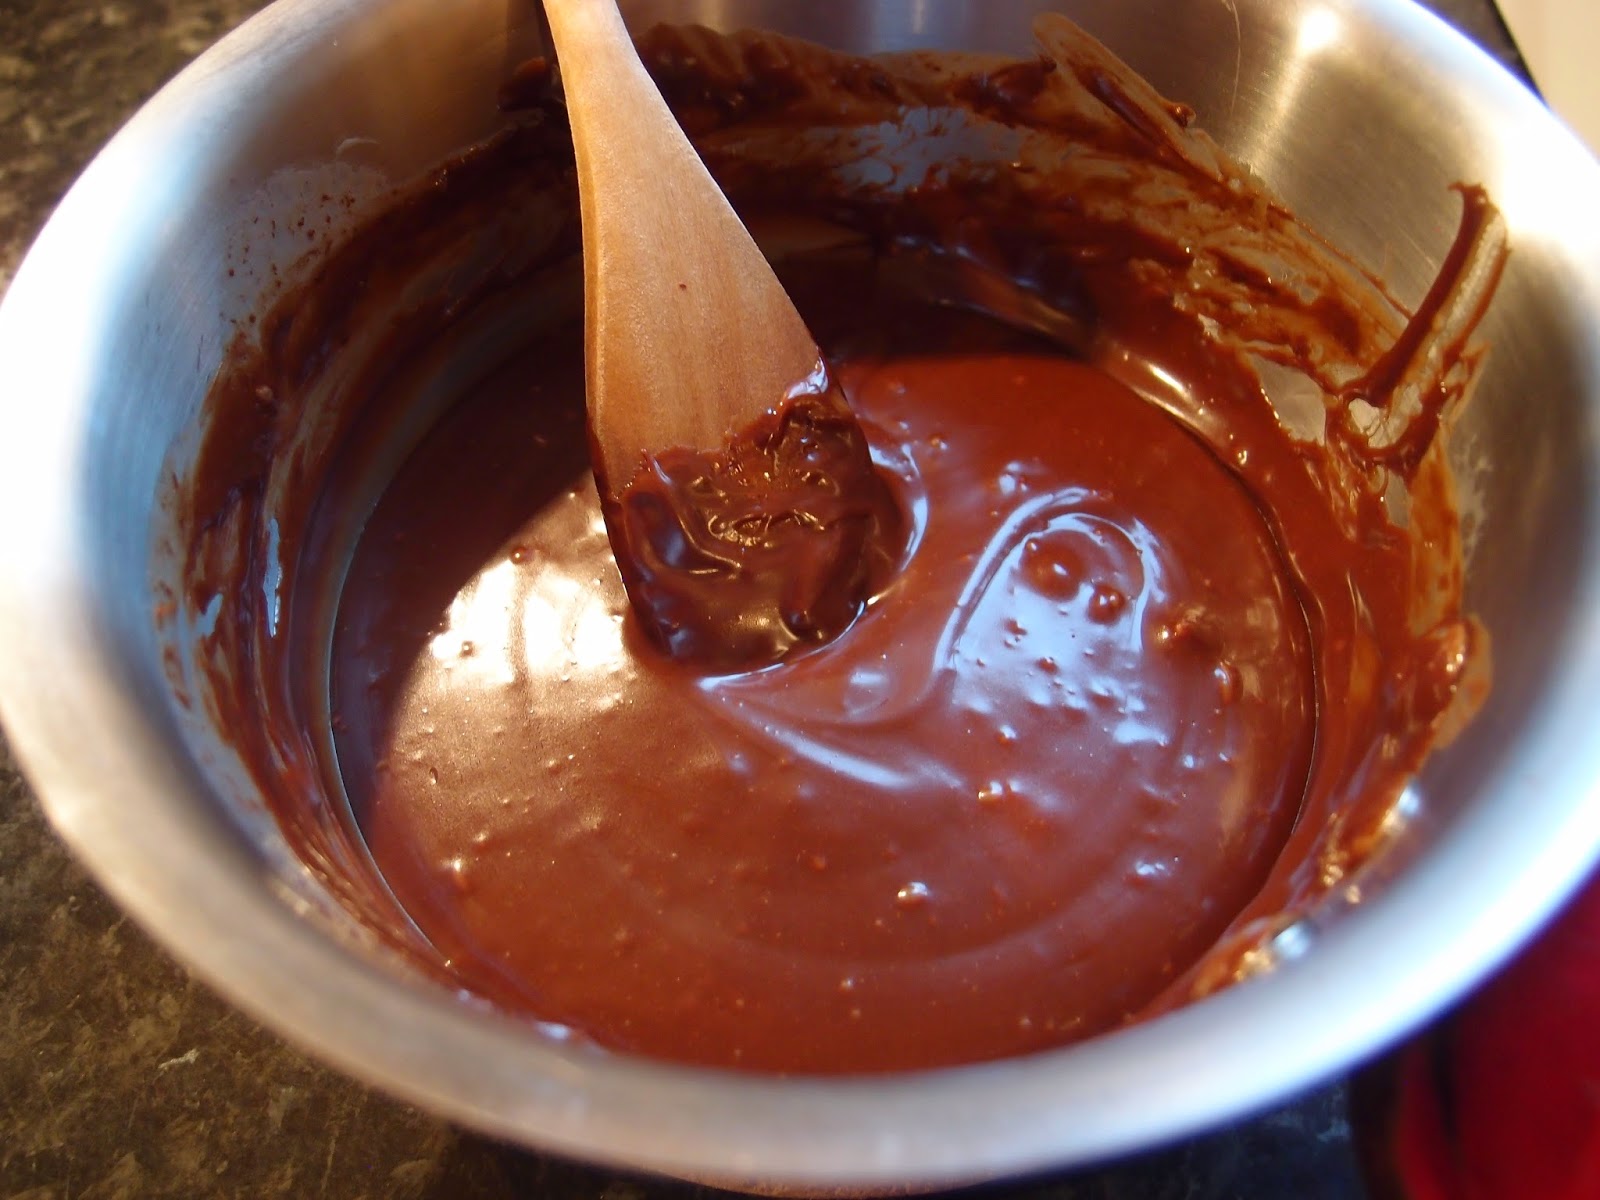
Now don’t get me wrong; I like After Eight mints, I truly do.  But would I like them half as much if they didn’t each come snugly filed away in their own little paper sleeve like chocolate records? (Translation for anyone under 40: Records were the iTunes of their day but took up actual rather than virtual storage space and only held about 12 tracks at most).  And is there another chocolate with greater rules of etiquette?  Only a complete bounder takes the chocolate out and leaves the paper sleeve in the box, leaving some poor unfortunate sap to ‘draw a blank’.  This ganache uses a whole box of chocolates:


And here they are melted:


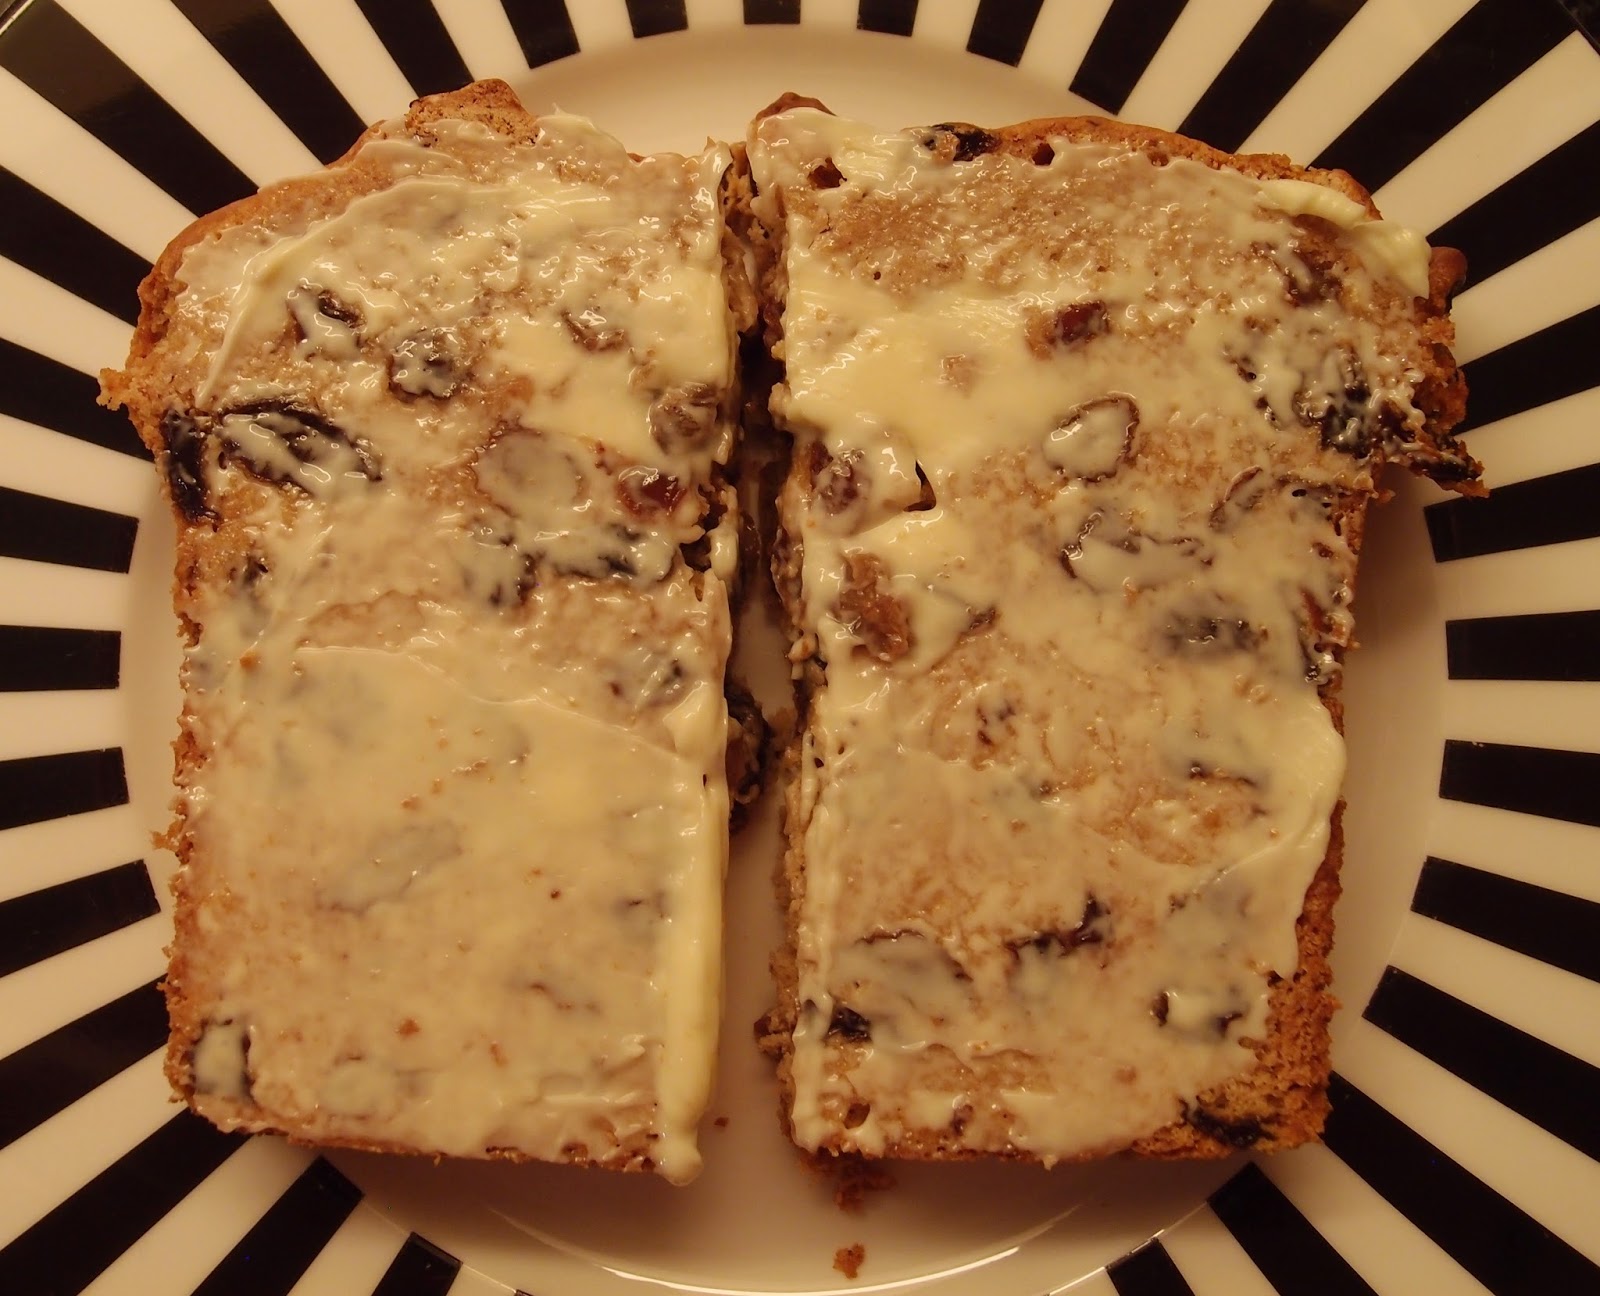
This is a rich, decadent cake and would work as either a cake or a dessert.  If I was serving it as a dessert I might have some extra whipped cream to serve alongside because everyone knows that it cuts through richness….right?  Work with me here, it is Christmas after all…the time of year when all bets are off and it’s perfectly acceptable to drink alcohol before 9am and eat tons of chocolate straight after the biggest meal of the year whilst complaining how full you feel (or at least it is if you’re doing right).


Thanks for everyone who’s stopped by my site this year, and extra thanks to those of you who have left such lovely comments.  Hope you all get the Christmas you wish for and a wonderful 2015!


Ingredients

For the sponges:
170g unsalted butter
100g dark chocolate
240g plain flour
280g golden caster sugar
6 tablespoons cocoa powder
1 teaspoon bicarbonate of soda
2 eggs
284ml buttermilk
200ml boiling water

For the icing:
300g After Eight mints, plus extra for decoration if you wish
50ml double cream


Method

Preheat the oven to 180C/ fan oven 160C/ 350F/ gas mark 4.

Line two 20cm round loose bottomed sandwich tins with baking paper.

Place the butter and chocolate in a saucepan and melt over a gentle heat.  Put to one side to cool a little.

Place the flour, sugar, cocoa powder and bicarbonate of soda in a large mixing bowl and stir together.

To the dry mix, add the melted chocolate and butter, the eggs, buttermilk and boiling water.

Beat until the mixture is smooth – you don’t want any lumps left in the batter!

Spoon into the two prepared tins and level the surface.

Bake for approximately 30 minutes or until a skewer inserted into the cake comes out clean.  Mine took a little longer so don’t worry if yours does too.

Leave to cool in the tins for 30 minutes before de-tinning and leaving to cool completely on a wire rack.

The sponges can be made a day in advance and stored in airtight containers.

Now make the icing: place the After Eights and cream in a saucepan and melt together over a gentle heat.

Leave to cool until you have a nice spreadable consistency – depending on the weather (or your heating!) you might need to pop it in the fridge for a bit.

Place one sponge on the serving plate.

Spread just over half the icing over it and place the second sponge on top.

Spread the remaining icing over the top and decorate as you choose.


Bask in the glory of the wonderful thing you have created.

Eat.

Sunday 30 November 2014

Classic oat biscuits


This week I needed something that was quick to make and would keep nicely in a tin for several days.  We are in the final throes of boxing everything up for moving and this is my last bake in our current home.  I have mixed feelings about leaving; on the one hand this is the kitchen my blog started in and it’s the only oven I have ever seriously baked in.  On the other hand...hello big kitchen, range cooker and more counter space than I could dream of!


You can’t go wrong with an oat biscuit.  If ever I needed a slogan that would be it.  When they’re crisp they’re great, when they age and go a bit flapjack-y they’re great.  I love the smell, the substantial texture and the way the vanilla just pops against them and makes the flavour almost creamy.


Due to my kitchen being in boxes this will be my last blog post for a couple of weeks.  I’m aiming to be back before Christmas with at least one seasonal bake but for now this is The Caked Crusader, over and out!  See you on the other side!


Ingredients

175g unsalted butter, at room temperature
275g Demerara sugar
1 egg
4 tablespoons water
1 teaspoon vanilla extract
140g plain flour
½ teaspoon bicarbonate of soda
pinch of salt
375g rolled oats


Method

Preheat the oven to 180C/fan oven 160C/350F/gas mark 4.

Line three baking sheets with baking paper or non stick foil.

Beat together the butter and sugar until smooth and well combined; because of the ratios and the grittiness of the sugar it won’t go really light and whippy.

Beat in the egg, water and vanilla.

Beat in the flour, bicarbonate of soda and salt.

Stir in the oats – at first it will seem that they will never mix in, but they will!

Take tablespoons of mix, roll into balls, place on baking sheets and flatten the tops.  Leave a reasonable gap around them – I put 8 on a standard baking sheet (I got 25 biscuits in total).

Bake for 15-18 minutes or until golden.

Leave to cool and firm up on the baking sheet before storing in an airtight container.

Bask in the glory of the wonderful thing you have created.


Eat.

Sunday 23 November 2014

Chocolate and chestnut tart – happy birthday to me!


It was some time ago that I ate the “best cake ever” (in my opinion).  It was a ‘maronischnitte’ from CafĂ© Sacher in Salzburg; a creamy chestnut delight.  My thoughts turned to it recently and I decided to take elements of it for my birthday cake…or birthday tart as it became.


Last weekend Mr CC and I had a spiritual experience: we visited Whole Foods on Kensington High Street.  Never before have we so wanted to dislike a shop yet fallen in love with it so quickly.  I was convinced it would be overpriced hydroponic mung beans being sold to yummy mummies but it wasn’t; it was glorious.  I could’ve spent a grotesque amount of money but limited myself to what I could hold in my hands, which turned out to be a pot of couverture chocolate, a pot of red onion and horseradish stuffing, and three bars of chocolate.  Not to be used in the same dish, I’m sure you’ll appreciate.


I used my couverture in the making of the ganache.  Apart from the pebble shaped pieces looking professional in the pan I didn’t honestly notice much difference in the way it handled. It may have melted a bit quicker, and for milk chocolate had a very strong rich cocoa taste but nothing really stood out as different.


For the chestnut element I used a tin of Clement Faugier chestnut spread as it was sweet and had vanilla added to it.  Ok, and I love the tin it comes in.  The tin has a lot of ribbing to it and a really busy, vintage-y design; I particularly love the fuzzy looking chestnuts.


A biscuit base (I wasn’t in the mood for pastry), chocolate ganache, sweet chestnuts and lashings of whipped cream.  Happy birthday to me!


Ingredients

For the biscuit base:
200g biscuits – hobnobs, digestives or shortbreads will all work
100g unsalted butter
1 tablespoon golden syrup or honey
For the ganache:
200ml whipping cream
1 teaspoon vanilla extract
200g milk chocolate – or dark if you prefer

For the topping:
250g sweetened chestnut puree
300ml whipping cream

To decorate: chocolate flake


Method

Place the biscuits, butter and golden syrup in a food processor and blitz until you have moist crumbs.  If you don’t have a food processor, place the biscuits in a bag and beat to crumbs with a rolling pin.  Then put in a bowl and add the butter (melted) and golden syrup.
Press the crumbs into a 23cm round loose bottomed tart tin (I used a disposable foil tin as we’re in the process of packing up the house for moving – it did make it harder to get out, so use a loose bottomed tin if you can).  Alternatively, you could use a 36cm x 12cm rectangular loose bottomed tart tin.
Refrigerate for at least an hour.
Now make the filling: Place the cream in a saucepan and add the vanilla.
Bring the cream to up to boiling point, without actually letting it boil, and then remove from the heat.
Break up the chocolate and add to the cream.
Let it stand for a couple of minutes before going in with your whisk and ensuring that the cream and chocolate are fully combined.
Leave to cool for 15-20 minutes.  Whisk occasionally to thicken up the ganache.
Remove the tart base from the fridge and pour the ganache into it.
Return to the fridge and leave to firm up – once it is firm, wrap it in clingfilm (if you try and do this straightaway you will get a mess and the clingfilm won’t pull away easily).
Spread the chestnut puree over the ganache.
Whip the cream and pipe over the chestnut layer.
Finish with some flaked chocolate.
Remove from the fridge 30 minutes before you wish to serve.
Serve in slices.
Bask in the glory of the wonderful thing you have created.

Eat.


Sunday 16 November 2014

Tea loaf cake


Classics become classics for a reason – usually because they’re great.  There is something about a tea loaf cake that is inherently nostalgic.  I feel it has always been in my life and I can clearly remember, from a young age, the smell of it being toasted and buttered to have with a cup of tea on Sunday afternoons.  Back then I wasn’t a fan of it being toasted but I like it now.


I enjoy making any recipe where soaking of fruit is involved, be it an alcoholic bath for Christmas cake fruits or – as in this instance – tea.  Each time I pass the bowl I cannot resist tinkering with it; carefully mixing the fruit to ensure each sultana and raisin gets a chance to soak and absorb the flavours.  What is unusual in this recipe is that you add the sugar at this stage too – I’d not seen that before.  The only thing to be aware of with this recipe is the soak time i.e. you need to start it a day before you wish to make it.  Other than that, it’s a doddle!


When you spoon the cake into the tin it will seem like the mix is all fruit and no cake.  That’s often the way with these sort of bakes but don’t worry, the magic of the oven will sort it all out and I promise you’ll end up with a lovely tea loaf!  Mine seems to have come out huge (even by my standards) – not sure why!


If you’ve read my blog for any length of time you will know my only rule for buttering a slice of fruit loaf: the butter has to be thick enough that you leave teeth marks in it when you take a bite.  If your dentist couldn’t identify you from the impression you have left in the slice of fruit loaf then you need to reconsider your approach to buttering. 


Ingredients

250g sultanas
250g raisins
250g caster sugar
375ml cold tea – any tea you like!
1 egg
500g self raising flour
1 teaspoon mixed spice
1 teaspoon grated nutmeg


Method

The day before baking place the sultanas, raisins, caster sugar and cold tea in a bowl and mix together. 

Cover the bow and leave to stand overnight.  Stir occasionally.

Preheat the oven to 180C/fan oven 160C/350F/gas mark 4.

Line a 900g loaf tin with baking paper.

Beat the egg and then stir into the bowl of soaked fruit.

Add the flour and spices to the fruit mix and stir well to ensure that everything is well combined and there are no clumps of flour.

Spoon into the prepared tin and level the surface.

Bake for approximately 1 hour or until a skewer inserted into the loaf comes out clean.

Leave to cool in the tin for 15 minutes before de-tinning and leaving to cool completely on a wire rack.

Serve in slices with thick butter.  As the loaf ages it is delicious to toast.

Bask in the glory of the wonderful thing you have created.


Eat.

Sunday 9 November 2014

Date and ginger cake


This sort of cake personifies the start of winter to me; it’s got lots of rich flavours and warming spice.  The dates taste like toffee and the gentle hint of chocolate in the background adds depth to what could otherwise be just another nice spiced sponge.  It has the lightness of texture that you find in really good sticky toffee puddings.  Oh, and if you’re still not sold it’s a doddle to make, smells divine whilst cooking and keeps for days thus, if you were so minded, you could eat the whole thing yourself!


I served the cake at room temperature but, if you omit the glaze, it would be great served warm with custard for a winter pudding.  I smiled when I typed that because one thing I have realised being married to The Custard King aka Mr CC is that pudding and custard is an all-seasons food!


This cake just grew and grew – it came out enormous! There’s practically a whole other cake in the huge dome!


I know some people are wary at using the C word too early, but I think this could easily be adapted to a Christmas cake for those who don’t want to go down the traditional fruitcake path.  You could go the easy route i.e. make it as I have but plonk some plastic reindeer on top, or change the tin to a traybake tin, increase the amount of icing and create a snow scene on top i.e. plonk some plastic reindeer, trees and snowmen on top.  You will notice from my suggestions that I am not much of a cake decorator…..


Ingredients

For the cake:
140g dates – stoned and chopped
410ml evaporated milk
100g soft dark brown sugar
225g plain flour
3 tablespoons cocoa powder
2 teaspoons ground ginger
2 teaspoons bicarbonate of soda
50g stem ginger – chopped
200g unsalted butter, at room temperature
2 eggs

For the glaze:
100g icing sugar
Enough stem ginger syrup to form a thick, glossy icing – add a teaspoon at a time


Method

Preheat the oven to 160C/fan oven 140C/320F/gas mark 3.

Line a 20cm round springform tin with baking paper.

Place the dates, evaporated milk and dark brown sugar into a saucepan.

Bring to the boil then reduce the heat and simmer for 5 minutes, stirring regularly, until the dates are soft and the sugar has melted – you can see this by looking on the back of your spoon; if you can see any granules you need to cook for longer.

Put the pan to one side to cool.

Place the flour, cocoa powder, ground ginger, bicarbonate of soda, stem ginger and butter into a food processor and blitz until there are no lumps.

Add the cooled date mixture and the eggs and blitz briefly just until the ingredients are combined.

Pour into the prepared tin and bake for approximately 1 hour – it may take longer – or until a skewer inserted into the cake comes out clean.

Leave to cool in the tin as initially the cake will be very soft.

De-tin after about 30 minutes and leave to cool completely on a wire rack.

When the cake is cold you can add the glaze: use just enough stem ginger syrup to turn the icing sugar into a thick white glossy glaze.

Drizzle over the cake and leave to set.

Bask in the glory of the wonderful thing you have created.


Eat.

Sunday 2 November 2014

Cherry shortbread


I used to work in an office where we got particularly nice biscuits in meetings.  I’m not saying the biscuits made us book more meetings but……well, nope, I think that’s exactly what I’m saying!  The prize on the plate was always the cherry shortbread ring – it could make any meeting palatable (it’s no coincidence it was shaped like a life saver).  I’m sure this golden snitch of a biscuit ensured punctual starts to meetings more than any other reason; you could get to the meeting room 10 minutes early and would rarely be the first one there!


Happy memories of the cherry shortbread ring drifted into my head this week, probably because I was sitting in a meeting room sans biscuits (I know – the horror!).  I decided to pay homage to this glorious biscuit and also tackle what I call a ‘pressed’ shortbread, something that’s been on my to-bake list for a while.  This method is where you tip the dough crumbs into the tin and then  press it into shape, which is where the real binding together of the ingredients takes place.


This is an incredibly flavoursome biscuit given the small number of ingredients.  And who knew it would taste even better when eaten sitting on the sofa, rather than around a meeting table?  You learn something new every day!


Ingredients

280g plain flour
60g ground rice flour
230g unsalted butter, from the fridge
115g golden caster sugar, plus 2-3 tablespoons extra for dusting
85g glace cherries, chopped small – you could use chocolate chips or chopped stem ginger instead, if you so wished


Method

Preheat the oven to 170°C/ fan oven 150°C/325°F/gas mark 3.

Line the base of two 20cm round springform tin with baking paper (loose bottomed sandwich tins would also be good).

Place the plain and rice flour into a bowl.

Rub the butter into the flour until the mix resembles fine breadcrumbs (this can be done with your hands, or in a food mixer).

Stir in the sugar and chopped cherries.

Press the mixture into the prepared baking tin and use your hand to ensure the mix is evenly distributed.

Prick with a fork and cut into segments – this will help to cut into pieces post baking.

Bake for approximately 35-40 minutes or until a very light golden colour.

Leave to firm in the tin for 30 minutes.

Use a sharp knife to rescore along the lines you cut pre-baking.

Dust (generously!) with caster sugar.

Leave to cool in the tin until it is firm enough to de-tin without breaking.

Snap along the score lines.

Bask in the glory of the wonderful thing you have created.

Eat.


Sunday 26 October 2014

Sticky orange potato cake


I remember watching Sesame Street when I was growing up and there would always be a bit where the screen was split into quarters depicting four different things or activities accompanied by a song, ‘one of these things is not like the others’.  You had to spot the odd one out.  You can play that game with the title of my cake this week: the correct answer is ‘potato’.


There are German plum dumpling recipes that use a potato based mix to enclose the plums but this is my first potato cake.  With all that mashed potato in it you expect it to be heavy or densely textured.  It isn’t!  It’s a light sticky cake and it melts in your mouth.  Enjoy it at room temperature with a cup of tea (always my preferred option) or warm with ice cream for dessert.  Or get the best of both worlds by eating it at room temperature and then warming the leftovers the next day for dessert.


The ground almonds provide texture and the syrup gives a sticky, wet texture.  The texture is unusual at first.  After my first bite I wasn’t sure if this was the cake for me however, once I got used to the texture I really enjoyed it.  I have pondered how best to describe it and struggled; I think the best way is to say that if you don’t like the following then it’s not the cake for you: 
  • Syrup cakes 
  • Baklava (the stickiness of it) 
  • Semolina (the texture)

Really – I’m not trying to put anyone off but this is not a cake for everyone and I want you to bake it knowing what you’re going to get.  Satisfied customers only on my site!


Using gluten free baking powder will turn this into a gluten free bake.


Ingredients

For the cake:
350g potatoes suitable for mashing – I used maris piper
200g unsalted butter, at room temperature
155g caster sugar
1 teaspoon vanilla extract
4 eggs
175g ground almonds
2 tablespoons (not a typo) baking powder
Zest of two oranges

For the syrup:
Juice of two oranges
3 tablespoons caster sugar

Method

Peel the potatoes and cut into large chunks.

Place in a pan and cover with water.

Bring to the boil then reduce the heat, part cover the pan, and simmer for approximately 15 minutes or until the potatoes are soft enough to mash.

Mash the potatoes.

Put to one side and leave to cool.

Preheat the oven to 180°C/fan oven 160°C/350°F/gas mark 4.

Line a 20cm springform round tin with baking paper.

Beat together the butter and sugar until light and fluffy.  Don’t skimp on this stage.

Beat in the vanilla.

Beat in the eggs, one at a time.

Stir in the ground almonds, baking powder and orange zest.

Stir in the cooled mash potato.

Spoon into the prepared cake tin and level the surface.

Bake for approximately 45 minutes or until a skewer inserted into the cake comes out clean.

About 20 minutes before the cake is cooked, place the orange juice into a saucepan and bring to the boil.

Let boil until the liquid has halved.

Remove from the hob and leave to cool.

Stir in the sugar – wait until the orange syrup is cool or the sugar will melt.

When the cake has been out the oven for 15 minutes de-tin it and place on a wire rack with a piece of foil underneath.

Spoon the orange syrup over the top (the foil underneath the rack will catch any drips)

Leave to cool completely before serving.

Bask in the glory of the wonderful thing you have created.


Eat.

Sunday 19 October 2014

Matcha and chocolate cupcakes


When Tombo Tea kindly offered me a sample of their matcha baking mix I was intrigued and also a little wary.  I don’t like green tea as a drink but, when I’ve tried it in bakes, have always enjoyed it. I pondered how best to bake with matcha: it has a fresh, clean, almost grassy taste so figured it would balance well with rich ingredients like chocolate and cream cheese.  These cupcakes were the result of my musings and I am extremely pleased with them!


One of my great joys in baking (I already know I’m overselling this) is when you take a teaspoon of something, tip it out and it holds its shape.  Look at this lovely ball of greenness:


I loved how green the frosting turned out; one of the features of Tombo Tea’s matcha baking mix is that it retains its green colour.  It would be perfect for any Halloween bakes but also all year as it’s a natural rather than garish colour.  I also enjoyed something being green but not minty – it’s always interesting to see everyone’s expectations challenged; we get conditioned that certain colours equal certain flavours so it’s nice to shake things up!


The matcha cut through the very rich frosting; the balance between freshness and richness was perfect and at that moment I became a convert to green tea!  The chocolate cupcakes didn’t benefit from the colour, but again the addition of the matcha elevated these to something lighter and fresher than the usual rich chocolate cake.


Definition of sod’s law: the cupcake you pick to cut in half will always be the one you tested during baking with the skewer.  Notice the little vertical line in the centre at the top?


Now some eagle eyed readers will notice that the recipe makes 12 cupcakes but there are only 11 in the tin.  I have a two word answer for you, my friends: cook’s perks.


Thanks to Tombo Tea for sending me the sample of matcha baking mix - I absolutely loved it.

Ingredients

For the sponges:
175g unsalted butter, at room temperature
175g golden caster sugar
1 teaspoon vanilla extract
3 eggs
145g self raising flour
30g cocoa powder
½ teaspoon baking powder
1 teaspoon matcha green tea powder
2 tablespoons milk, if needed

For the frosting:
200g unsalted butter, at room temperature
300g icing sugar
180g cream cheese – I used Philadelphia
1 ½ teaspoon matcha green tea powder


Method

Preheat the oven to 180°C/fan oven 160°C/350°F/gas mark 4.

Line a cupcake tin with 12 paper cases.

Start by making the sponges: beat together the butter and sugar until pale, light and fluffy.  Don’t skimp on this stage.

Beat in the vanilla.

Beat in the eggs, one at a time, adding some of the flour if it looks like it might curdle.  Use this as a learning opportunity – if it starts to curdle, you need to beat the butter and sugar for longer next time.

Fold in the flour, cocoa powder, baking powder, matcha powder.

If necessary, add the milk to loosen the mixture to a dropping consistency (I needed to use it).

Spoon into the cupcake cases and bake for approximately 25 minutes or until a skewer inserted into the sponges comes out clean.  Probably best to check the cupcakes after 20 minutes in case your oven is quicker than mine.

Leave to cool – out of the tin - on a wire rack.

Now make the frosting: beat the butter until it is pale and whippy looking.

Add the icing sugar and beat again until well incorporated.

Beat in the cream cheese and matcha.

Pipe or spread over the sponges.

Refrigerate until 20 minutes before serving.

Bask in the glory of the wonderful thing you have created.


Eat.