Showing posts with label mint. Show all posts

Sunday, 7 February 2016

Mint chocolate biscuits


Long-time readers of my site will remember the anti-mint sentiments included in my TenCommandments.  My feelings to mint can be summed up quite simply – I hate it with a passion, particularly when a sprig finds its way onto my dessert plate for no good reason.  NB.  There is never a good reason. 


There are two exceptions I will happily cite: mint sweets, and mint with chocolate.  It has NO place in anything else – particularly savoury foods.  Bleugh….lamb and mint - whoever thought that was a good idea?  Mad people and mint farmers, that’s who.


Mint tea???  No!  I have tried it on various occasions and never got past two sips before wishing I just had some normal PG Tips in my cup.  The word ‘tea’ brings so much excitement into my life but there’s always such sadness and disappointment when it’s paired with ‘mint’.


This recipe appealed to me because I have a fondness for Matchmakers.  Often minty chocolate features in Christmas recipes and I liked that this is very much an all year round bake.  I also liked that the recipe doesn’t use up the whole box of Matchmakers….so the cook gets some perks!


These biscuits are crisp, thin and buttery; they hold their shape well during baking giving them a smart, uniform appearance.  They are lovely on their own, but would also be nice served with ice cream for dessert.


Ingredients

For the biscuits:
225g unsalted butter, at room temperature
140g caster sugar
1 egg yolk
2 teaspoons vanilla extract
280g plain flour
100g mint chocolate sticks, finely chopped – I used Matchmakers


Method

Beat together the butter and sugar until light and fluffy.

Beat in the egg yolk and vanilla.
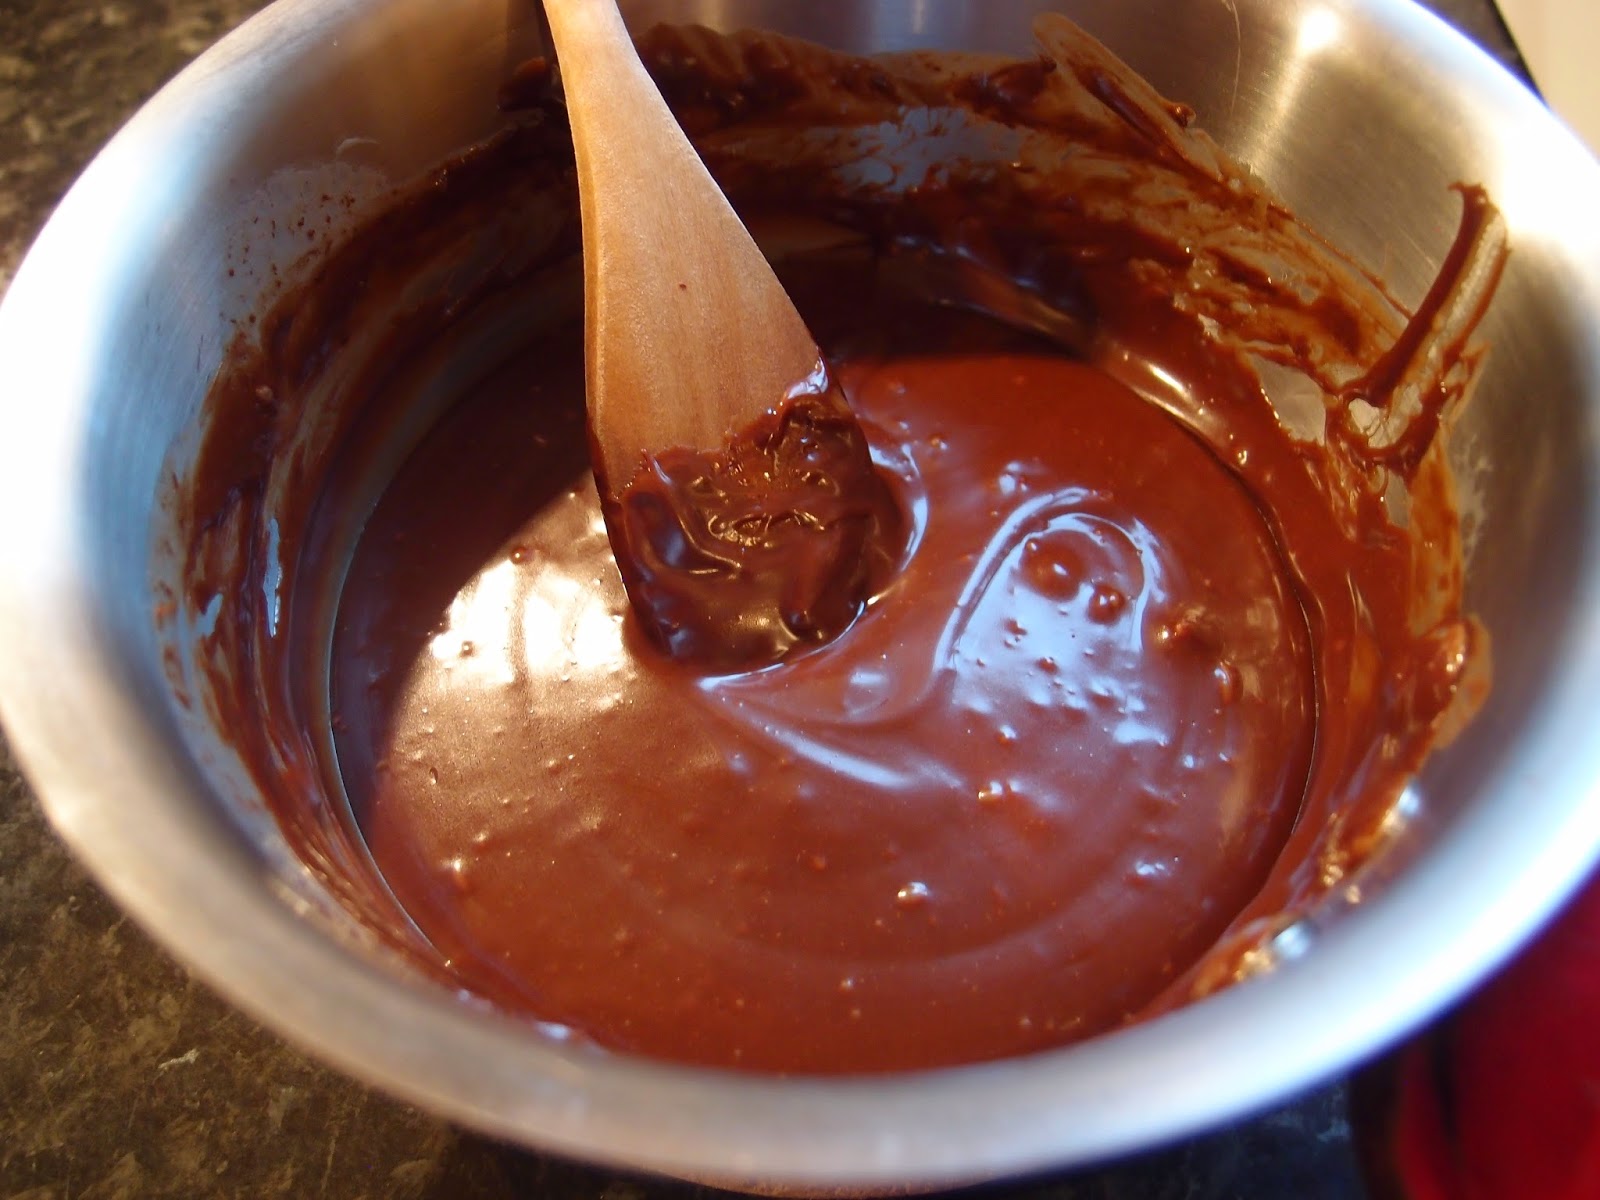
Stir in the flour and chopped matchmakers and bring together to form a dough.

Cut the dough in half, flatten each into a fat disc and wrap in clingfilm.

Refrigerate for about 30 minutes.

Preheat the oven to 190C/fan oven 170C/375F/gas mark 5.

Line two large baking sheets with baking paper or non stick foil – you may have to use the trays twice i.e. bake in batches.

Take the first disc of dough and roll out between two sheets of clingfilm – aim for about the thickness of a £1 coin (3mm approx).

Using a cutter no bigger than 6cm, cut out the dough.  You need to get 15 biscuits from each half of dough.

Place onto the prepared sheets leaving space around as they will spread when baking.

Bake for approximately 10-15 minutes until golden.

Leave to cool on the baking sheet for about 10 minutes before moving to a wire rack to cool completely.

Repeat the process with the second half of the dough.


Bask in the glory of the wonderful thing you have created.

Eat.

Wednesday, 24 December 2014

Chocolate mint cake


Our new house has emerged from the “total chaos” stage of unpacking to the far more acceptable “annoyingly disordered”.  I think this is progress and it felt a good time to get back to some baking, particularly with Christmas fast approaching.  I’d been cooking dinners every night so felt confident that I understood my new oven enough to tackle a new recipe, totally ignoring Mr CC’s recommendation of baking something I knew inside out like a Victoria sponge.  I could see his logic but I fancied something that reflected the festive season, and what could be more festive than After Eight mints?


Now don’t get me wrong; I like After Eight mints, I truly do.  But would I like them half as much if they didn’t each come snugly filed away in their own little paper sleeve like chocolate records? (Translation for anyone under 40: Records were the iTunes of their day but took up actual rather than virtual storage space and only held about 12 tracks at most).  And is there another chocolate with greater rules of etiquette?  Only a complete bounder takes the chocolate out and leaves the paper sleeve in the box, leaving some poor unfortunate sap to ‘draw a blank’.  This ganache uses a whole box of chocolates:


And here they are melted:


This is a rich, decadent cake and would work as either a cake or a dessert.  If I was serving it as a dessert I might have some extra whipped cream to serve alongside because everyone knows that it cuts through richness….right?  Work with me here, it is Christmas after all…the time of year when all bets are off and it’s perfectly acceptable to drink alcohol before 9am and eat tons of chocolate straight after the biggest meal of the year whilst complaining how full you feel (or at least it is if you’re doing right).


Thanks for everyone who’s stopped by my site this year, and extra thanks to those of you who have left such lovely comments.  Hope you all get the Christmas you wish for and a wonderful 2015!


Ingredients

For the sponges:
170g unsalted butter
100g dark chocolate
240g plain flour
280g golden caster sugar
6 tablespoons cocoa powder
1 teaspoon bicarbonate of soda
2 eggs
284ml buttermilk
200ml boiling water

For the icing:
300g After Eight mints, plus extra for decoration if you wish
50ml double cream


Method

Preheat the oven to 180C/ fan oven 160C/ 350F/ gas mark 4.

Line two 20cm round loose bottomed sandwich tins with baking paper.

Place the butter and chocolate in a saucepan and melt over a gentle heat.  Put to one side to cool a little.

Place the flour, sugar, cocoa powder and bicarbonate of soda in a large mixing bowl and stir together.

To the dry mix, add the melted chocolate and butter, the eggs, buttermilk and boiling water.

Beat until the mixture is smooth – you don’t want any lumps left in the batter!

Spoon into the two prepared tins and level the surface.

Bake for approximately 30 minutes or until a skewer inserted into the cake comes out clean.  Mine took a little longer so don’t worry if yours does too.

Leave to cool in the tins for 30 minutes before de-tinning and leaving to cool completely on a wire rack.

The sponges can be made a day in advance and stored in airtight containers.

Now make the icing: place the After Eights and cream in a saucepan and melt together over a gentle heat.

Leave to cool until you have a nice spreadable consistency – depending on the weather (or your heating!) you might need to pop it in the fridge for a bit.

Place one sponge on the serving plate.

Spread just over half the icing over it and place the second sponge on top.

Spread the remaining icing over the top and decorate as you choose.


Bask in the glory of the wonderful thing you have created.

Eat.