Sunday 27 January 2013

Coconut sponge with lime curd


I am now officially fed up with winter – its dark evenings, grey skies, snow and coldness can just do one as far as I’m concerned.  I think it might’ve got the message as this weekend has been milder...and who knew the sky was actually blue?


Anyway, weather rant over.  I was setting the scene for why I decided to look to warmer climes for my baking inspiration this week.  It’s been too long since I made a curd, and Mr CC suggested that lime curd would be a good idea.  He was right.  I used juice and zest and it gave the curd an elegant look that indicated the fruitiness within:


 There is something about curd that is heavenly – I’ve been trying to think how to describe that unmistakable curd flavour.  The best I can do is that the texture somehow is the flavour.  Weird!


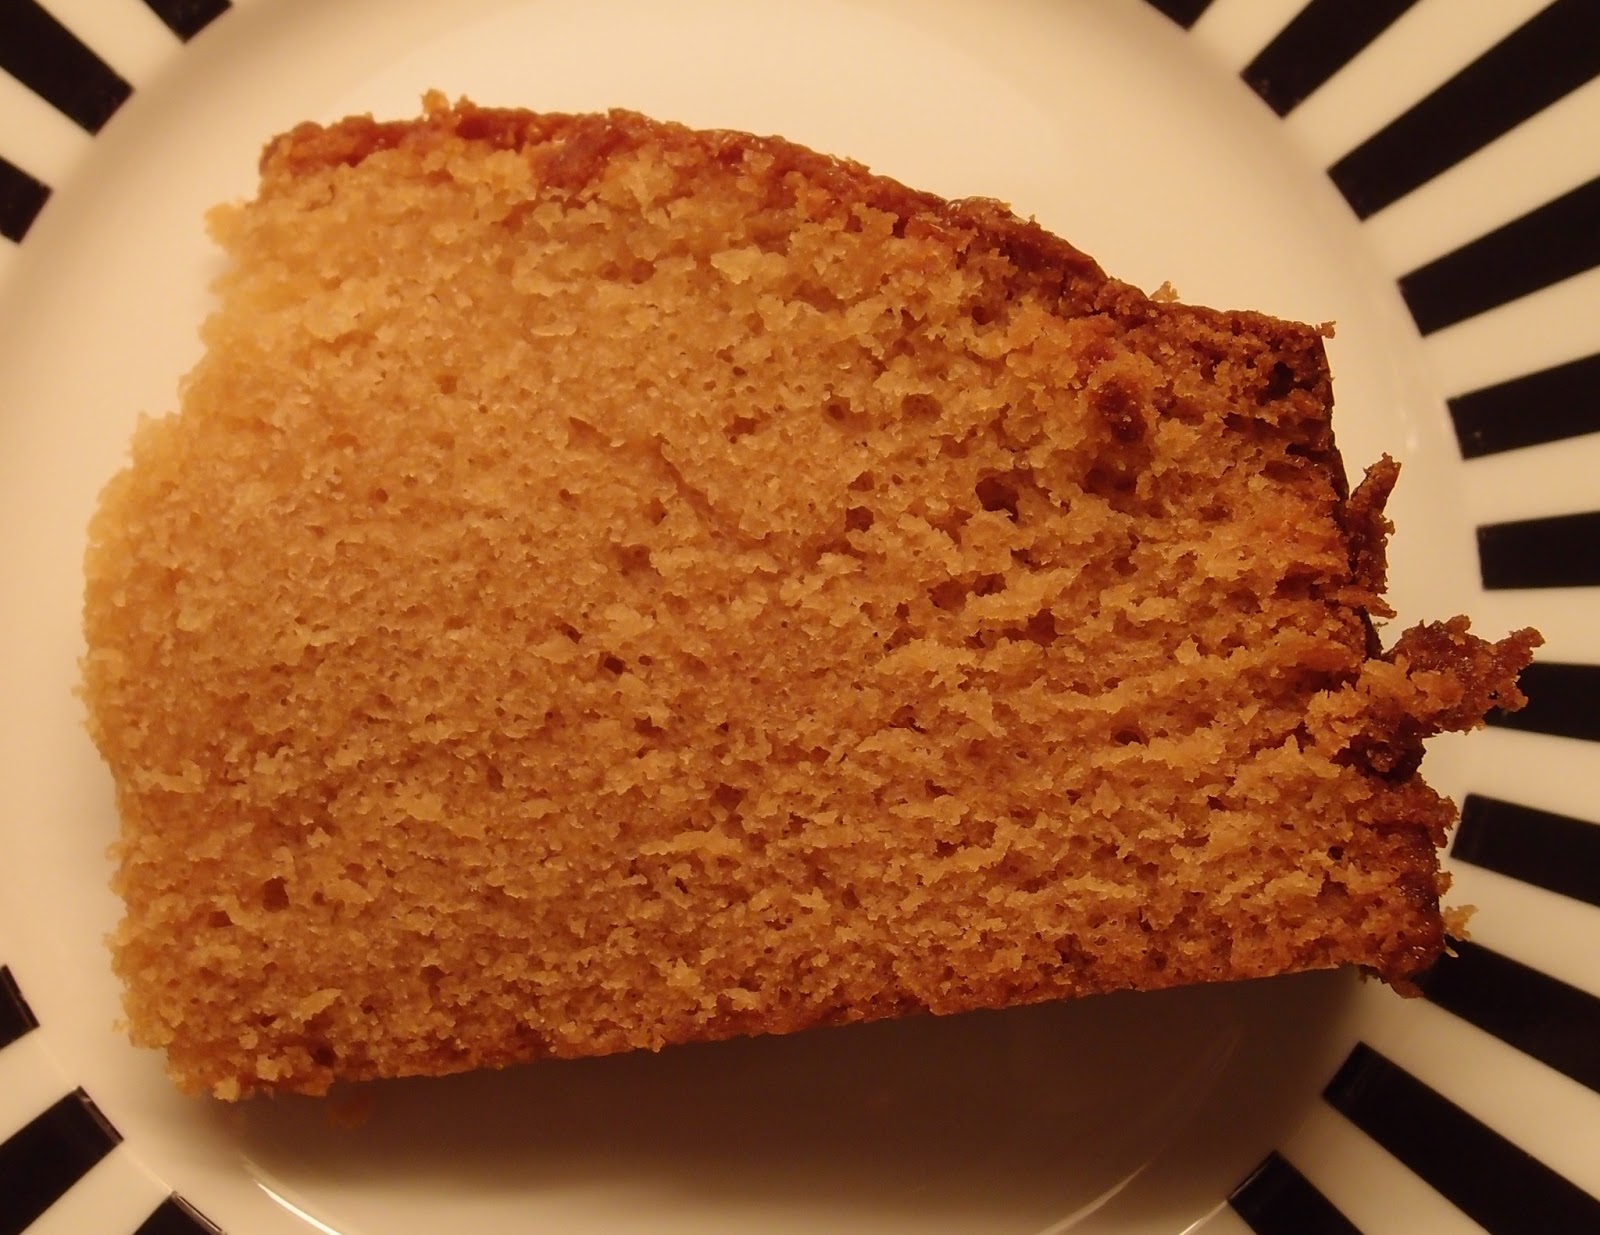
The zinginess of the lime worked really well with the light coconut sponge.  To keep the whole thing fresh I avoided buttercream and decided on whipped cream for the filling.  When is adding cream to anything ever a bad idea?  Never, that’s when! (Although I have to admit to adding a bit too much and it all squidge out when I cut the cake!)


To distribute the curd flavour throughout the sponge I planned on cutting each sponge in two so there were three layers of curd.  That was the plan.  But then the Australian Open tennis final started and I suspect that, like everyone else preparing Sunday lunch, I suddenly found that I had a lot less time than anticipated and abandoned the idea!


Ingredients

For the lime curd:
2 limes – zest and juice
75g caster sugar
2 eggs
50g unsalted butter

For the cake:
175g unsalted butter
175g golden caster sugar
3 eggs
175g self raising flour
1 teaspoon baking powder
55g desiccated coconut
2 teaspoons coconut extract (optional)
3 tablespoons milk

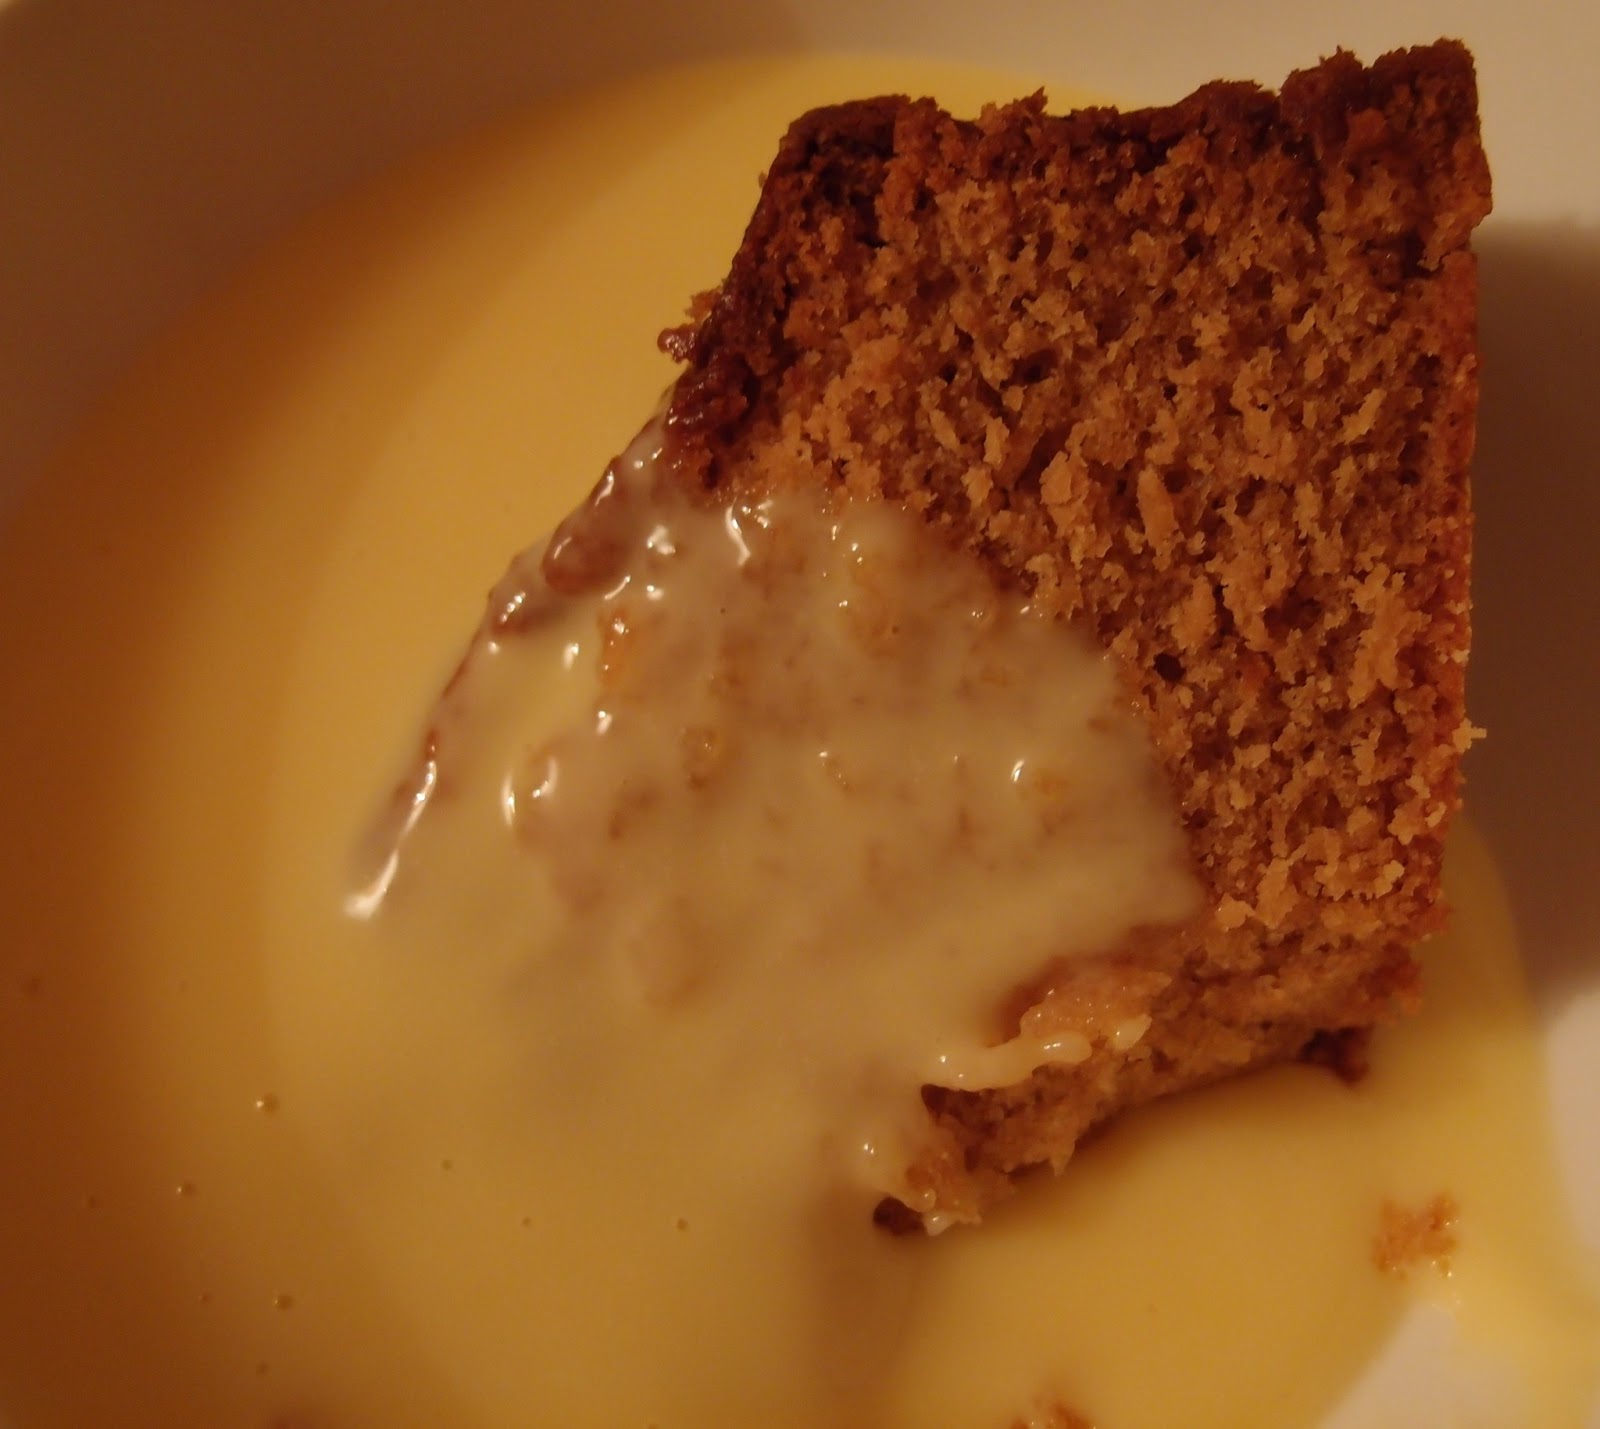
To finish: 200ml cream, whipped to a consistency just thick enough to hold its shape (I used 300ml and you will see from my photos that it was too much...and that’s me saying that so you know it’s true!)


Method

Start by making the lime curd (you can do this 1-2 days ahead of making the cupcakes): Place the lime zest and sugar in a bowl.
Whisk together the lime juice and eggs and pour over the sugar.
Cut the butter into little pieces and scatter over the top.
Place the bowl over a pan of simmering water (or use a bain marie pan if you have one) and cook for approximately 15 minutes.
Stir occasionally but not obsessively until you have a thick curd.
Remove from the heat and leave to cool.
Refrigerate until required.
Preheat the oven to 180°C/fan oven 160°C/350°F/Gas mark 4.

Line two 20cm sandwich pans with baking paper.
Place the butter and sugar into a bowl and beat until soft and well combined. Due to the ratio of ingredients, the mix won’t get light and fluffy.
Beat in the eggs one at a time, adding a little of the flour if it looks like the mix might curdles.
Add the remaining flour, baking powder, coconut and extract and beat until thoroughly mixed.
Add the milk to loosen the batter.
Spoon the batter into the two prepared sandwich tins and bake in the oven for approximately 25 minutes or until a skewer comes out clean. Mine took exactly 25 minutes.
Leave to cool in the tins for at least 10 minutes before turning out and letting cool completely on a wire rack.
The sponges can be made in advance and stored in an airtight tin.
Cut each sponge through so you have four, roughly equal discs.
Place one of the sponges on the serving plate.
Spread 1/3 of the curd over it and place another disc of sponge on top.
Spread 1/3 of the curd over it, followed by the cream.
Place another disc on top and spread the remaining 1/3 of curd before topping with the final disc of sponge.
Refrigerate until you wish to serve, removing from the fridge approx 20 minutes in advance.
Serve in generous slices.
Bask in the glory of the wonderful thing you have created.
Eat.

Sunday 20 January 2013

Golden syrup cake


The latest baking publication to hit the newsagent’s shelves is called “30 Best Loved Recipes” and will build into a collection of books each focussing on a branded product.  We’re already up to part 5 and seeing that parts 1 & 2 were Cadbury’s Dairy Milk and Lyle’s Golden Syrup they were always going to end up in my greedy little hands!


I know I go on about my love of golden syrup but I really do love it!  I’ve read some comments on some other blogs and websites suggesting that the Lyle’s golden syrup book is unimaginative in that it contains recipes for flapjacks, biscuits and cakes...but in all honesty, these are the things I want to use syrup in.  I don’t want a book full of ways to use it in a curry or stews.


The recipe that stood out to me, because it seemed so decadent/grotesque (delete depending on your view of things), was the enormous sponge cake using a whole bottle of golden syrup.  A.  Whole.  Bottle.  Take new bottle from cupboard, empty into saucepan, throw away empty bottle.  Well, call me weird, but that was a clarion call if ever I heard one!


The strange thing is that this cake isn’t too sweet when you eat it.  It should be, but it isn’t.  The sponge is light and moist and the single dominant flavour is syrup.  We had it plain, with a cup of tea, and it was heavenly.  We warmed up thick slices and had it with custard for dessert and – shock – it was comfort in a bowl:


This makes a big cake.  Definitely one to bake when you have a lot of eaters on hand.  Big plus though, is that it keeps like gingerbread and just keeps getting better.


Ingredients

225g unsalted butter
225g light muscovado sugar
450g golden syrup, plus additional 4 tablespoons for pouring
450g self raising flour
2 eggs
300ml milk


Method

Preheat the oven to 160°C/fan oven 140°C/325°F/gas mark 3.

Line a 30cm springform round tin with baking paper.   The largest tin I had was 23cm so I used that – it meant I needed to bake it for longer but worked fine.

Place the butter, sugar and syrup in a saucepan and heat gently, stirring occasionally until all the ingredients are melted and combined.

Leave to cool for 10 minutes or so.

In a large bowl, beat together the flour, eggs and milk.  It will look pale, lumpy and desperately unappetising at this point!

Pour the syrup mix in and beat until lump free and smooth.

Pour the batter (it will be runny) into the prepared baking tin and bake for approximately 50 minutes.  As I used a smaller tin – making a deeper cake – I needed to bake for longer.  In total it took somewhere in the region of 1 hour 15 minutes.  It’s ready when a skewer inserted into the cake comes out clean.

Leave to cool on a wire rack – still in the tin – for 5 minutes, then drizzle the extra syrup over the top.

Leave to cool completely.

Serve on its own or with thick cream.  Also lovely warmed with custard for pudding.

Bask in the glory of the wonderful thing you have created.

Eat.

Sunday 13 January 2013

Spelt, raspberry, blueberry and ginger cake


I’ve been dabbling with spelt recently (I have, at present, two other spelt recipes waiting in the wings to share) since Mr CC bought me a big bag of wholemeal spelt flour from his travels in Norfolk.  The flour was milled at LeatheringsettWatermill in Holt, where the mill has been working since 1802.


Spelt is an ancient grain enjoying a surge in popularity at present.  It is higher in vitamin B and protein than other wheat and some people with wheat sensitivity find that they can eat spelt due to its lower gluten content.  It certainly tastes different to ordinary flour and I’ve found that it adds more texture and a strong nutty flavour to my bakes.


This cake was meant to be a spelt, rhubarb and ginger cake.  For the past few weeks I have admired the forced rhubarb in my local supermarket and – of course – this week they didn’t have any.  It’s like they do it on purpose.  Grrr.  Knowing that spelt added nuttiness to a bake I opted for fruits that work well with nuts.  And I never tire of how beautiful raspberries and blueberries look baked into the top of a cake.


The topping was incredible and so simple.  Brushing the ginger syrup over the top of the hot cake gave a good surface for the sugar to stick to and it created a flavoursome crunchy thin crust.  Here it is just sprinkled:


Here it is after it’s cooled and sunk into the fruit:


There’s a forecast of snow for tonight.  I seem to be one of the few people I know who freely (and vocally!) admits to loathing snow.  Rather than stress at the weather forecasts I shall focus on my lovely cake!


Ingredients

For the cake:
450g raspberries and blueberries
140g unsalted butter
200g soft brown sugar
2 eggs
4 pieces of stem ginger in syrup – chopped as small as possible (I used my mini food processor)
200g wholemeal spelt flour
2 teaspoons baking powder

For the topping:
Stem ginger syrup from the jar
3 teaspoons caster sugar


Method

Wash the fruit and leave to dry – there is nothing worse than putting wet fruit on top of a cake batter and watching it sink and ooze moisture over everything!

Preheat the oven to 190°C/fan oven 170°C/375°F/gas mark 5.

Line a 18cm x 28cm pan with baking paper or non stick foil.  I used my mini roasting pan which was the perfect size.

Melt the butter over a gentle heat.

When melted, remove from the heat and stir in the brown sugar.

Put to one side and leave to cool for a couple of minutes.

Place the eggs, chopped ginger, flour and baking powder in a large mixing bowl and mix.

Add the butter and sugar mix and stir rapidly to incorporate all the ingredients.  It will be a gloopy batter similar to ginger cake or sticky toffee pudding.  Take care to ensure no dry ingredients are stuck at the bottom of the bowl.

Pour into the prepared tin and tap sharply on the work top so the batter levels out.
Scatter the fruit over the top.

Bake for approximately 45 minutes or until a skewer inserted into the cake comes out clean.  Check it after 3o minutes as I found the cake needed turning in the oven to ensure it cooked evenly.

Remove from the oven and place on a wire rack to cool.

While the cake is still hot brush some of the syrup from the ginger jar over the top of the cake – just enough so the whole top is shiny.

Scatter caster sugar over the top and leave the cake to cool completely.

Serve in large squares on its own, or with cream.

Bask in the glory of the wonderful thing you have created.

Eat.

Sunday 6 January 2013

Vanilla cheesecake chocolate brownies


If the New Year sets the tone for how we intend to approach the coming months, then I think these decadent brownies -which somehow manage to incorporate a whole cheesecake sans base - are a rather good choice!


I probably needn’t tell you how well the tangy cheesecake works with the rich, dark chocolate brownie.  It plays with your taste buds because first off you feel like you’re eating cheesecake with brownie, then as you get to the base the brownie texture takes over yet there’s an unmistakable cheesecakeyness to it all.  Or to put it more simply: yum.


You will see from the ingredients that this recipe makes a lot of brownie mix so please heed the advice to use a deep tin; it would be too sad to lose any mix over the edge...much as your oven might enjoy it!  I used a mini roasting pan as it was deeper than my traybake pan.


I forgot to hold back some of the brownie mix, so my marbled swirl wasn’t as defined as it could be.  You know how it is: sometimes you get so lost in thinking about how nice what you’re making looks that you forget to pay attention to the finer detail of the recipe.


I made them the day before eating and it was a good idea – they firm up and get squidgy overnight.  For lovers of that gooey brownie texture these are a winner because the cheesecake adds to it.


These brownies are great with afternoon tea but would also work well as a dessert.  A scoop of ice cream or just some thick cream poured over would soften the hardest heart!


Ingredients

For the brownie:
200g dark chocolate
200g unsalted butter
250g caster sugar
3 eggs
125g plain flour

For the cheesecake:
400g cream cheese – I used Philadelphia
1 teaspoon vanilla extract
125g caster sugar
2 eggs


Method

Preheat the oven to 180°C/fan oven 160°C/350°F/gas mark 4.

Line a 30cm x 20cm deep tin with baking paper or non-stick foil.

Start by melting together the dark chocolate and butter – you can do this either with a bowl over a pan of simmering water (ensuring that bowl and water don’t touch) or in the microwave.  I used the microwave and found that four 30 second bursts did the job perfectly.

Put the chocolate/butter mix to one side to cool.

Now make the cheesecake mix: place all the ingredients in a bowl and beat until thick and well combined.  You’re aiming for the gloopy consistency of mayonnaise.  Put the bowl to one side.
In a clean bowl, make the brownie mix: beat together the caster sugar and eggs until combined
.
Beat in the chocolate/butter mix.

Stir in the flour.

Pour 3/4s of the brownie mix into the pan and level the surface.

Spoon over the cream cheese mix in dollops and the remaining chocolate mix and give the tin a sharp tap on the worktop to level the surface.

Use a knife to swirl the mixes together creating a marbled effect.

Bake for 35-45 minutes or until the brownies are just set in the middle.  Mine took 45 minutes.

Leave to cool in the tin – on a wire rack so the air can circulate around the tin – and then cut into squares.

Bask in the glory of the wonderful thing you have created.

Eat.